Nowadays lots of people around the world have the opportunity to travel by plane. Someone who wants to seat just close to the window usually picks the proper place with an additional fee during the boarding pass. Some people may receive this place randomly, without an additional fee. Unfortunately, many people who fly quite often prefer a seat next to the window to have a good dream. I belong to people, who don’t want to waste the time on the plane by sleeping and want to enjoy the awe-inspiring landscape outside.
I am not always keen on paying an additional fee for the place I dream of with a great view looking out the plane so I decide to pick a boarding pass with a random place. When I receive the seat in the “B” or “E” row is still fine because you are still close to the window and capable to cover the outside area properly. The worst option is to receive the seat in the “C” or “D” row because this is very middle of the plane (Pic.1).
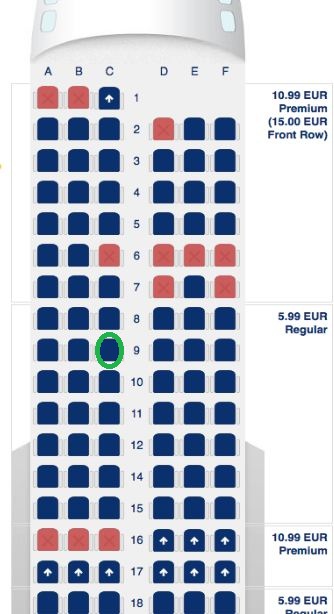
Basically, you are able to see practically nothing, but when you are determined and you have some equipment everything is feasible.
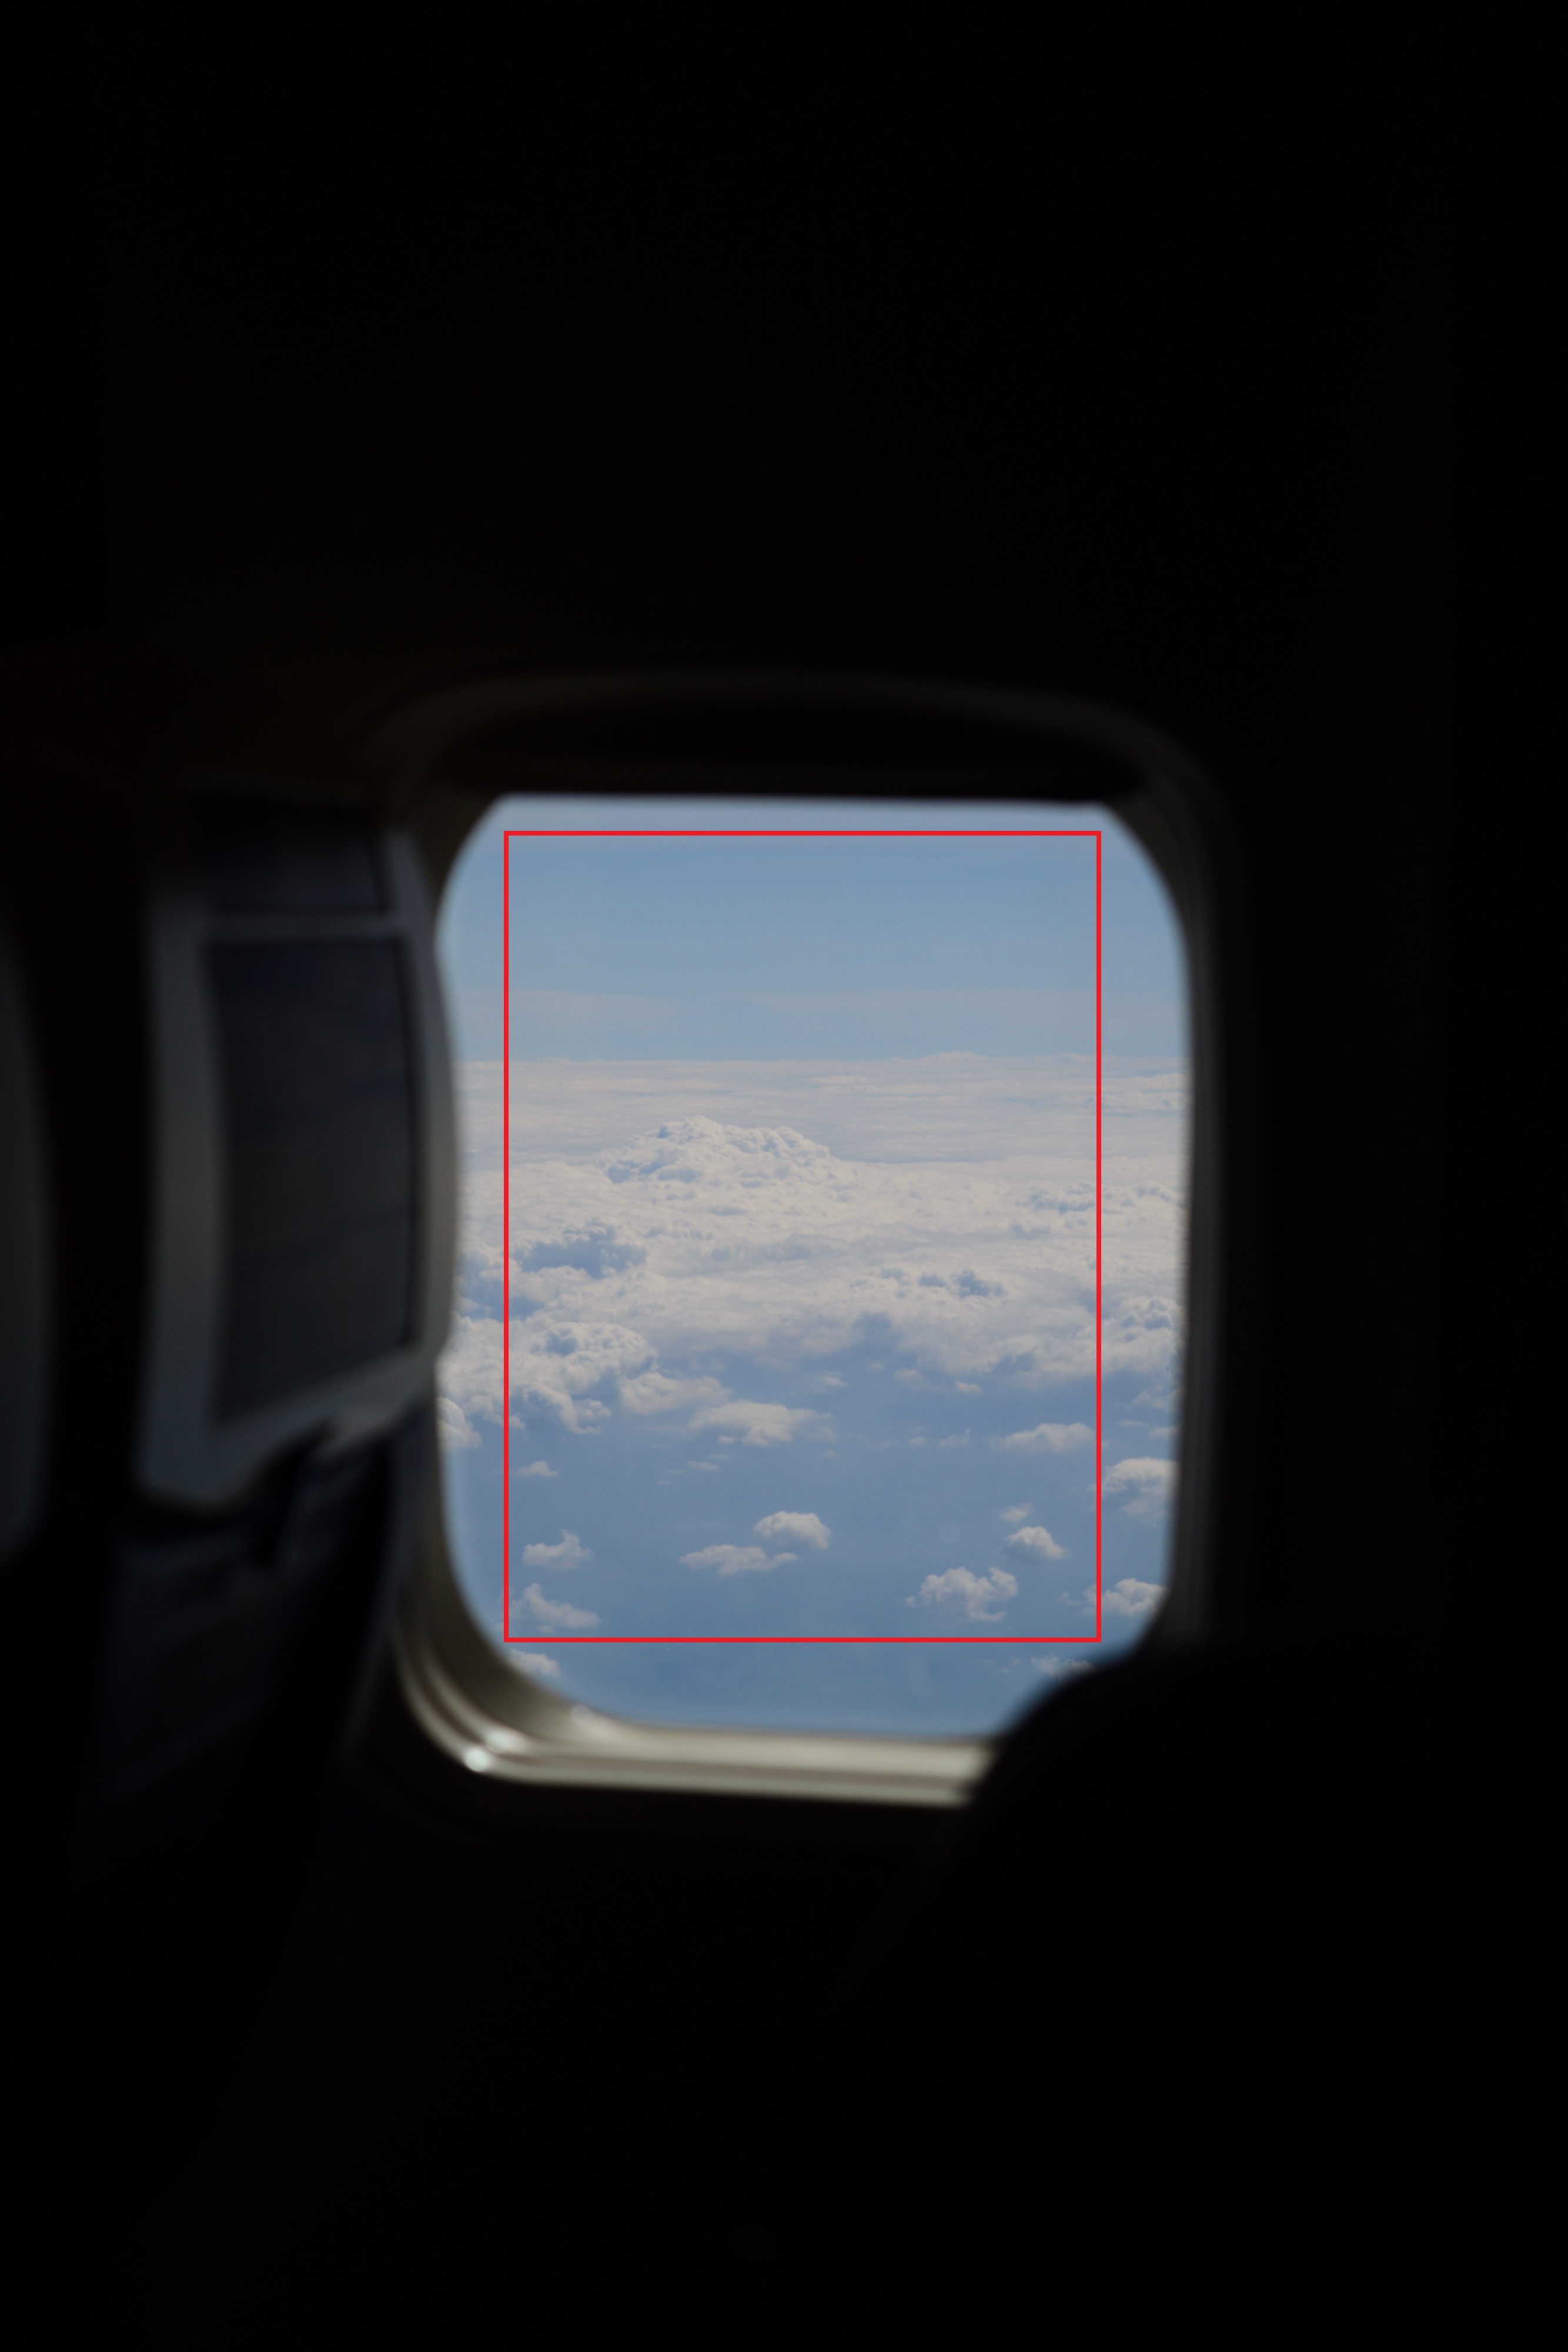
I would like to show you a way how to make many good photos from the middle of the plane. Obviously, in this situation, it is impossible to make a full-size photo, like normally we have been doing in many places. You can make a little bit of zoom to the window and next crop the landscape area. Then you will receive almost the same photo, as you could do from the seat just next to the window. However, your viewshed is very confined. You can see the landscape more or less vertically, centerline unlike to person, who is sitting next to the window (Pic.2).
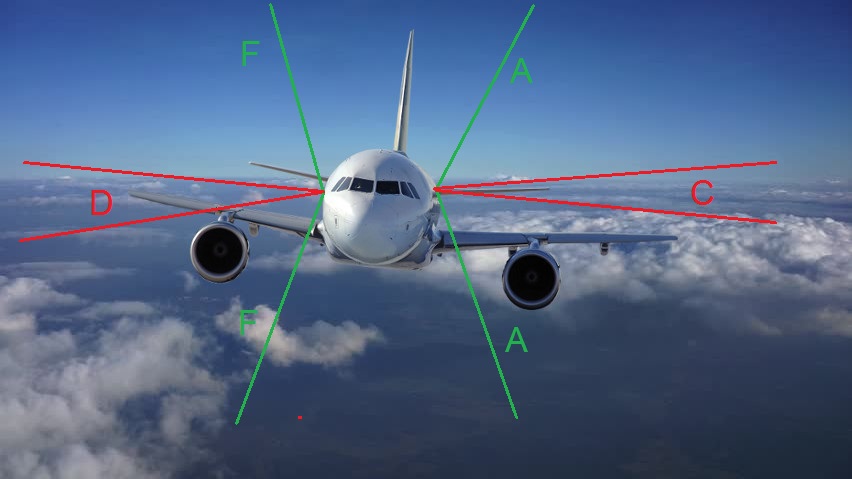
Those people, who occupy the most outside place in the plane may see much more: sky, horizon, and Earth’s surface beneath the clouds. People who sit in the inner places in aircraft have a lower possibility to cover the entire area seen from the board, though they are able to see something anyway. When you sit further from the window your viewshed may be different. In any case, it depends on the behavior of your neighbor, who can seat patiently or blackout the majority of the window. It depends on your mobility also. You should have seatbelts, especially during the start and landing, which restricts your mobility, however, you can manage your hands and move your camera into the most convenient position as possible.
You must know, that I took into account narrow-body aircraft like the Boeing 737, 757,777, or Airbus A320 family. The situation in bigger aircraft is much different! Once I will take a flight e.g. Airbus A380 I will let you know.
I captured many photos from my seat situated in the “C” row when I was going to Poland on 21st May. It was the time when I started to test my brand new camera Nikon D5300. I couldn’t enjoy full-size landscape photos right straight from the plane so I did a dozen or so images from the middle of the plane. The inner rows give you another possibility. You can try to cover the landscape simultaneously from both sites. The opposite window to your row is maybe the twice times further window on your site (Pic.1).
It wouldn’t be really possible to cover the outside area with the normal lens, because of the distance between the window and your seat and also because of the very narrow viewshed across the window. It’s hard to set a proper focus too, especially when the glasses in the window are dirty. I used a higher lens rather than the default (18mm). Basically, each of my photos has been done with a 55mm lens. Thanks to this I received quite a big view from outside the plane and I could set the focus easily.
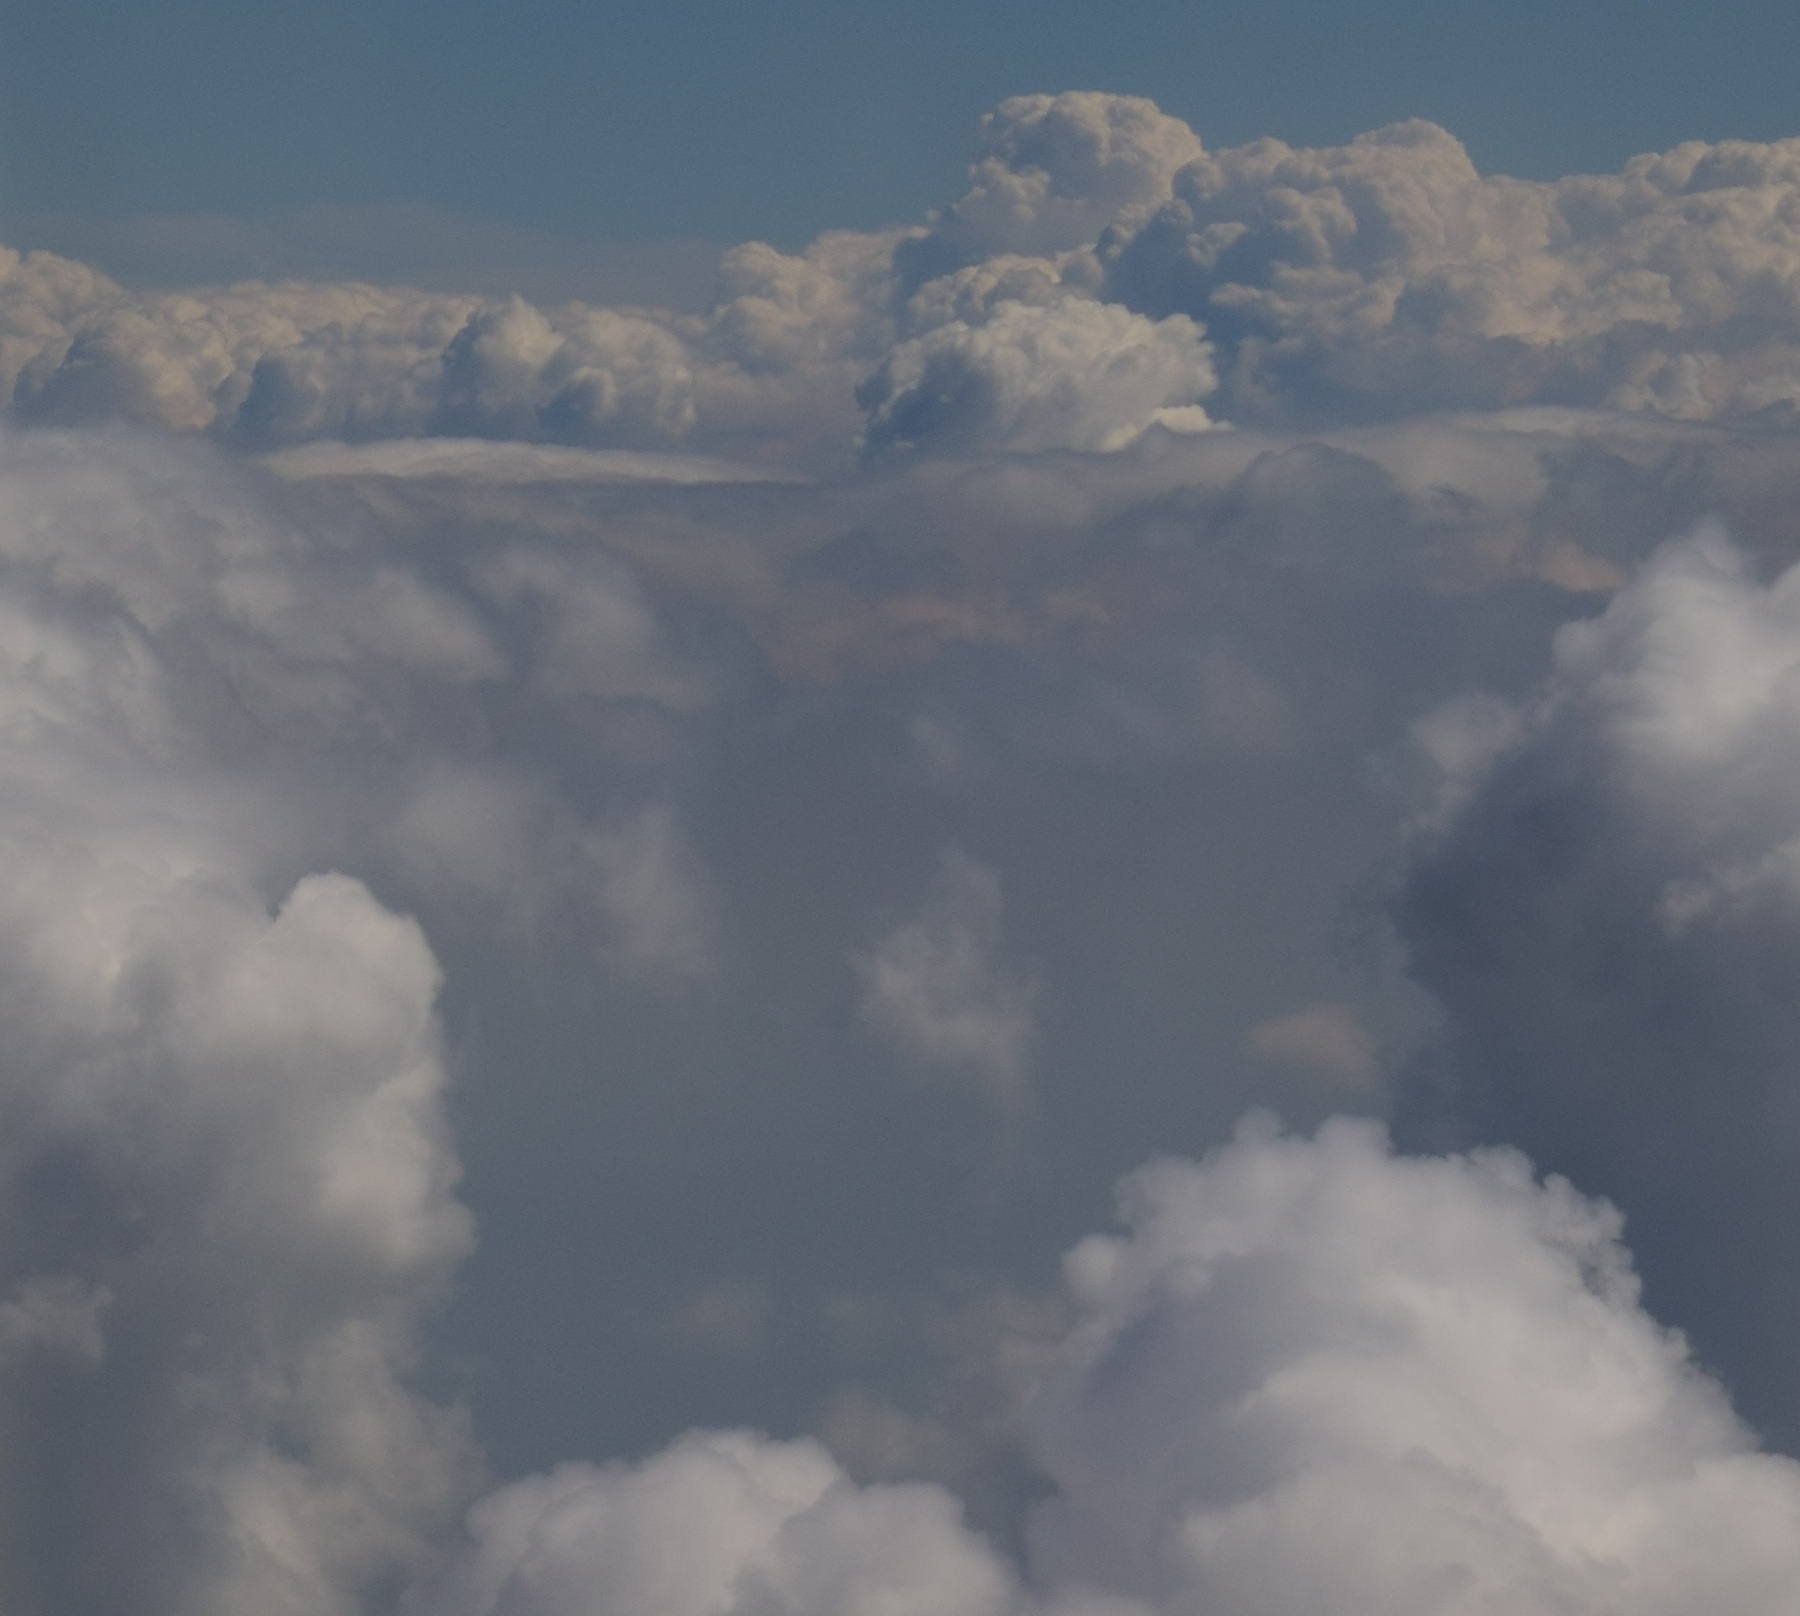
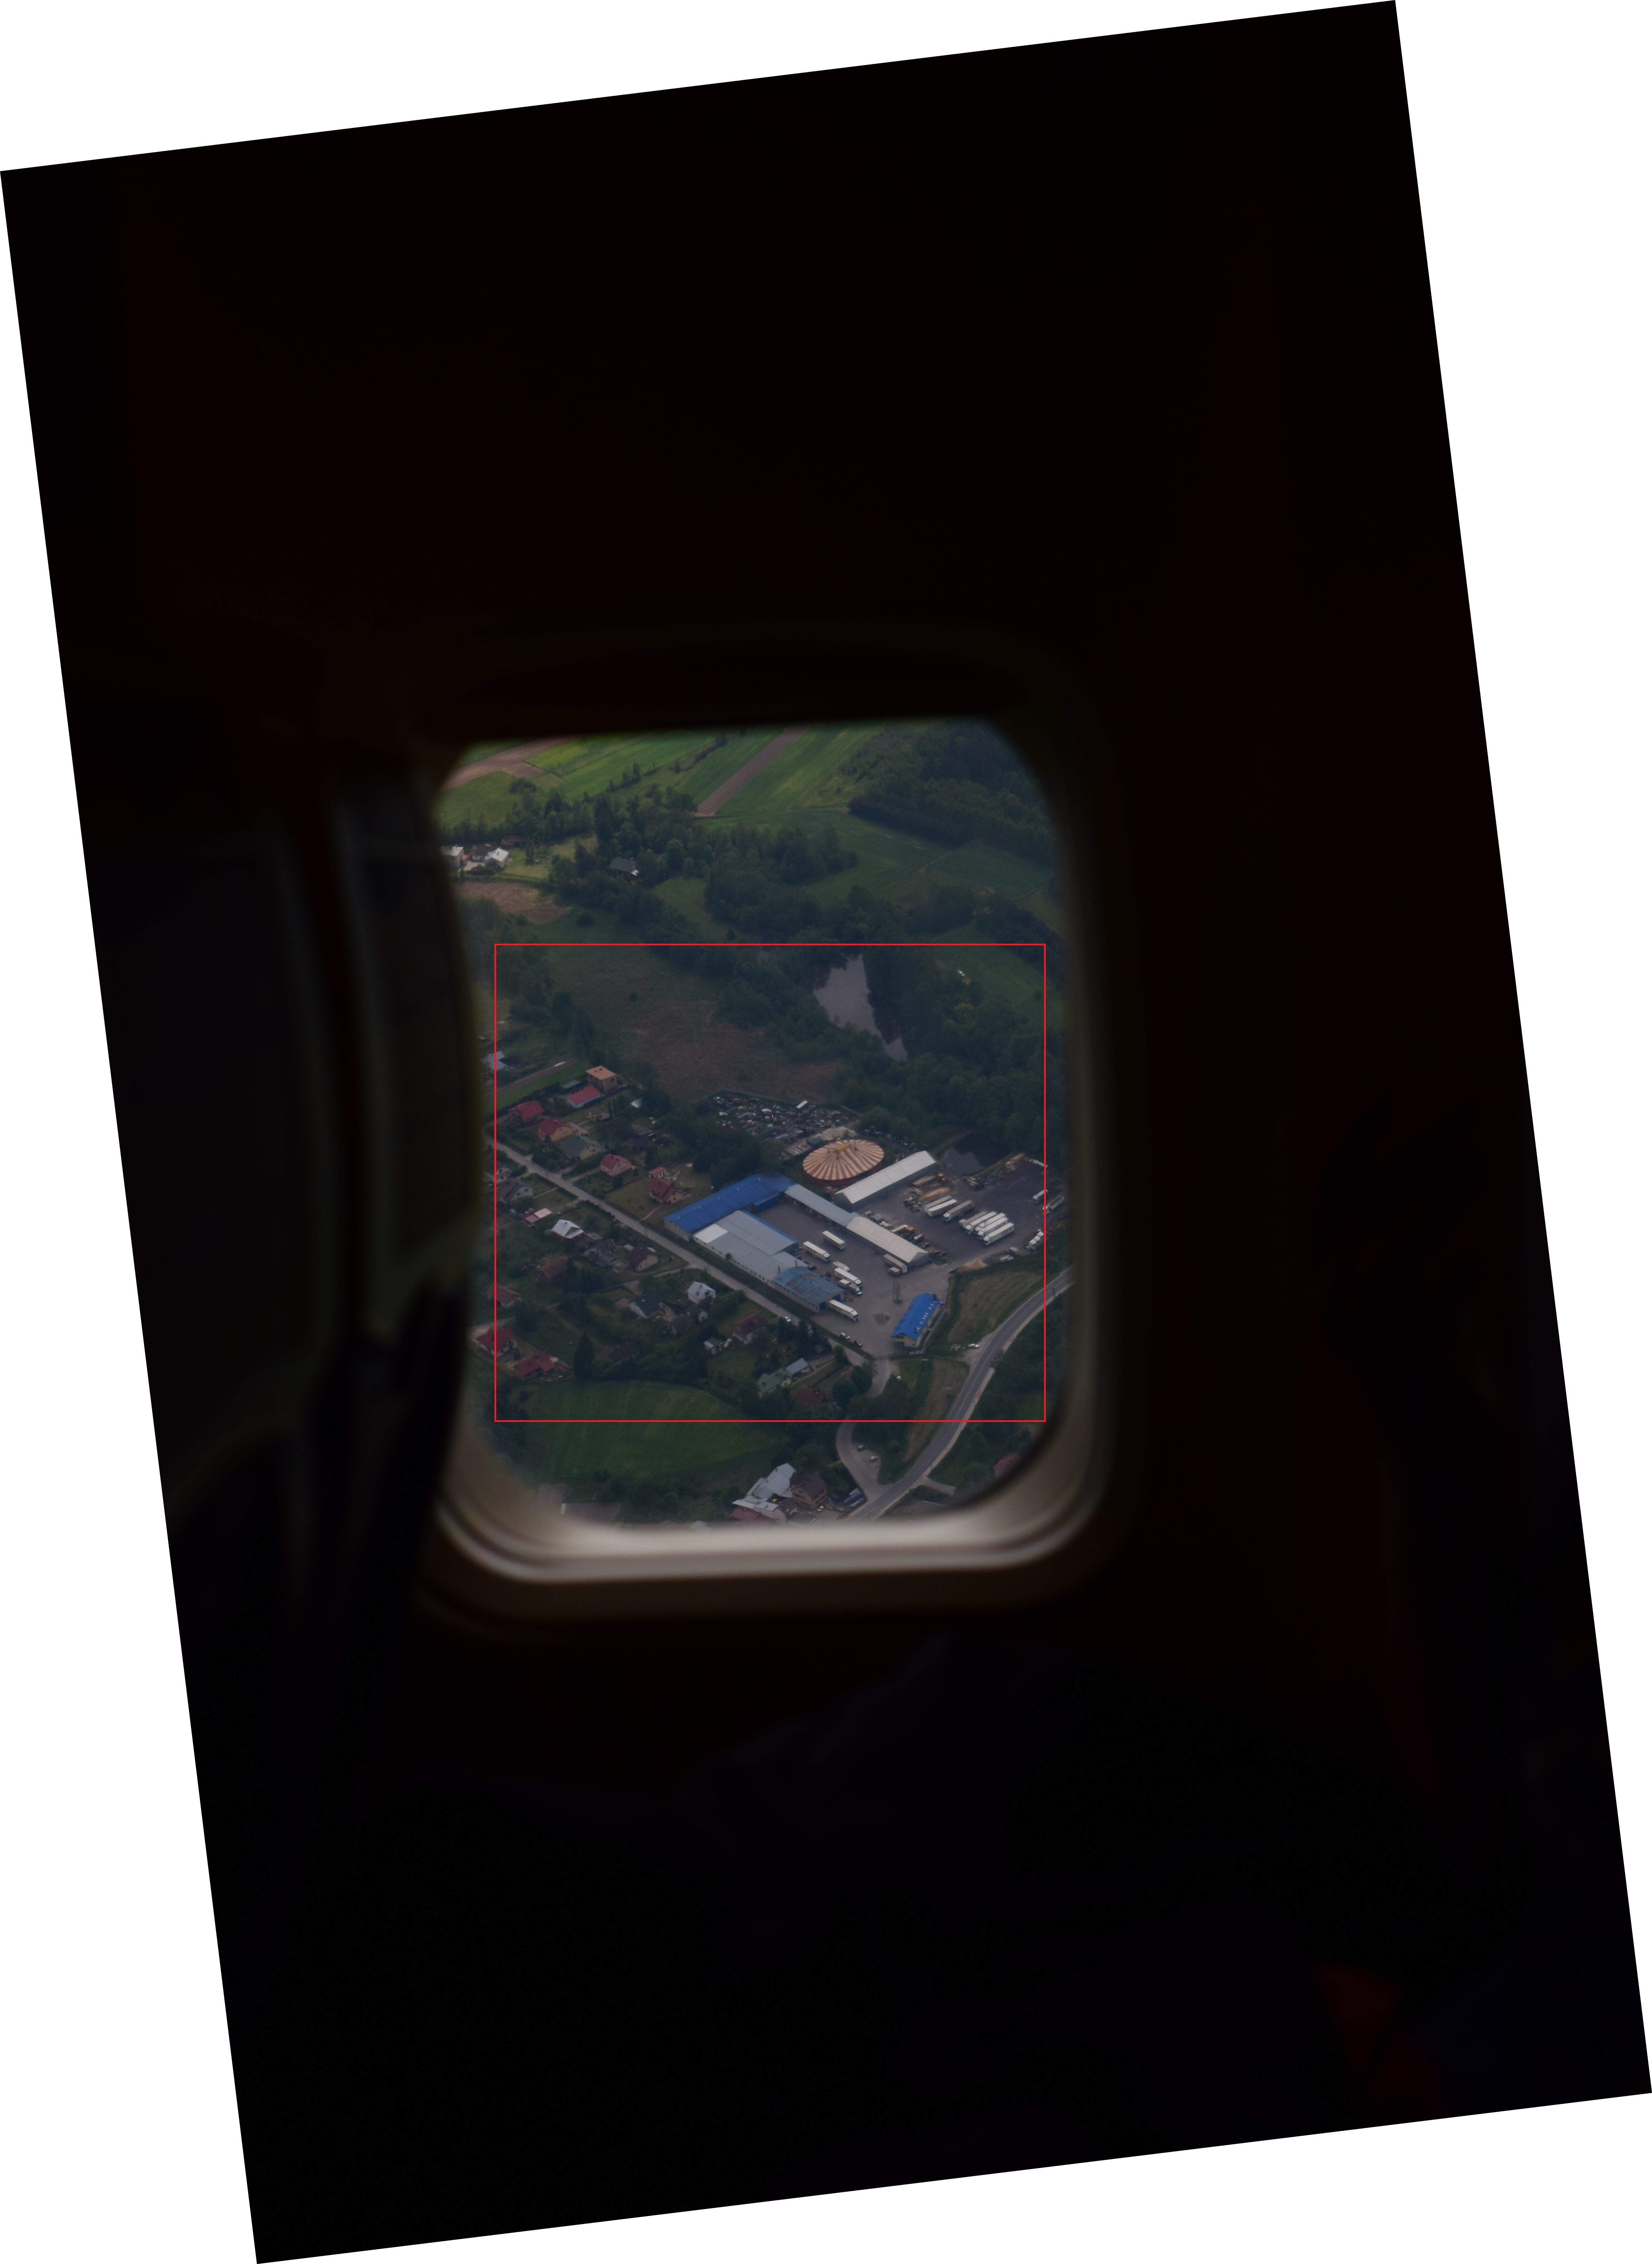
The simple photo is not everything, as I wrote above. In each case, you need to crop your image until you receive landscape only (Pic.3,4).


Once you are editing an image pay attention to distortions on the window edges (Pic.5).
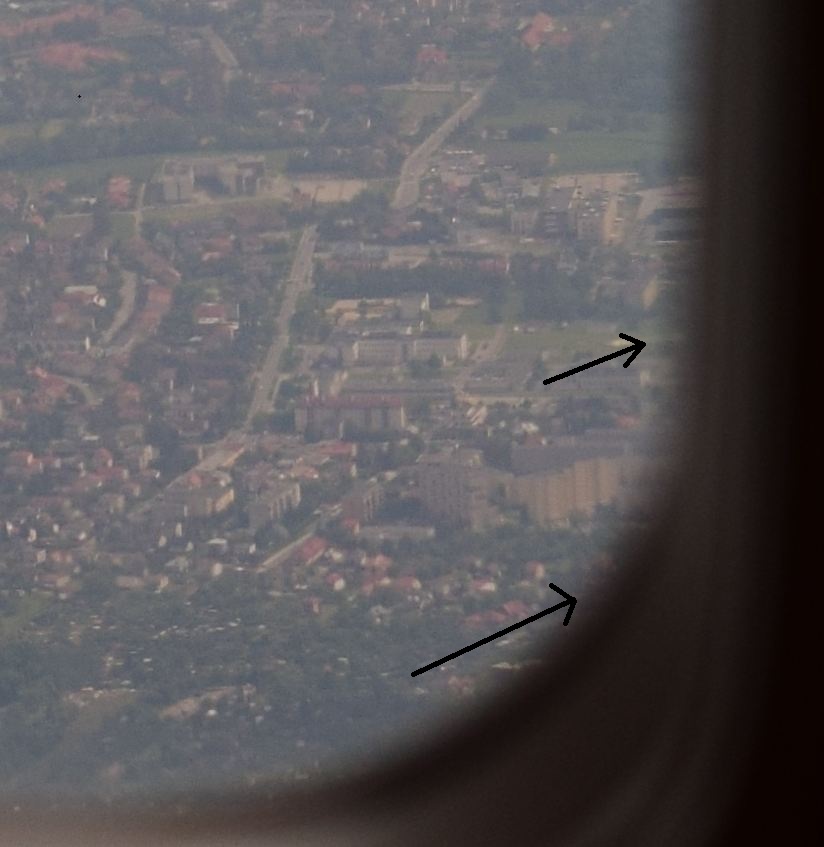
Unfortunately, you can do usually nothing with dirty glasses. You need to adjust your focus to an outside view to make your photo as clear as possible.
Some photos, which have been done especially during the start and landing of the plane need to be rotated. This is another part of the edition, which is good to do just at the beginning.
See a dozen or so examples below. I am showing 2 photos of the same moment. The first one is a full-size photo. The next one is the estimated output of my exercise, the cropped photo in landscape view only.



Mariusz Krukar







When we sit next at the window seat, we also take lots of photos. Its harder to do when in the middle or aisle seat we agree, though the tips are very useful.
One technique we use is to place the lense against the window, focus and shoot.
That works only if the view in the direction you want, but this can be done with a slight angle too.