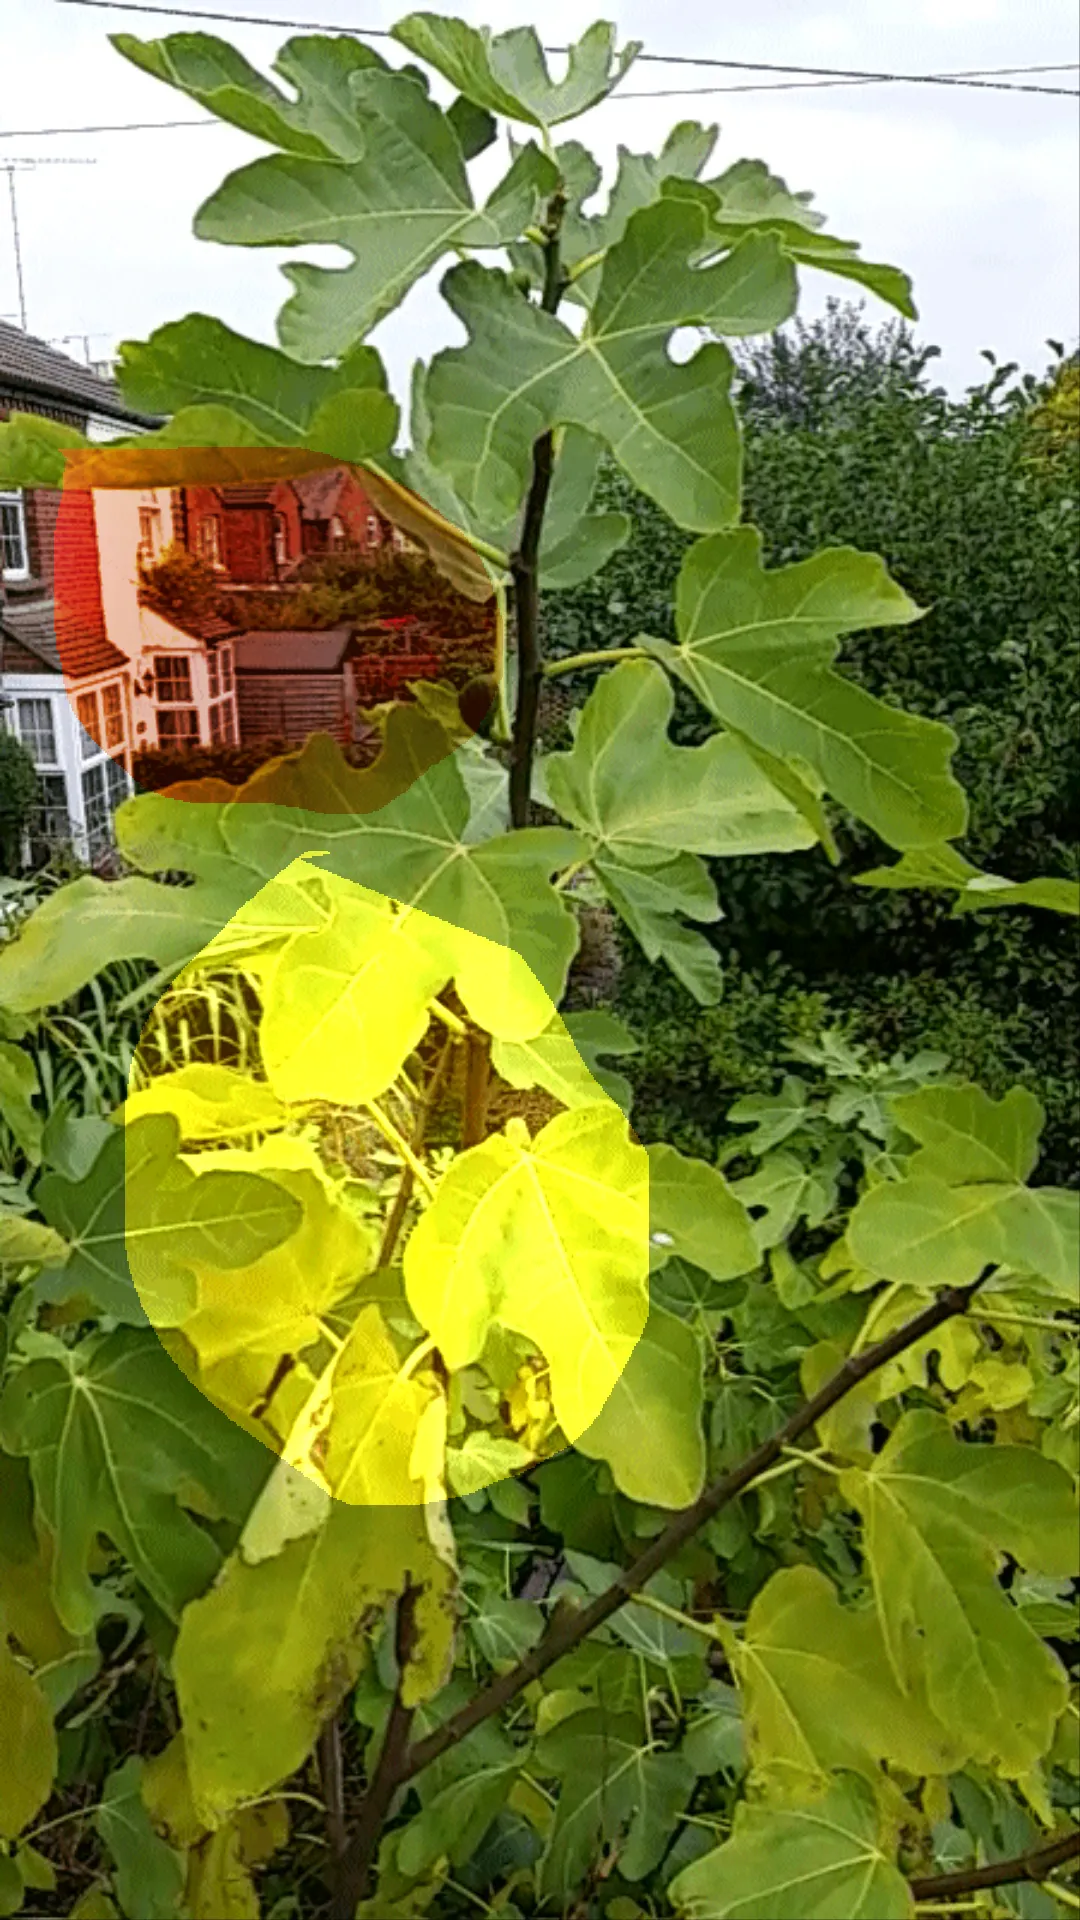
The Samsung Galaxy S5 photo image retouch & summary
In this article about the photography in Samsung Galaxy S5, I would like to show the process of photo image retouch. If somebody missed my previous articles about this or would like to learn more I have the links below about:
Each photo, which has been taken by the Galaxy S5 you can retouch. The process is analogical to the photo image retouching in the Nikon D5300, which I described a couple months before.
I divided this issue into a couple parts, which I described shortly below.
- The picture edition
a) Adjustment
The adjustment option allows you to rotate, crop, and resize your photo (Pic.1). The most interesting within the rotate option is a mirror view, which you may receive for half of your photo (Pic.2,3).
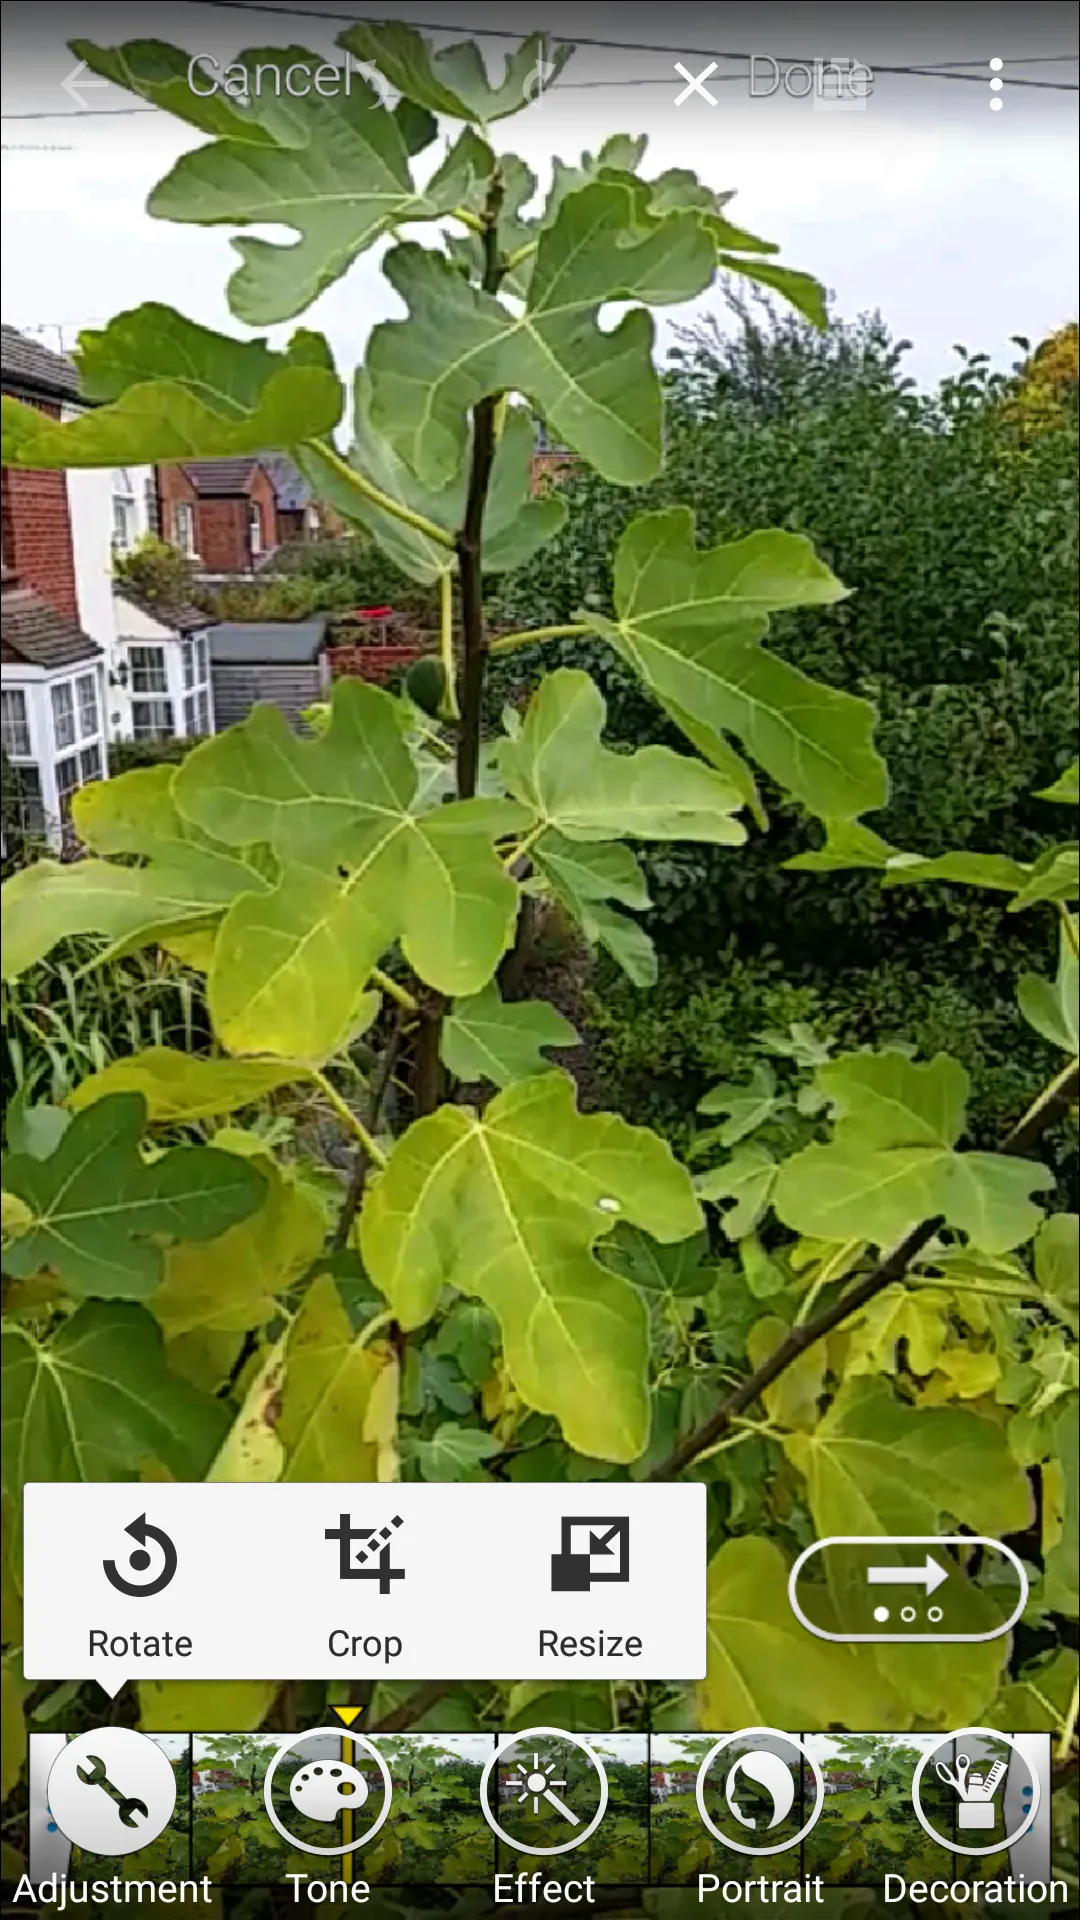
Pic. 1 The picture adjustment options.
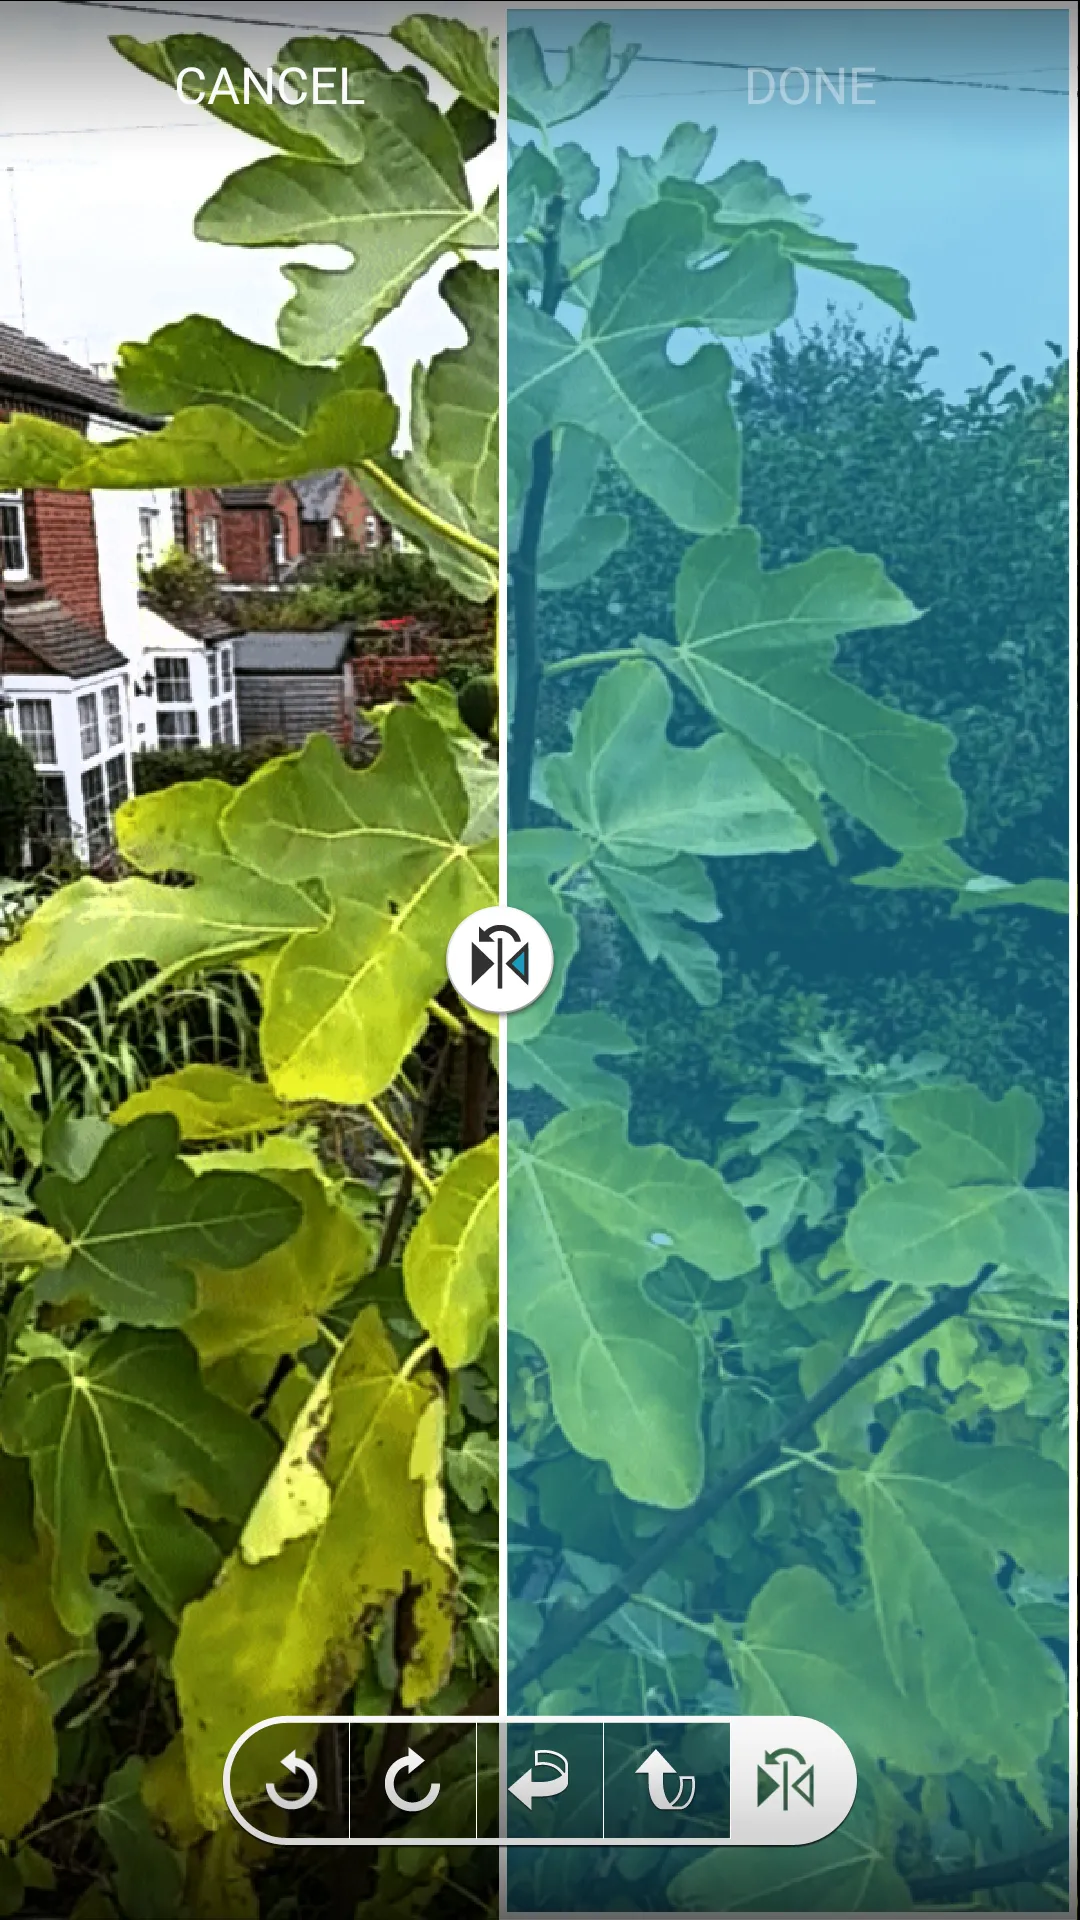
Pic. 2 The Mirror view option preparation.
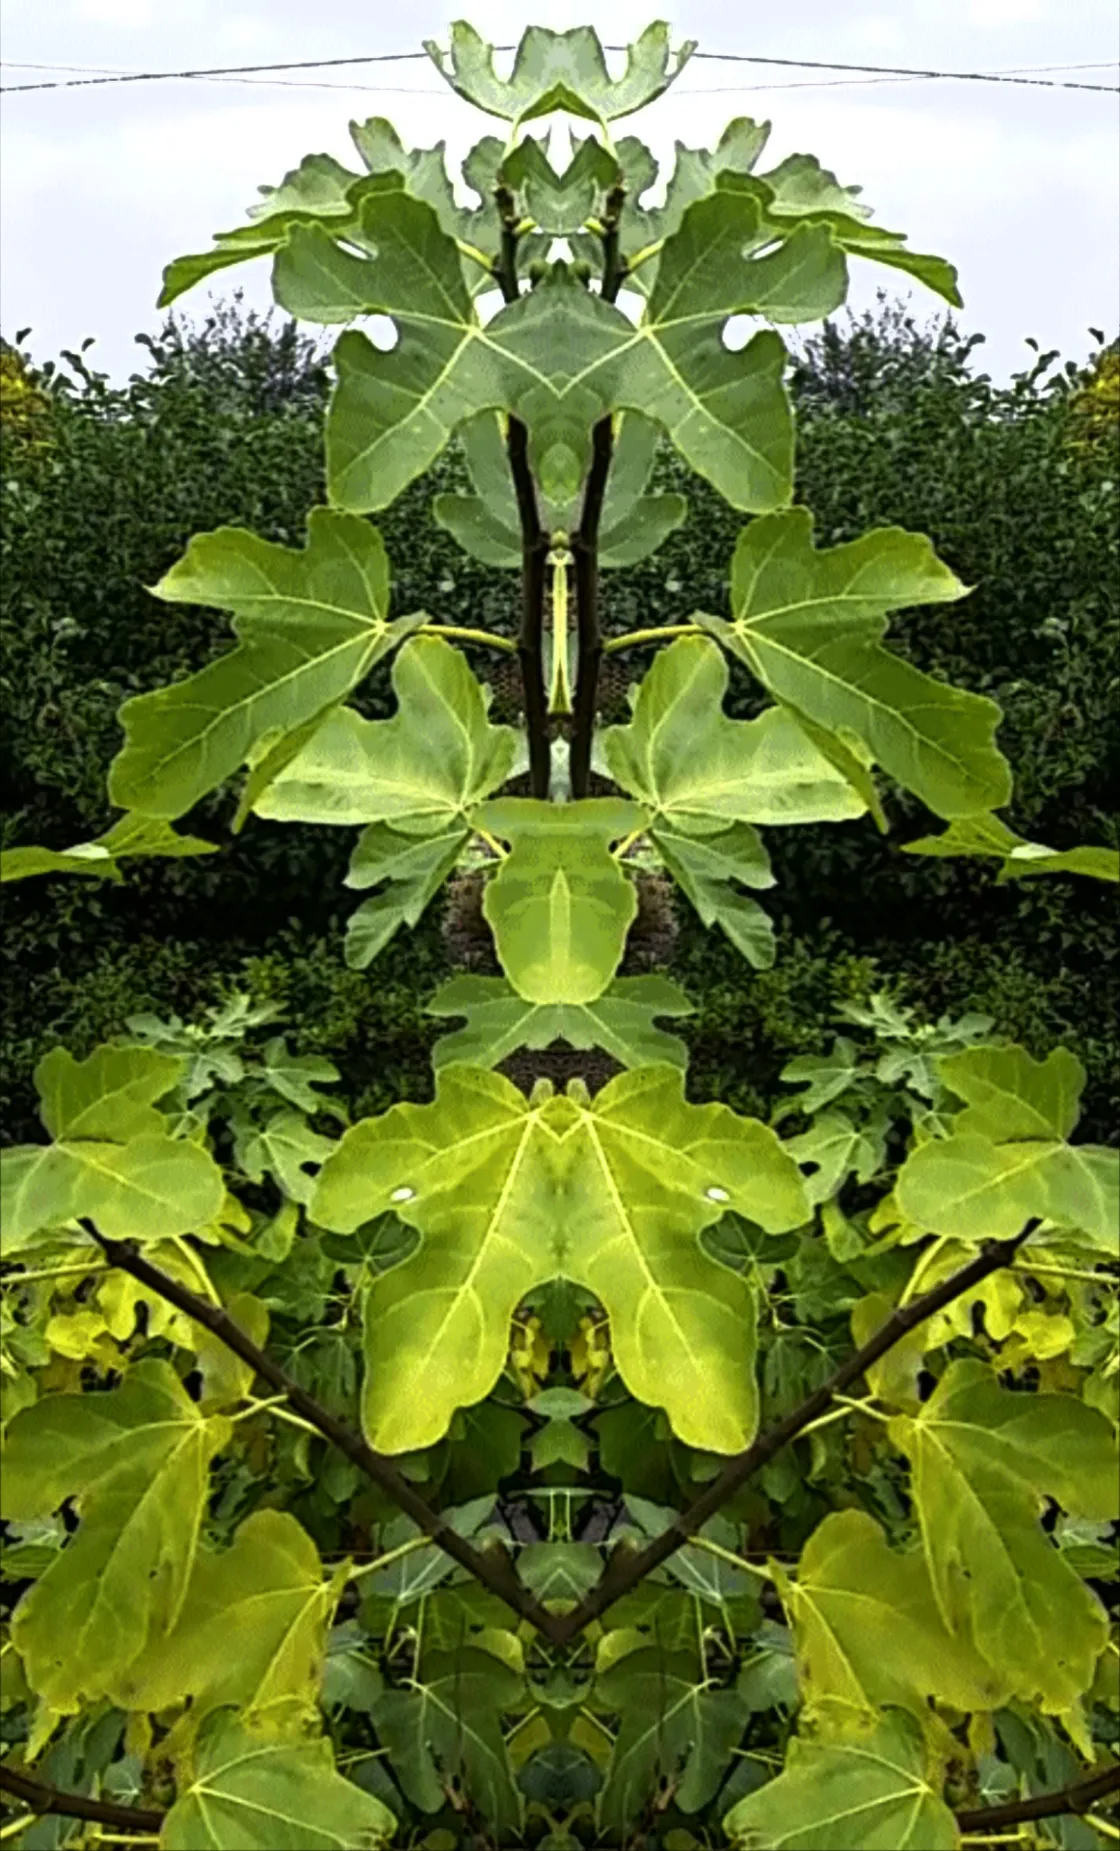
Pic. 3 The Mirror view, which divides your photo into two parts.
In the next picture below you can see the simple way to crop your picture (Pic.4). Those of the operations you may do in some graphic programs also.
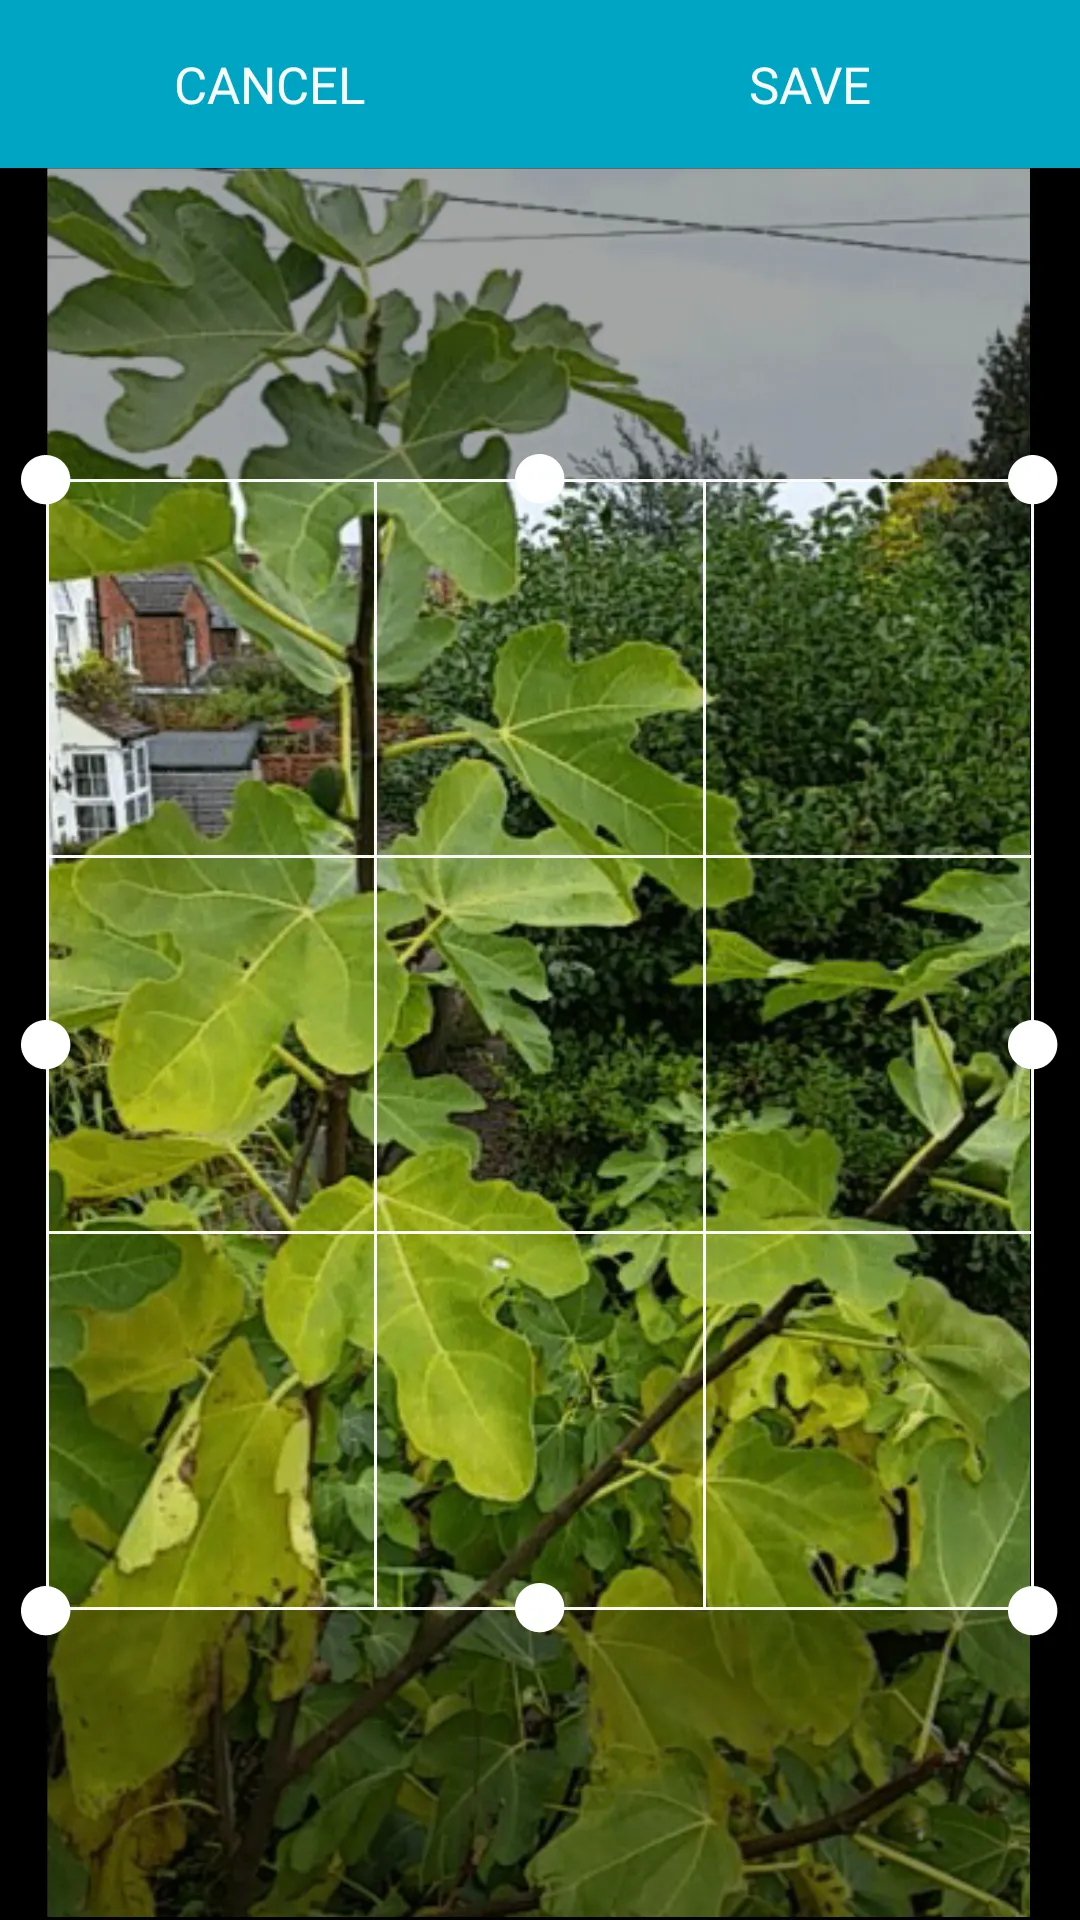
Pic. 4 The “Crop” (the picture) option.
b) Tone
You can use this option when you want to enhance some colors in your picture or make slight changes in contrast and saturation. (Pic.5)
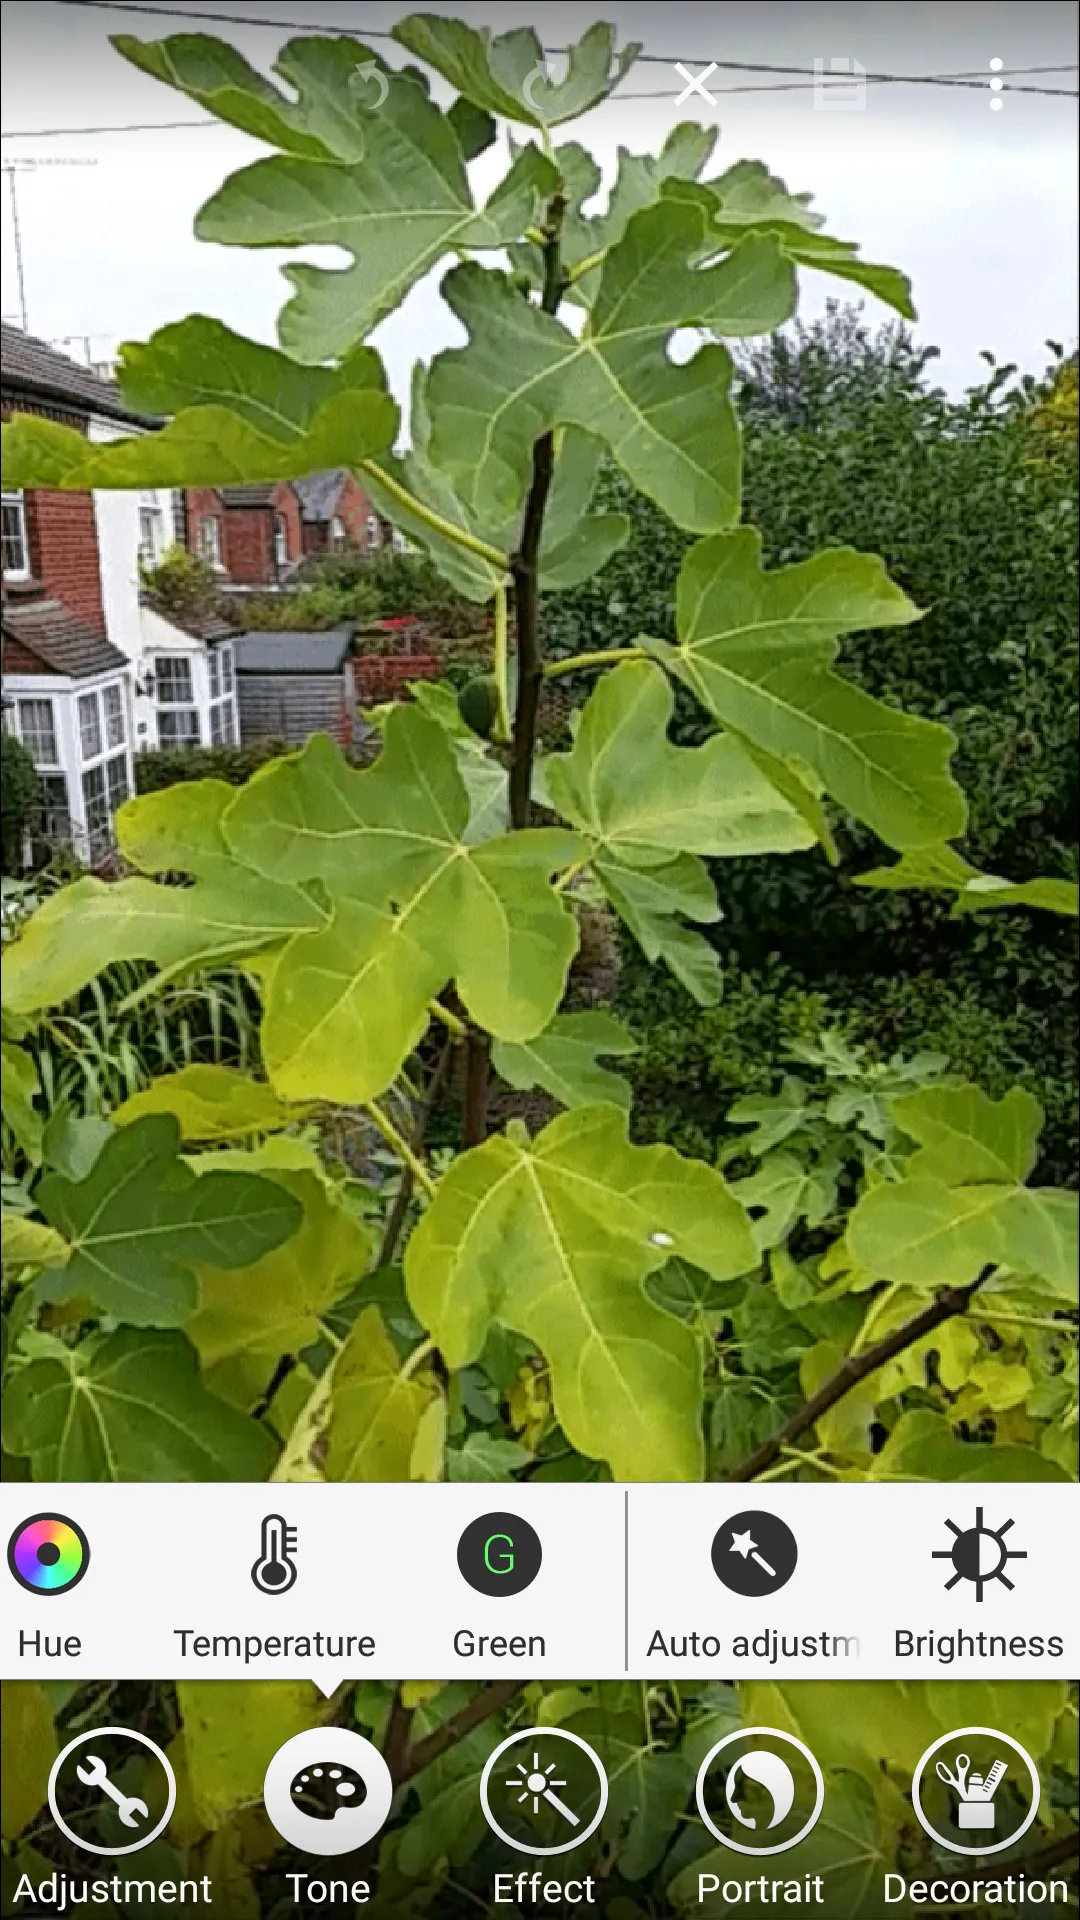
Pic. 5 The tone options.
c) Effects
There are 25 effects, which you can apply to your basic photo (Pic.6), and obviously, it will change your image in very interesting ways (Pic.7-15). The most important thing is, that if you want to set one certain effect only you always need to start from the basic photo (Pic.16). Otherwise, your photo will be modified by other effects, which you used prior to the current one.
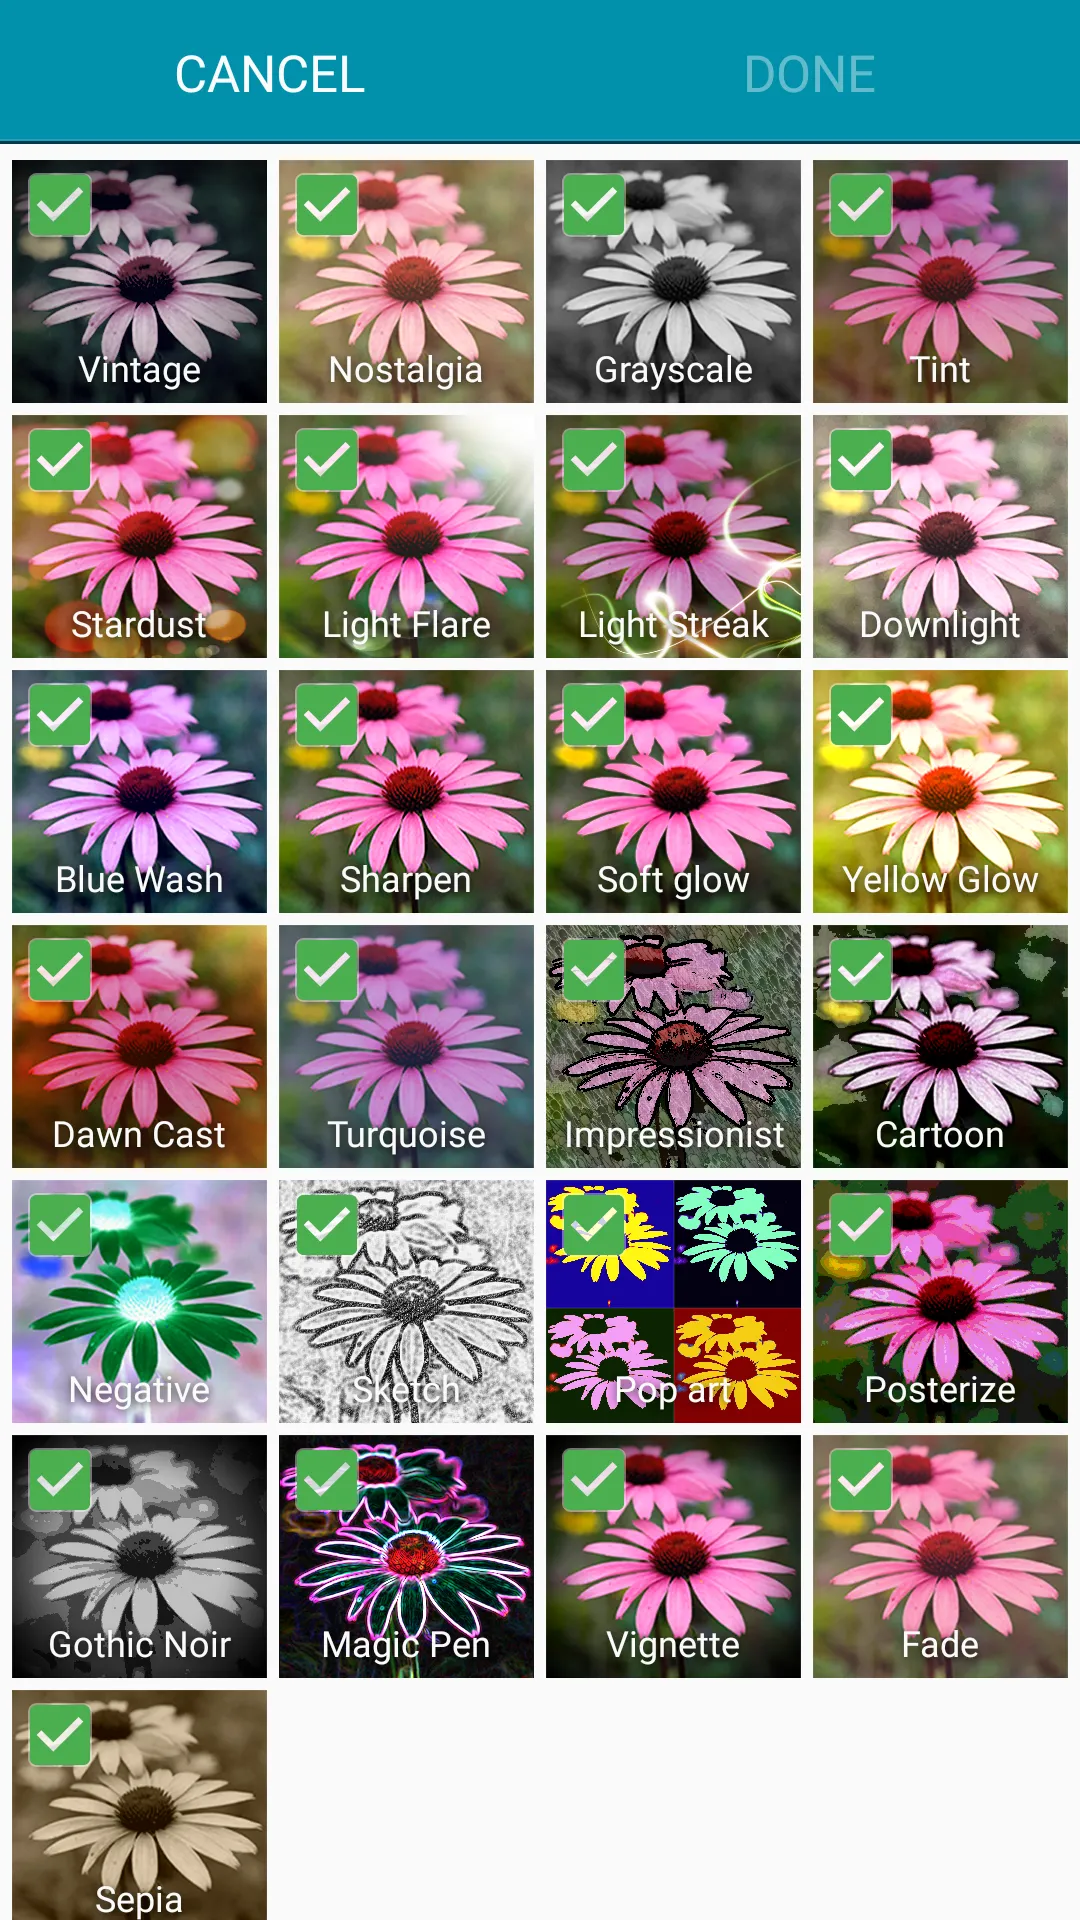
Pic. 6 25 picture effects in the Galaxy S5.
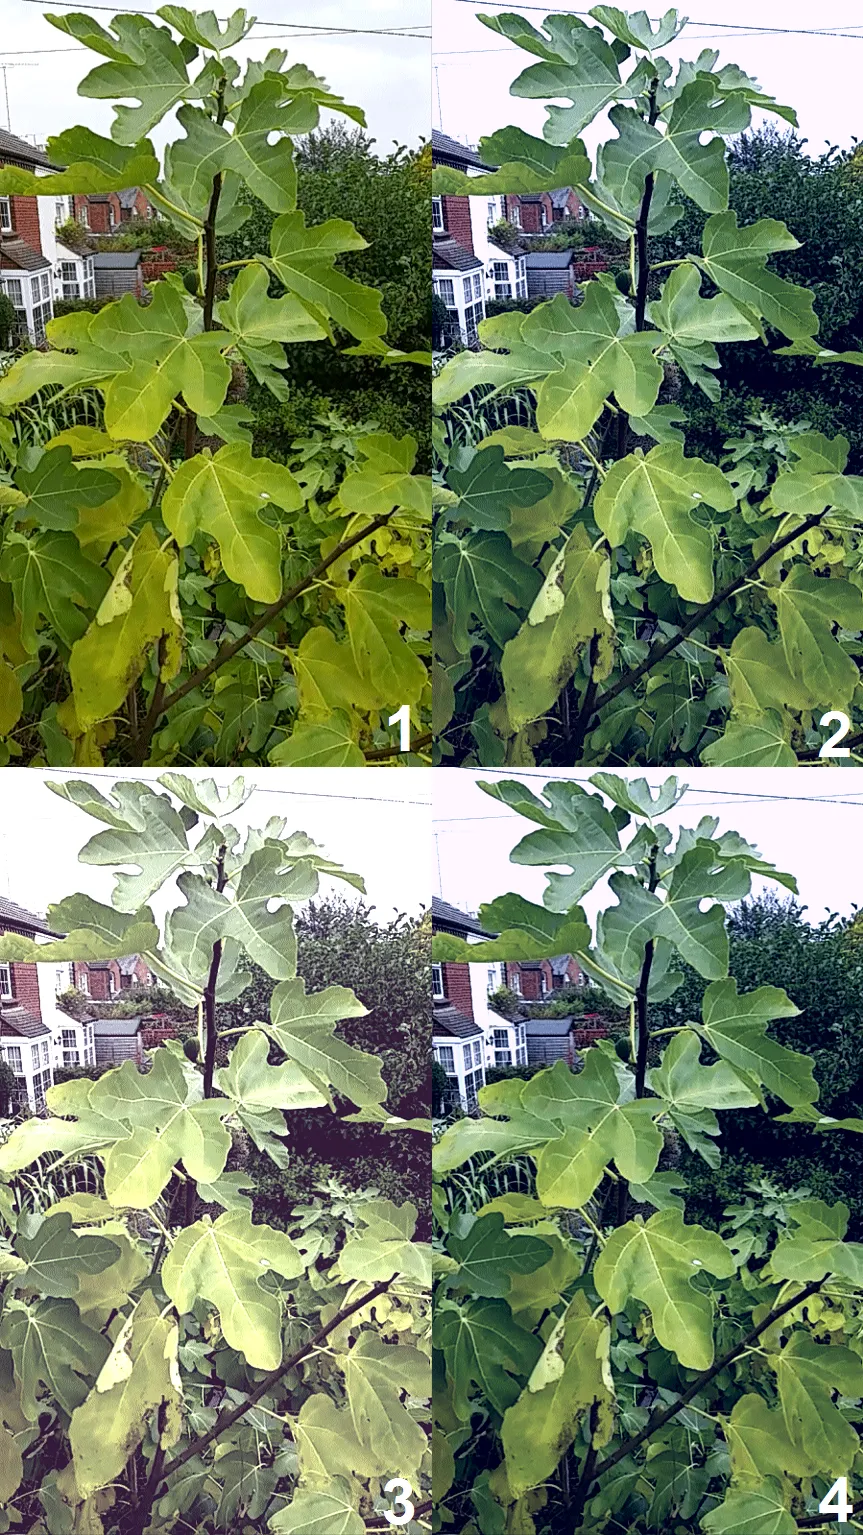
Pic. 7 The Galaxy S5 picture effects: 1 – basic photo, 2 – Vintage, 3 – Nostalgia, 4 – Blue Wash.
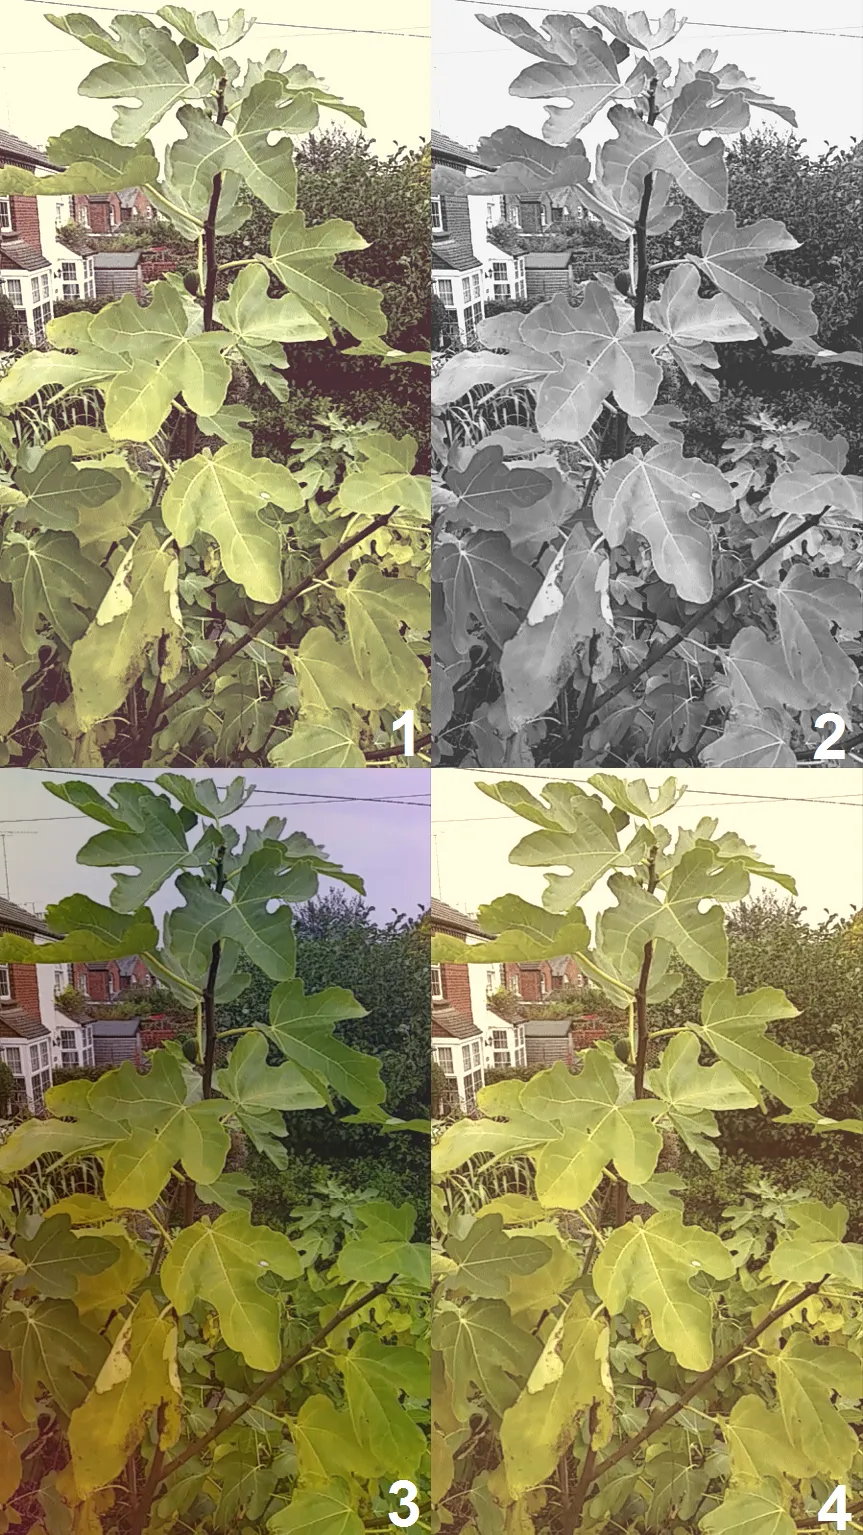
Pic. 8 The Galaxy S5 picture effects: 1 – Nostalgia, 2 – Greyscale, 3 – Tint, 4 – Stardust.
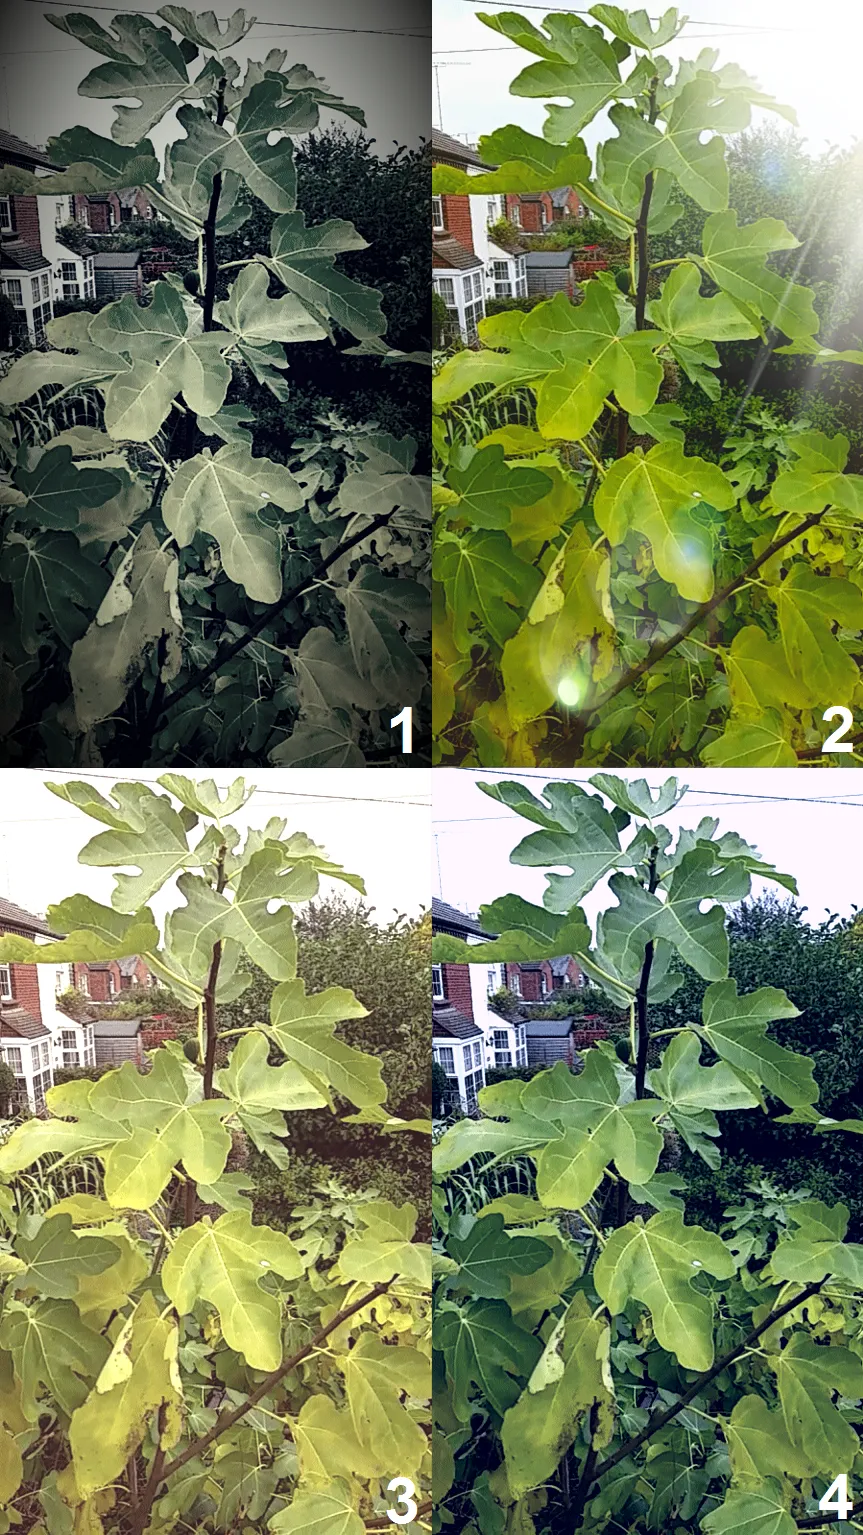
Pic. 9 The Galaxy S5 picture effects: 1 – Vintage, 2 – Lightflare, 3 – Downlight, 4 – Blue Wash.
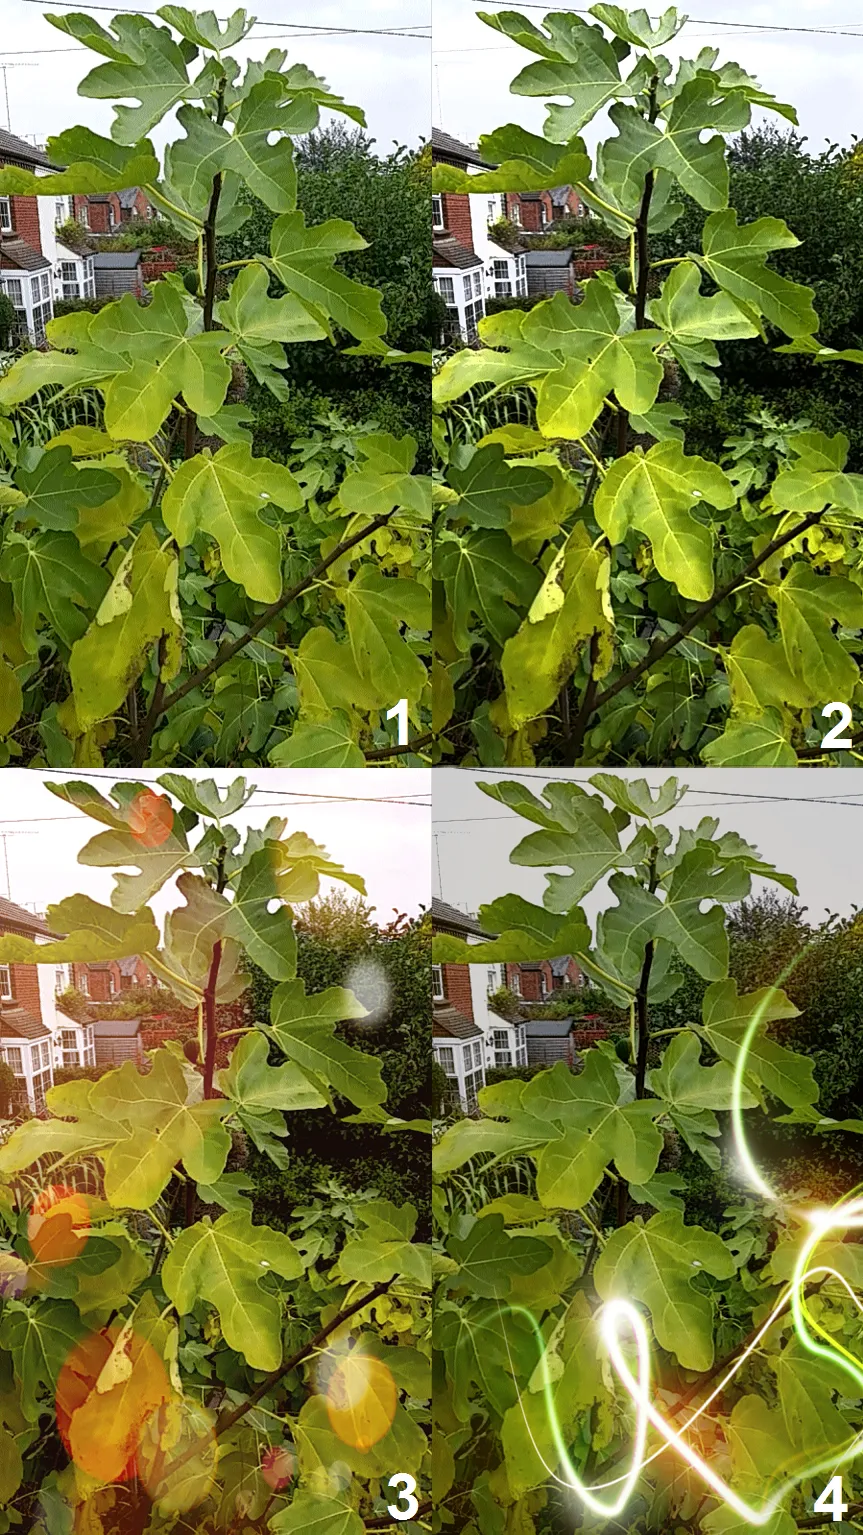
Pic. 11 The Galaxy S5 picture effects: 1 – Basic photo, 2 – Soft Glow, 3 – Light Flare, 4 – Light Streak
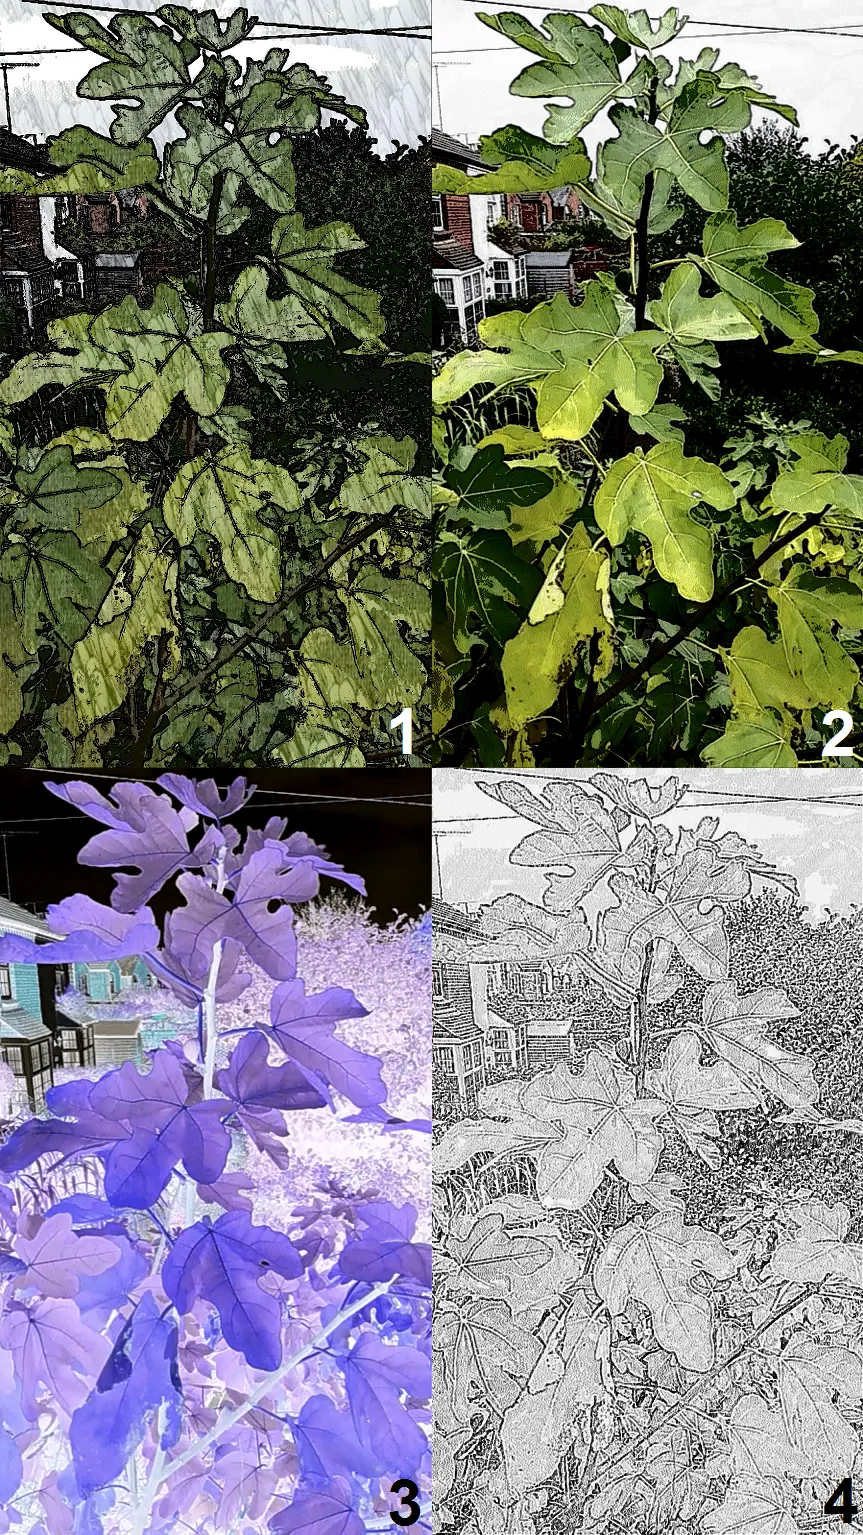
Pic. 12 The Galaxy S5 picture effects: 1 – Impressions, 2 – Cartoon, 3 – Negative, 4 – Sketch.
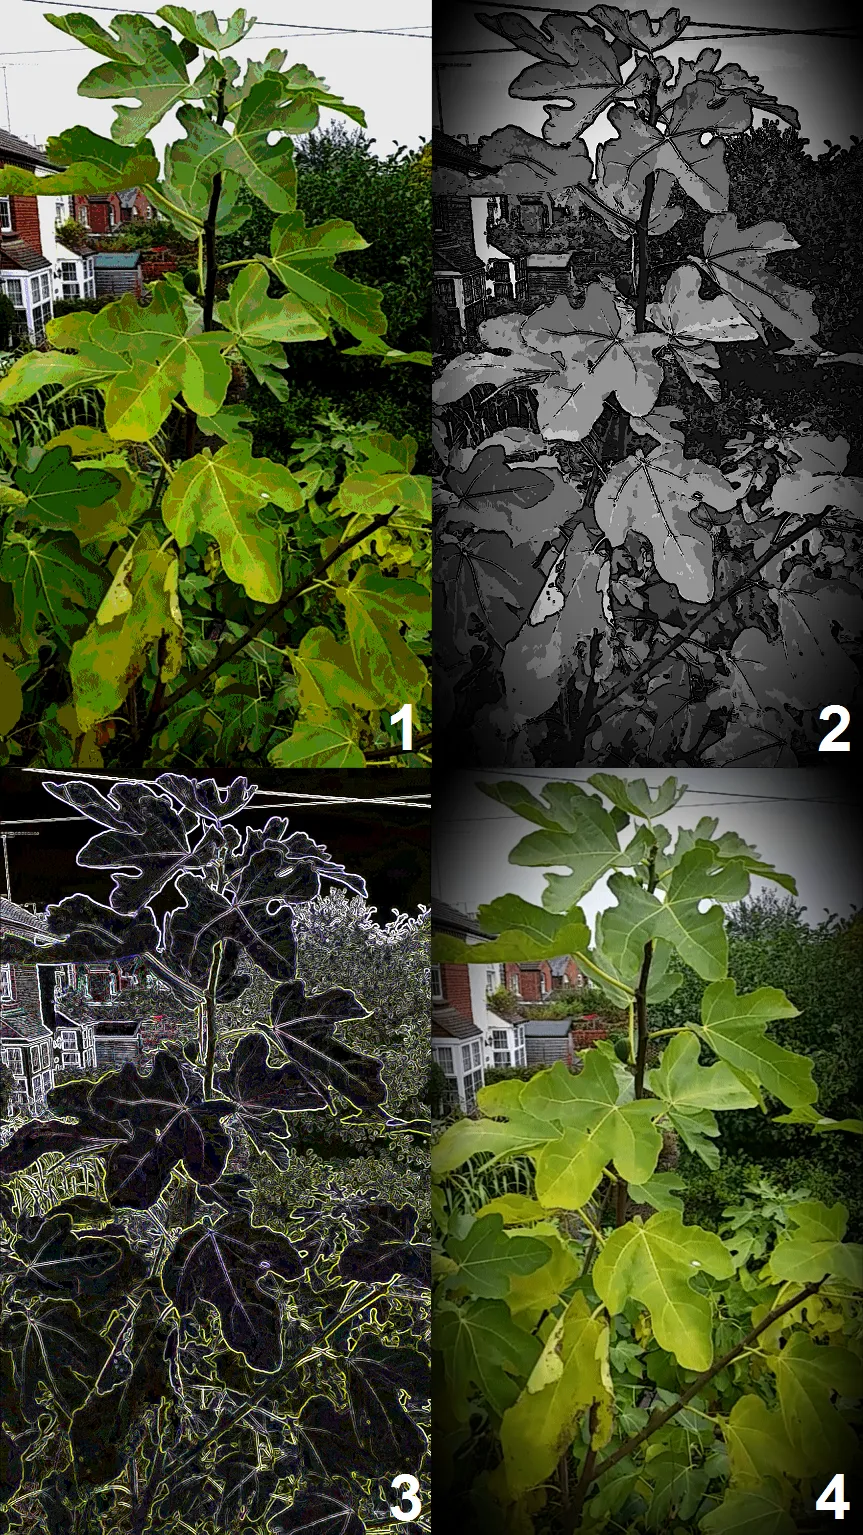
Pic. 13 The Galaxy S5 picture effects: 1 – Posterize, 2 – Gothic Noir, 3 – Magic Pent, 4 – Vignette

Pic. 14 The Galaxy S5 picture effects: 1 – Fade, 2 – Sepia.
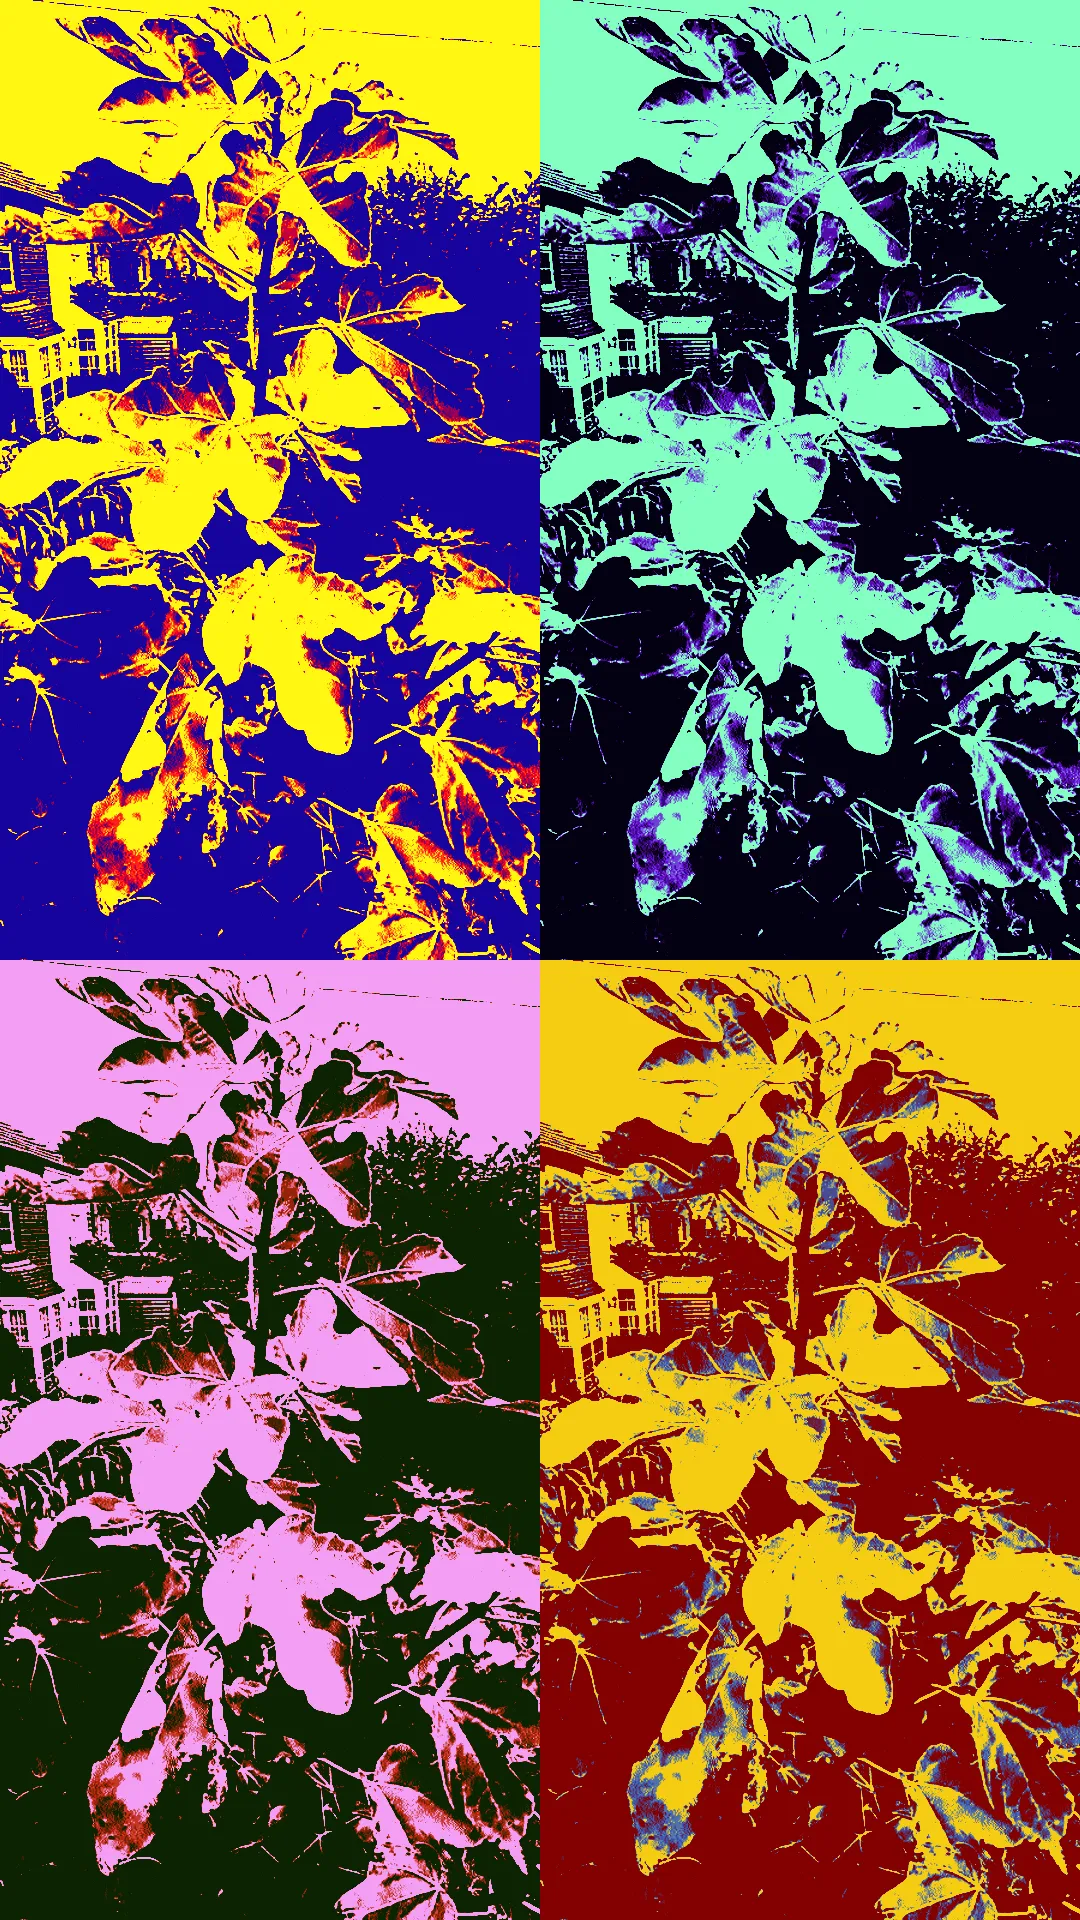
Pic. 15 The Galaxy S5 picture effects: The pop art option.
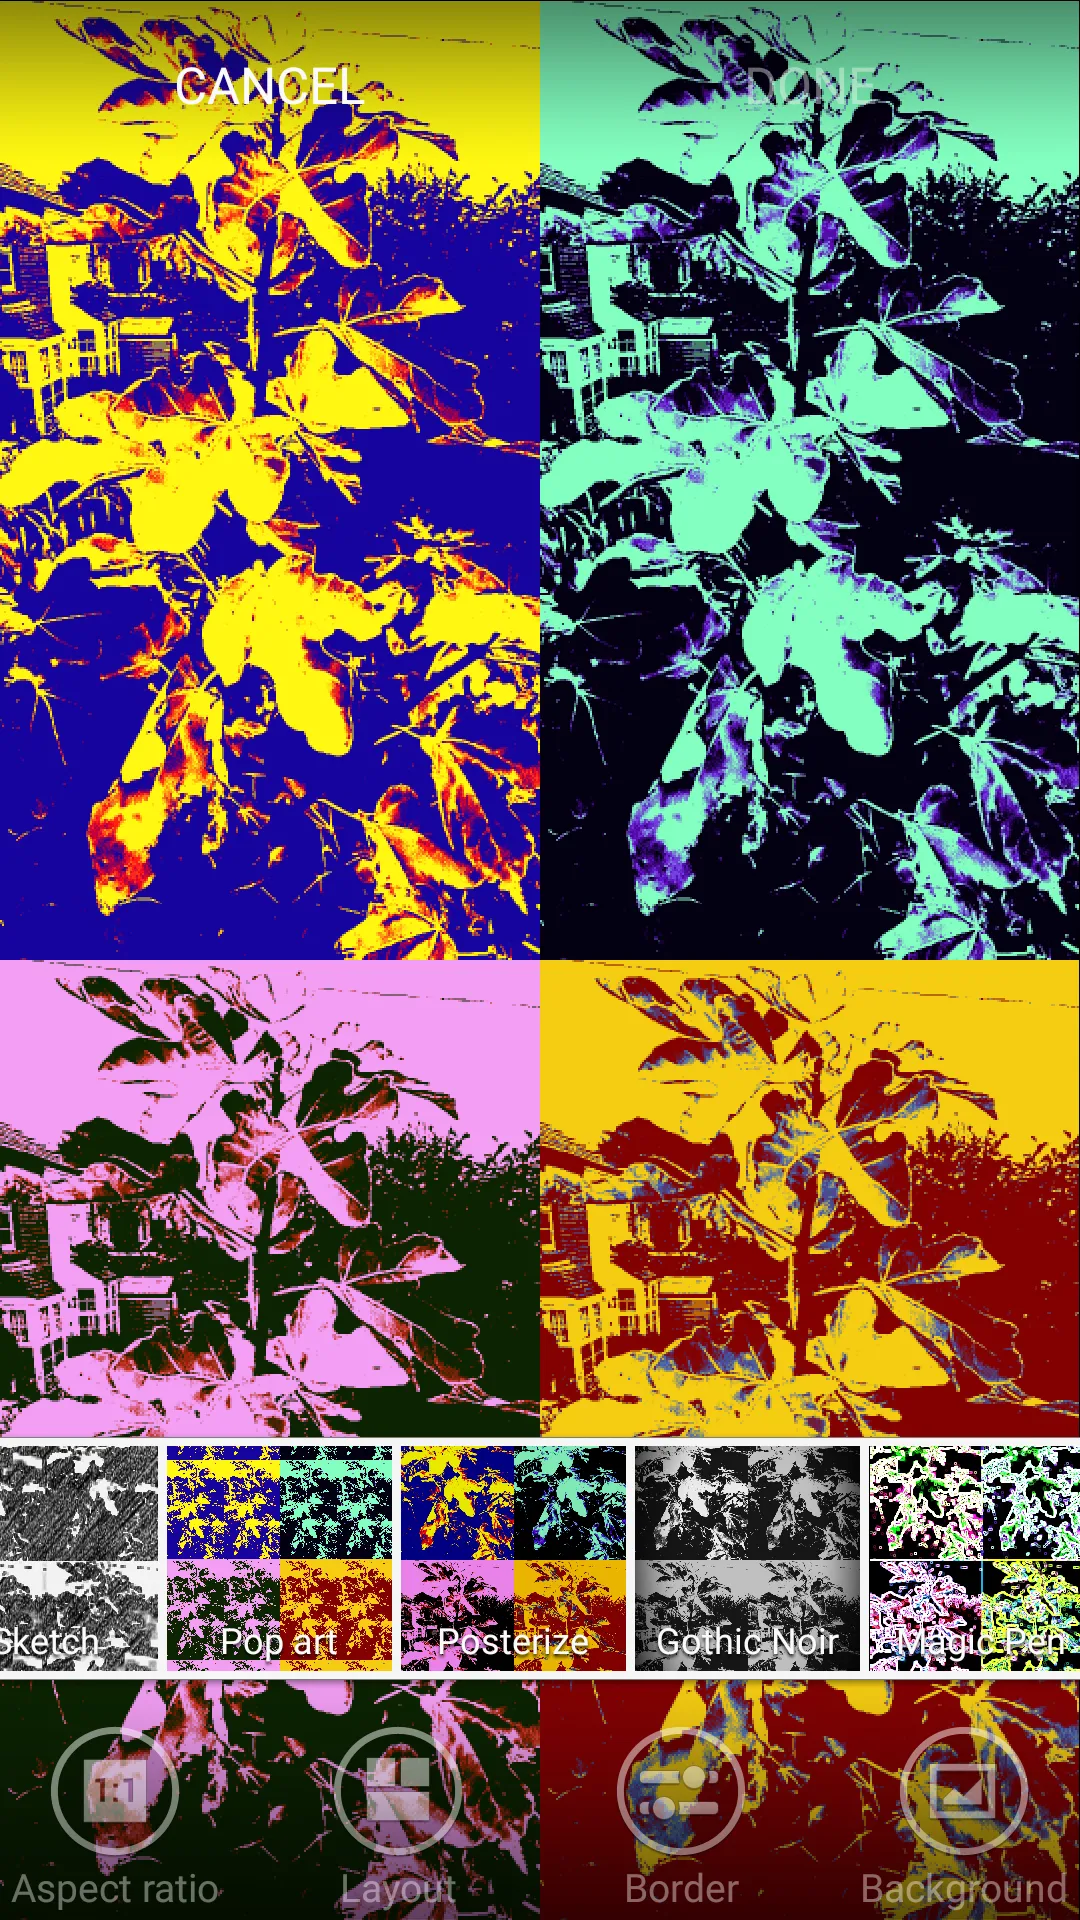
Pic. 16 Using picture effects for an earlier modified photo by previous picture effect, e.g. the Pop art.
Besides remember, that you have also an opportunity to mark some parts of the image only by your effect, which you have chosen. You need beforehand to mark the shape of part of the image, which you would like to change. It is possible to do this operation many times (Pic.17).
d) Portrait
A very interesting way to make your photo as best as possible refers to a couple of portrait options (Pic.18). You can erase every noisy spot, which may exist on your face. Beside other colors of your face may be enhanced like your lips or skin. To use this option you need to put your face properly, exactly in front of your rear camera.
e) Decoration
This is a very nice and sometimes funny way to upgrade your photo using so many signatures, which may be suitable for your image situation (Pic.19,20) or set your stamp, frame, and another image also (Pic.21). On top of that this option allows you to use a pencil tool and draw some random shapes or lines in your image. As an output, you may receive the image below (Pic.22).
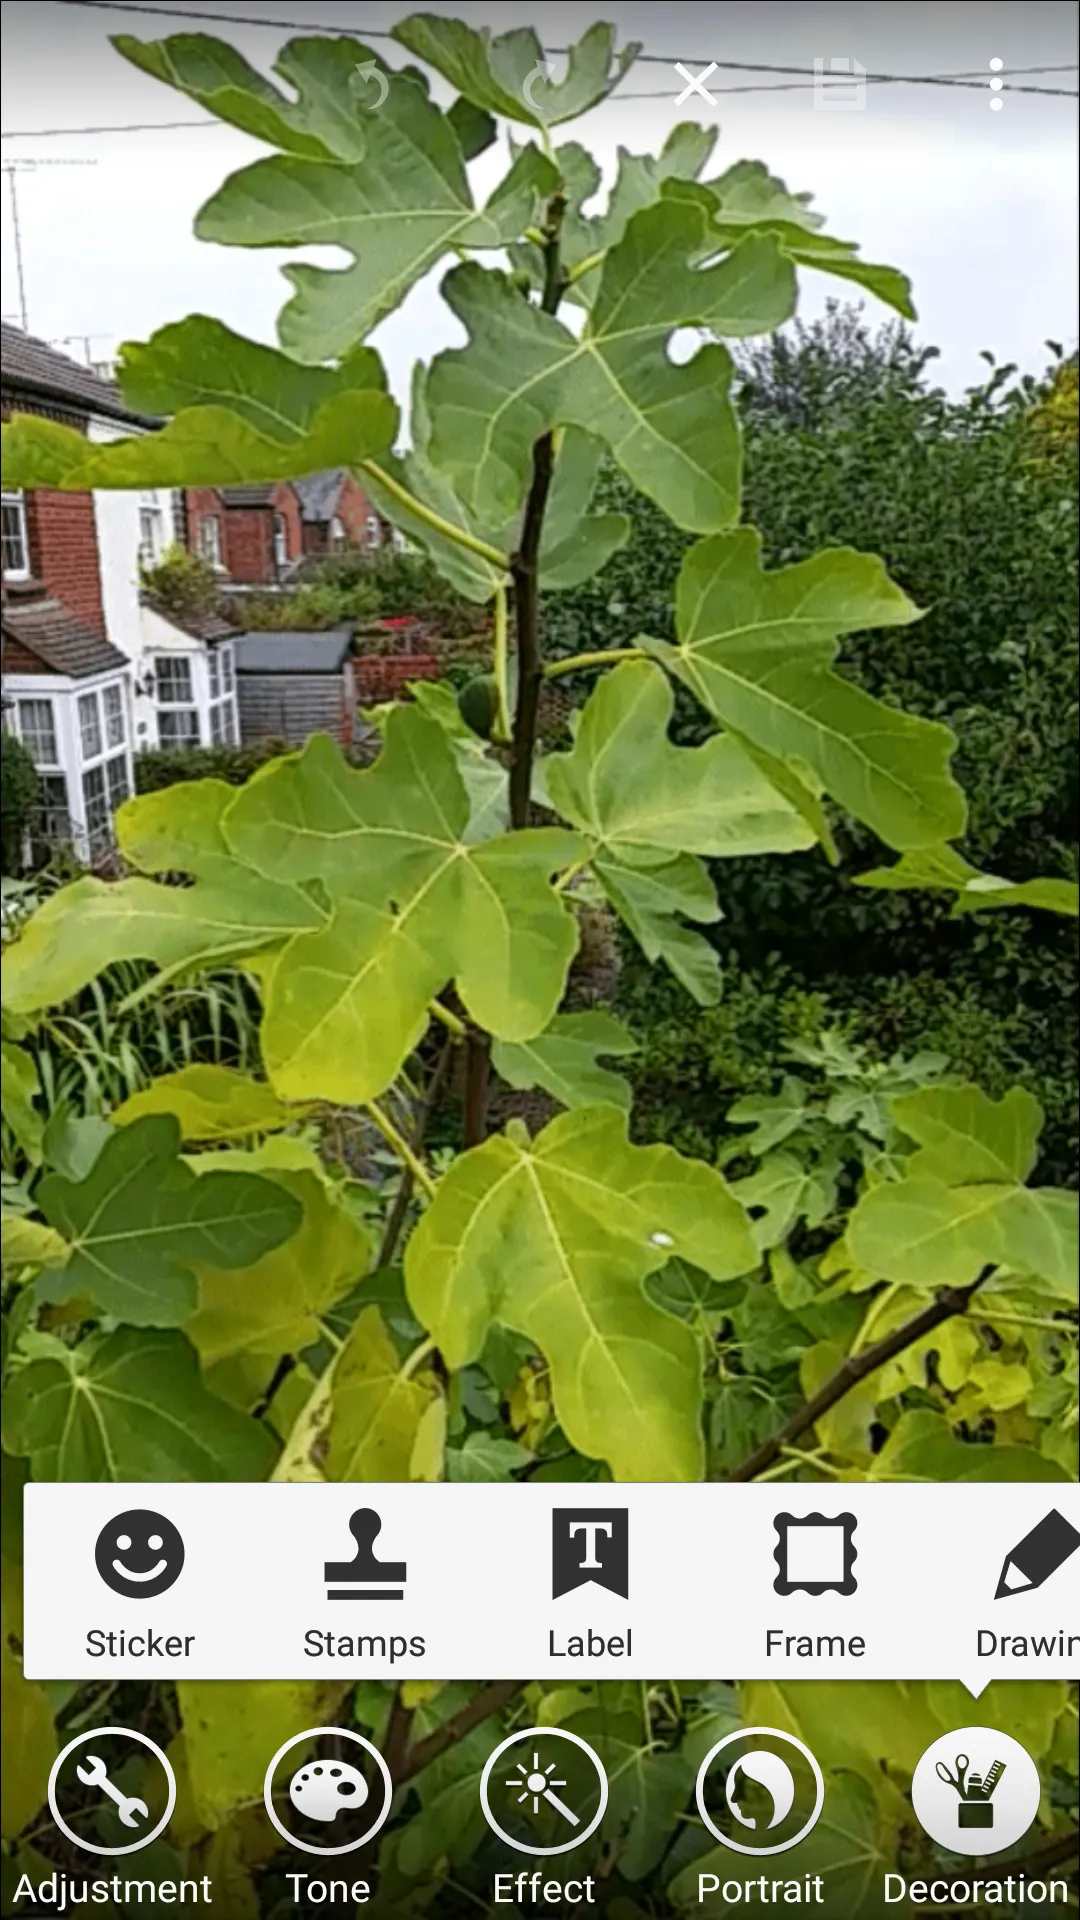
Pic. 19 The Galaxy S5 Decoration options.

Pic. 20 The Galaxy S5 decoration options (2)
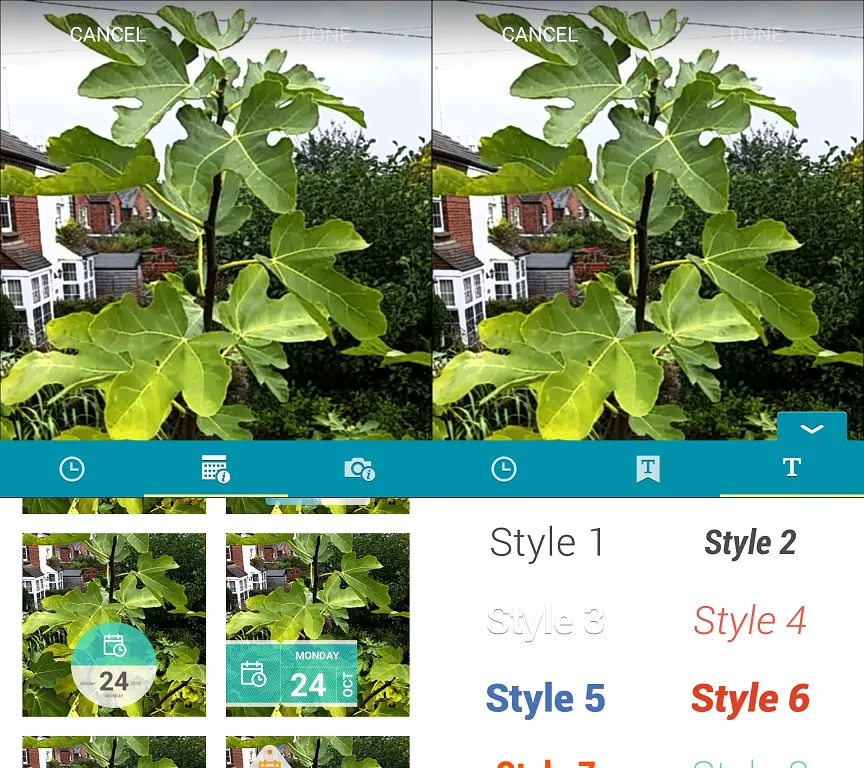
Pic. 21 The Galaxy S5 decoration options (3): stamp (left) and style (right)
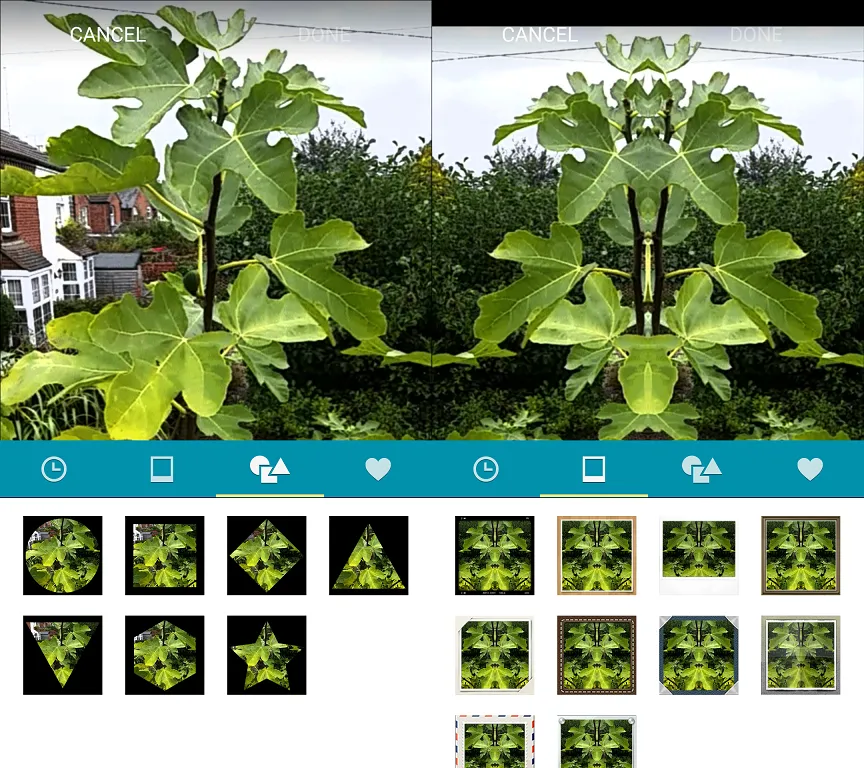
Pic.22 The Galaxy S5 decoration options (4): frames

Pic. 23 The Galaxy S5 decoration options output file example.
2. Photo details
After when you put the “More info” option you will receive some important details of your photo (Pic.24). Thanks to this you will know if you put some photo tags, locations, etc.
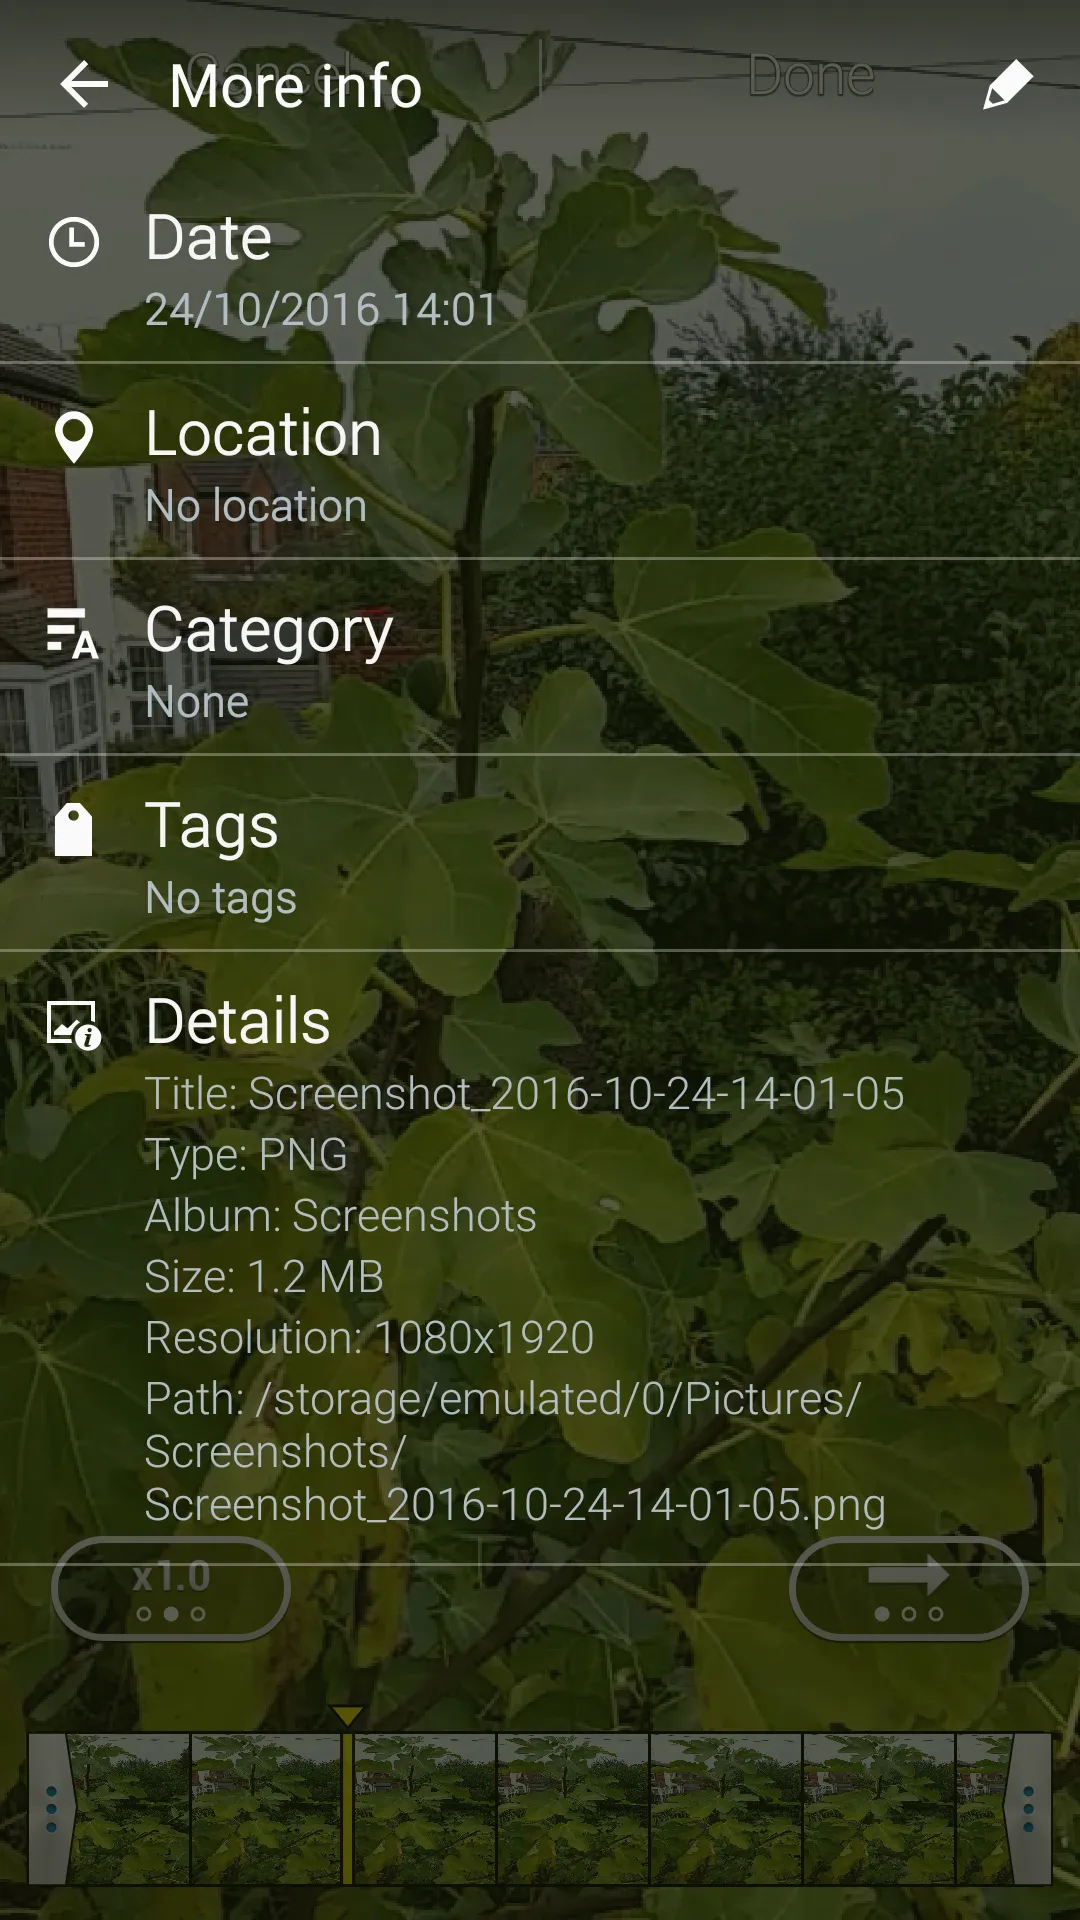
Pic. 24 The Galaxy S5 photo details.
3. The photo & movie studio
In the photo or the movie studio, you are able to make some mixes and various albums, with the images, which you have made before (Pic.25).
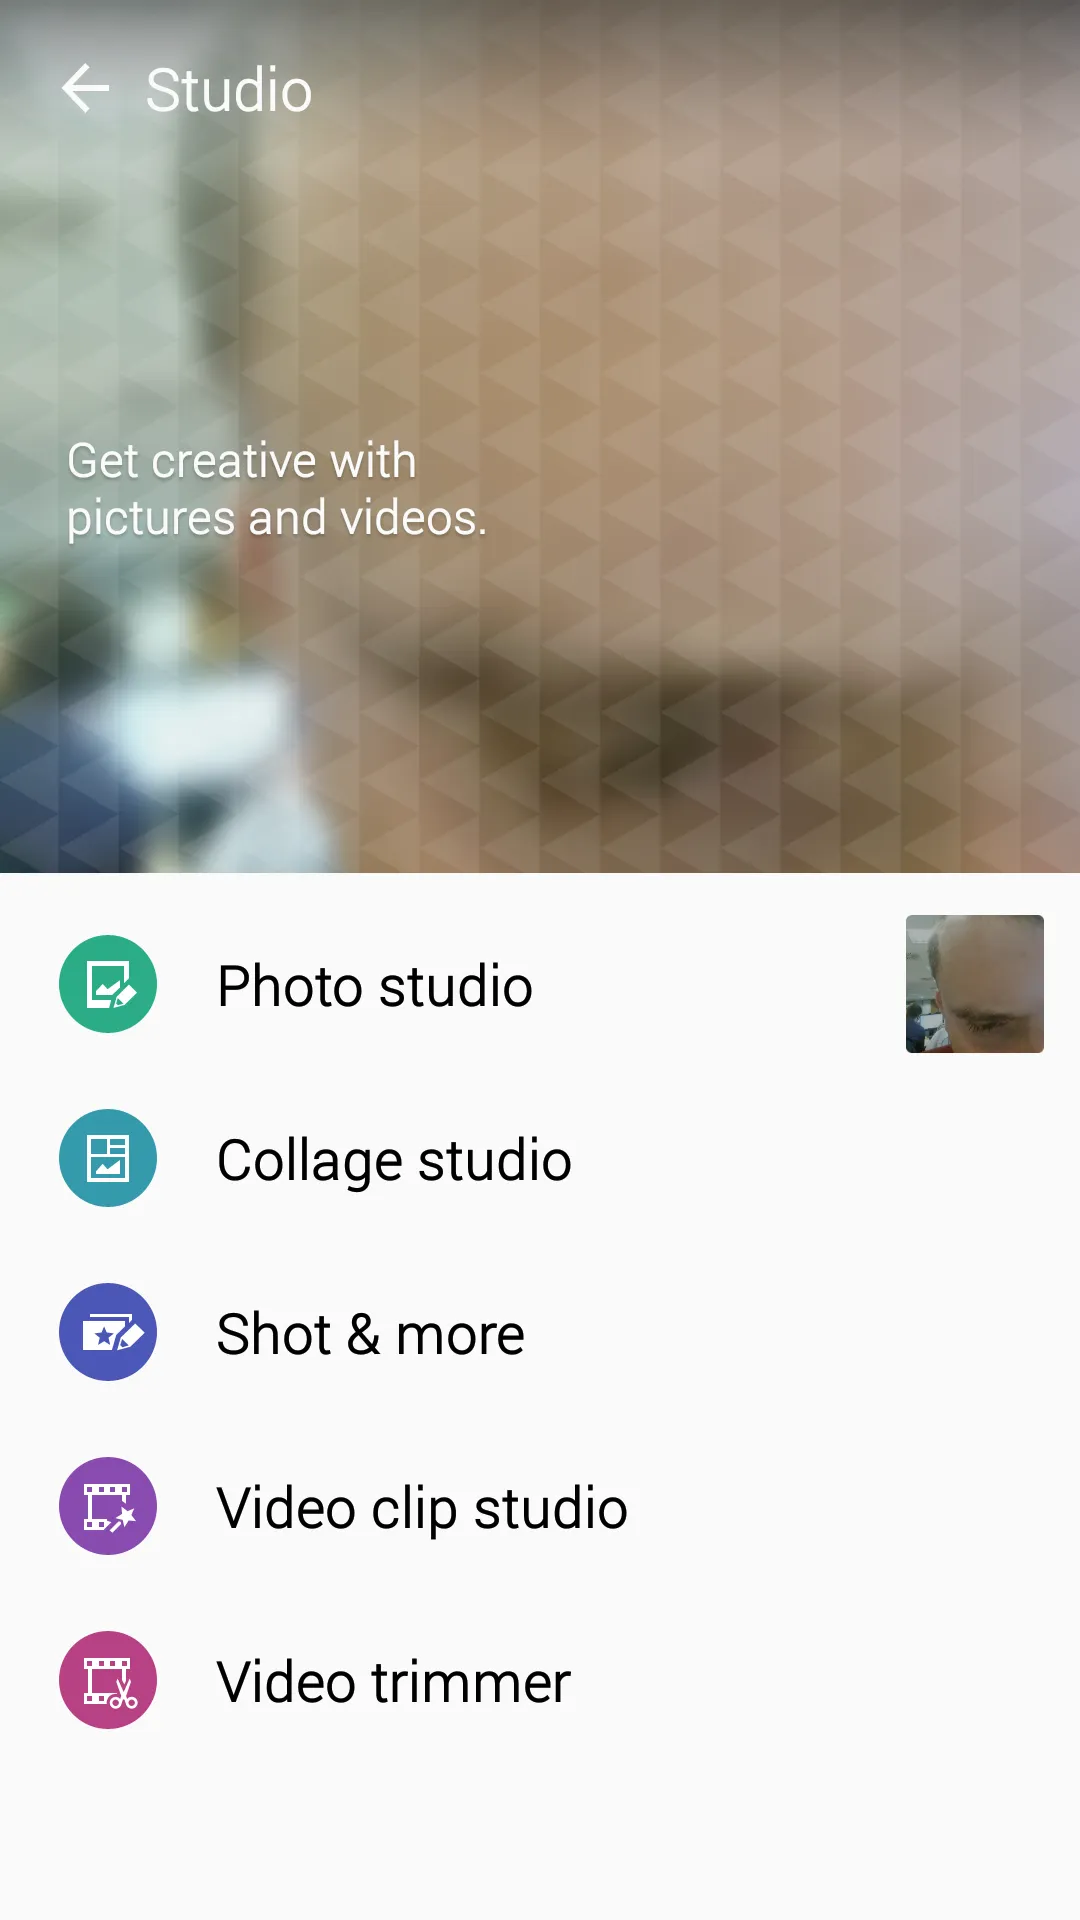
Pic. 25 The Galaxy S5 photo & video studio
a) Photo studio
Here you are able to edit your image in the way you want. Everything you have described in the first point above.
b) Collage Studio
The Collage Studio allows you to prepare good photo albums containing a couple of photos on the big one image. It may contain a modified image also (Pic.26,27). You can change any aspect ratio, layout, and background of your album image (Pic.28). When you think, that your album contains too many images you may select some of them and erase them (Pic.29).
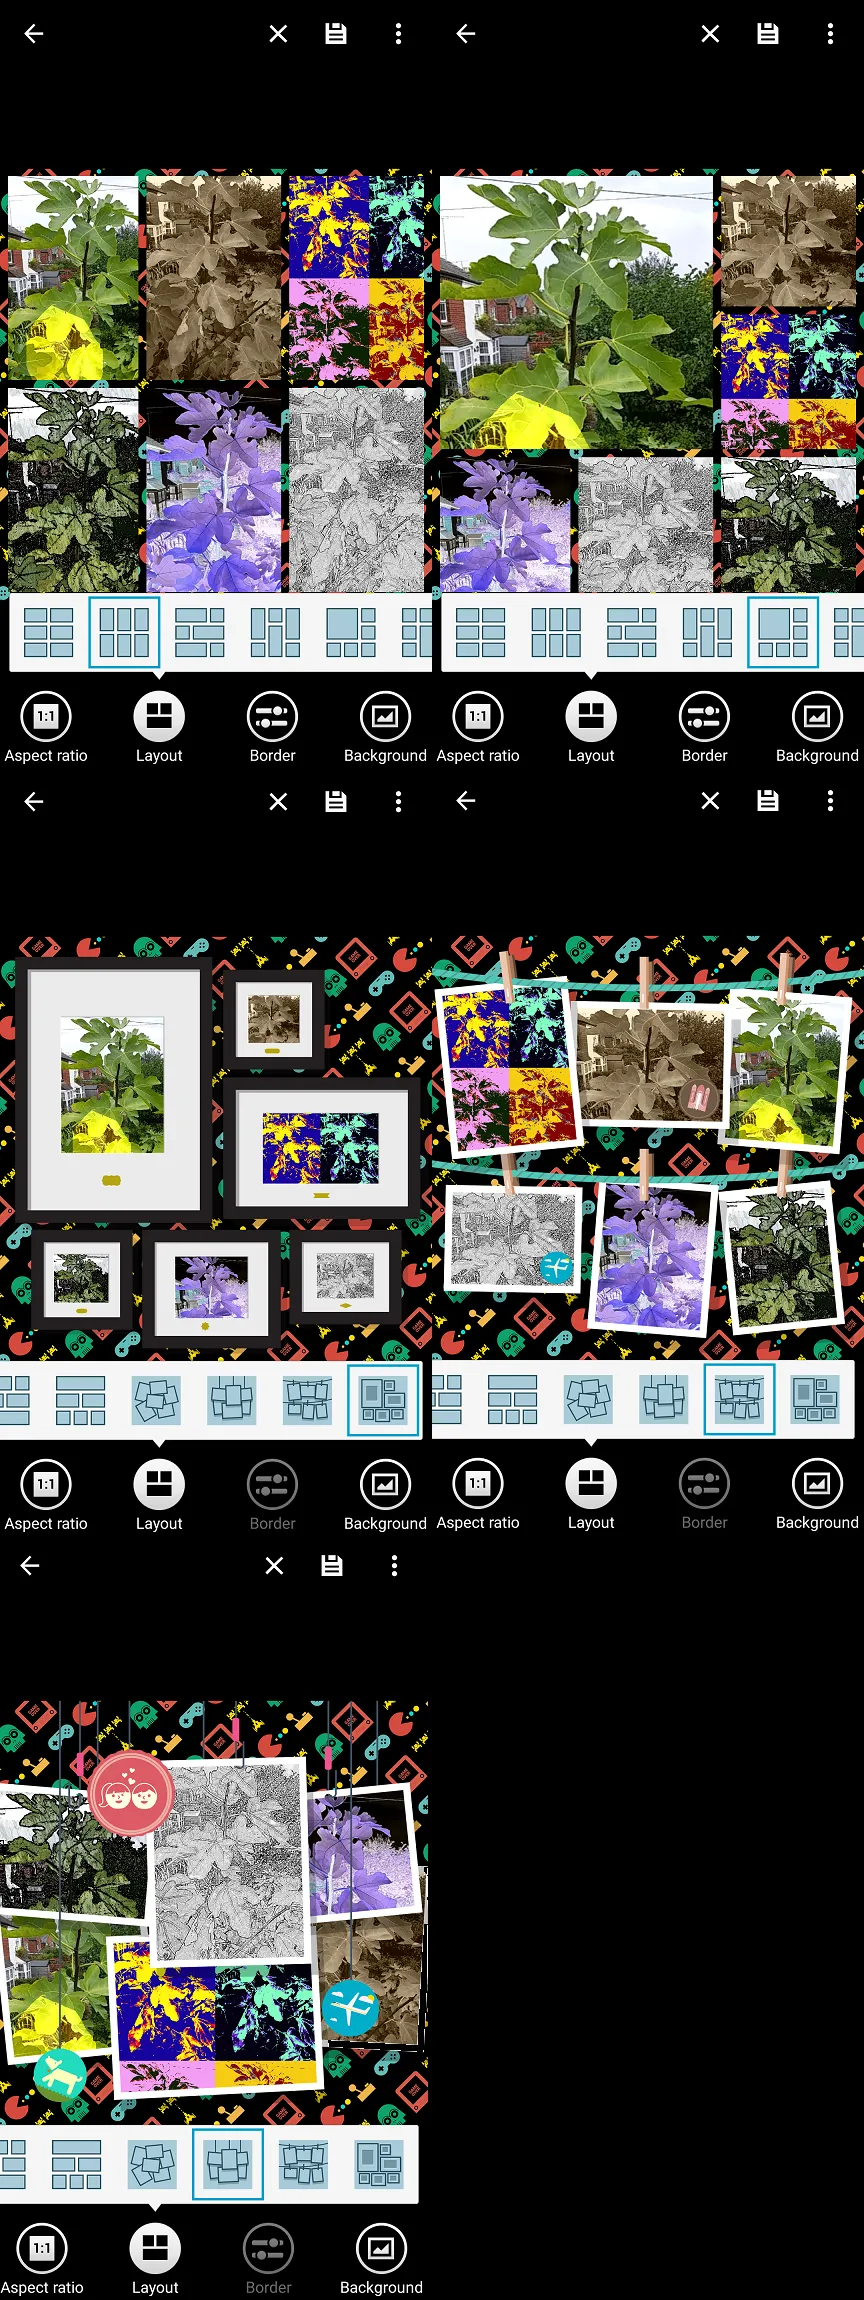
Pic. 26 The Galaxy S5 collage studio options.
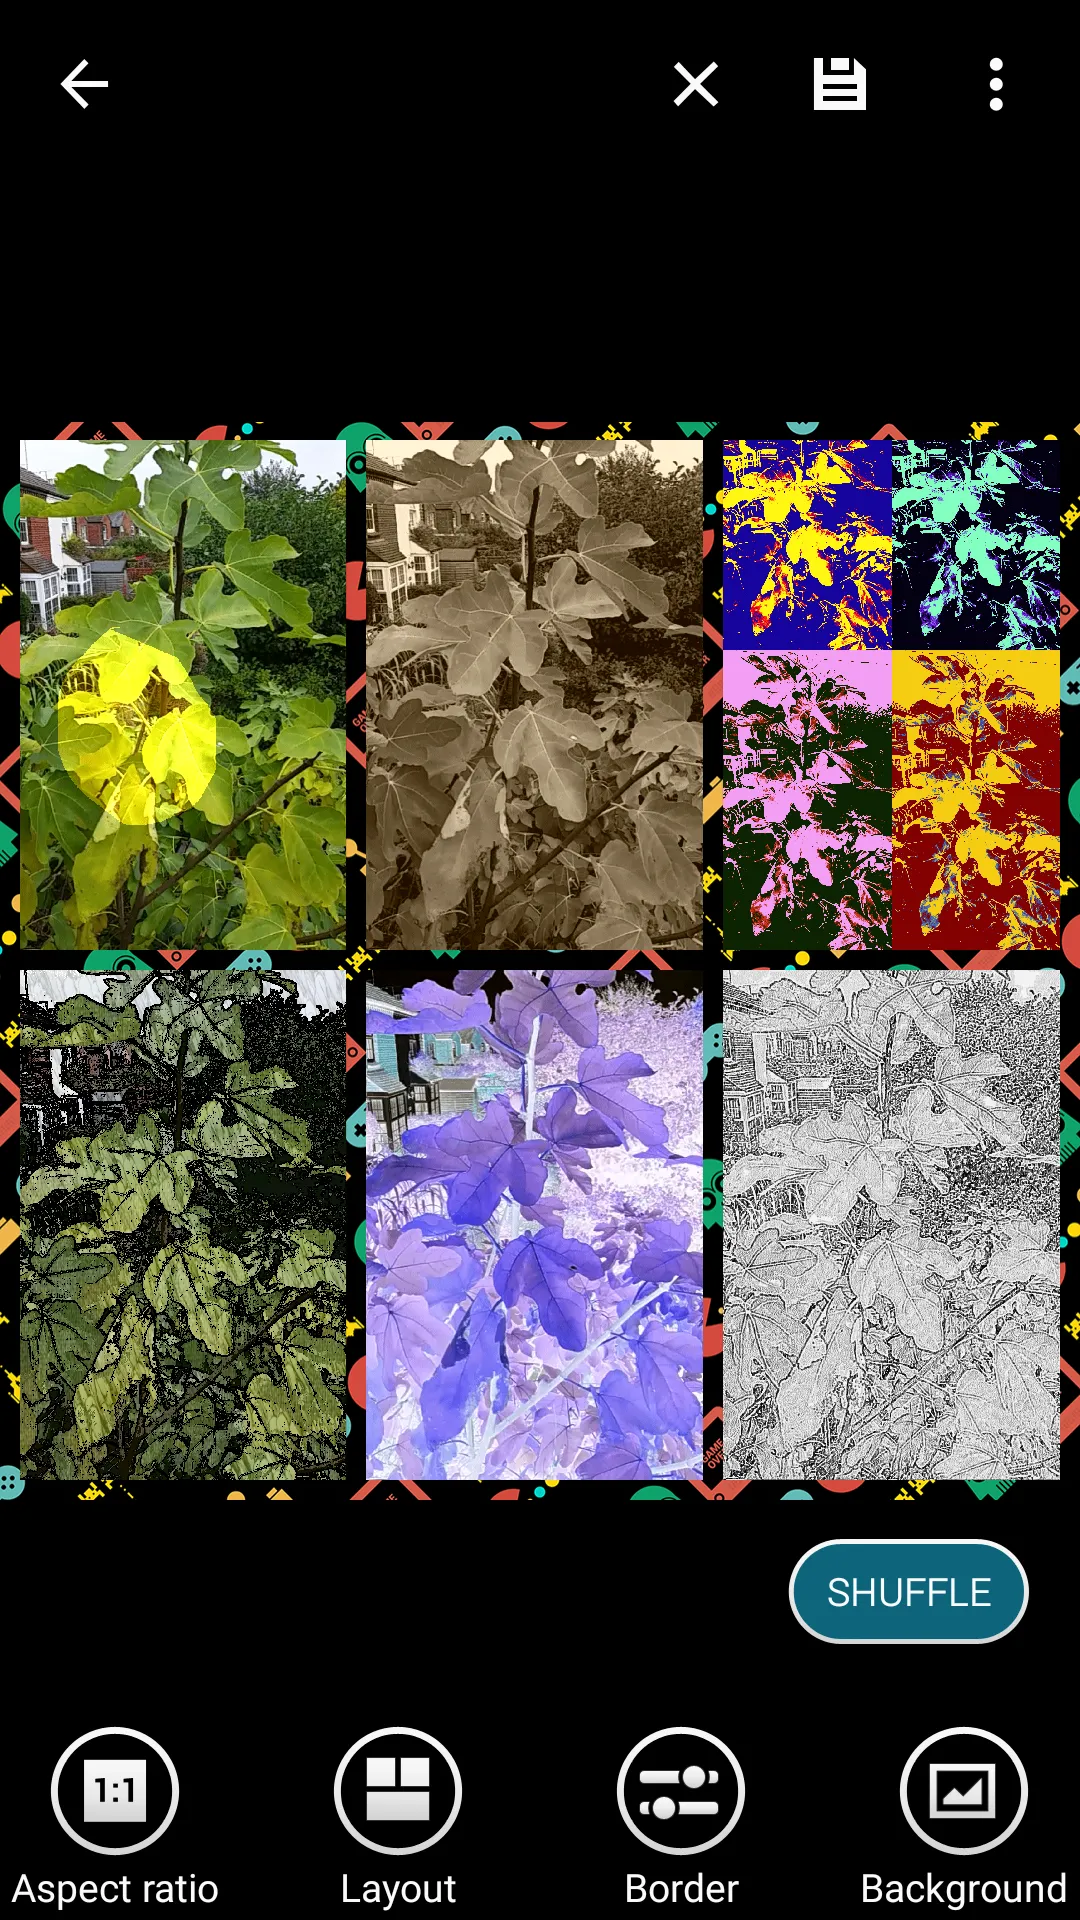
Pic. 27 The Galaxy S5 Collage studio options (2).
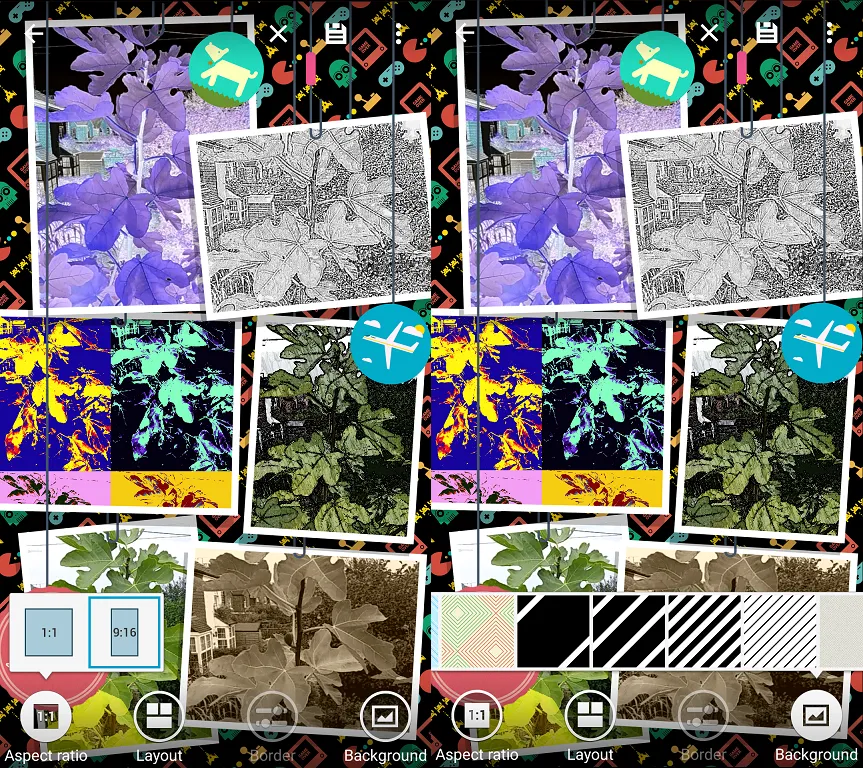
Pic. 28 The Galaxy S5 Collage studio option (3): change the aspect ratio (left) and background (right).
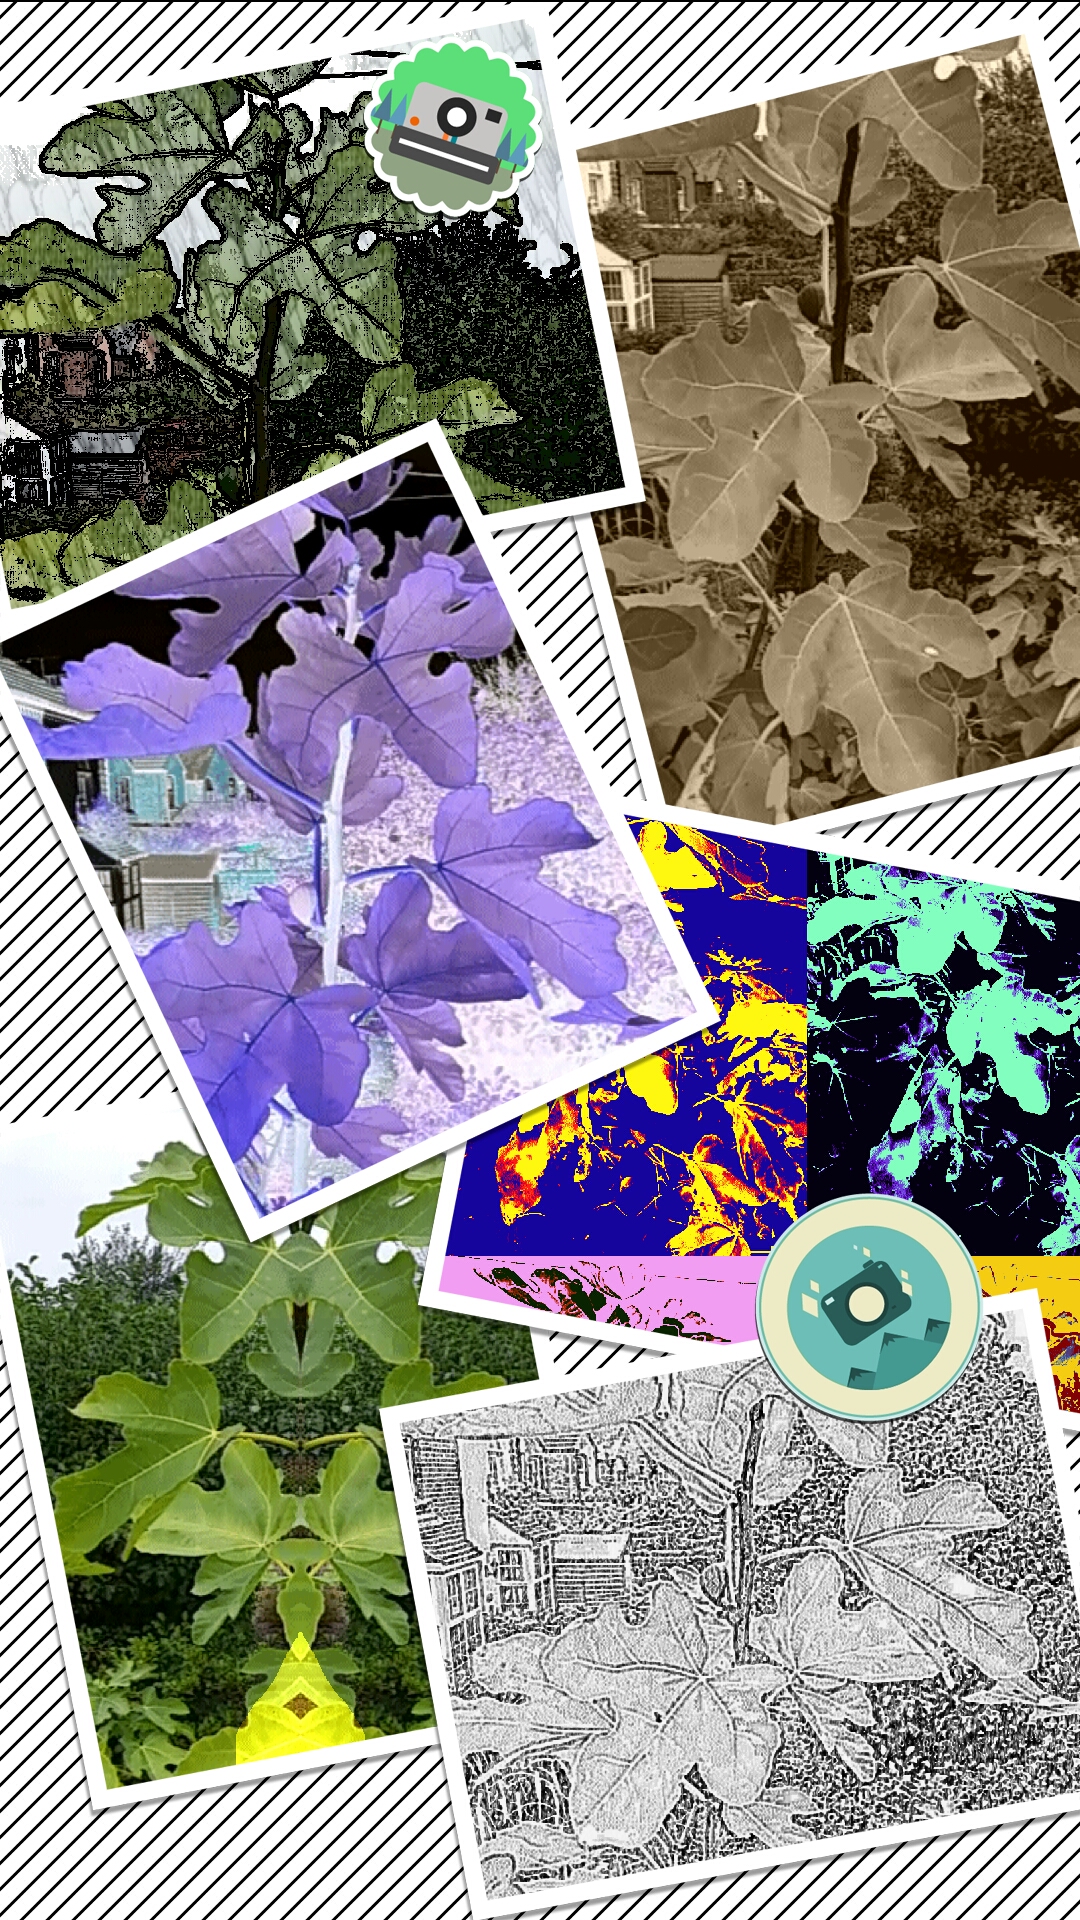
Pic. 29 The Galaxy S5 collage studio options (4) an album with changed background and layout.
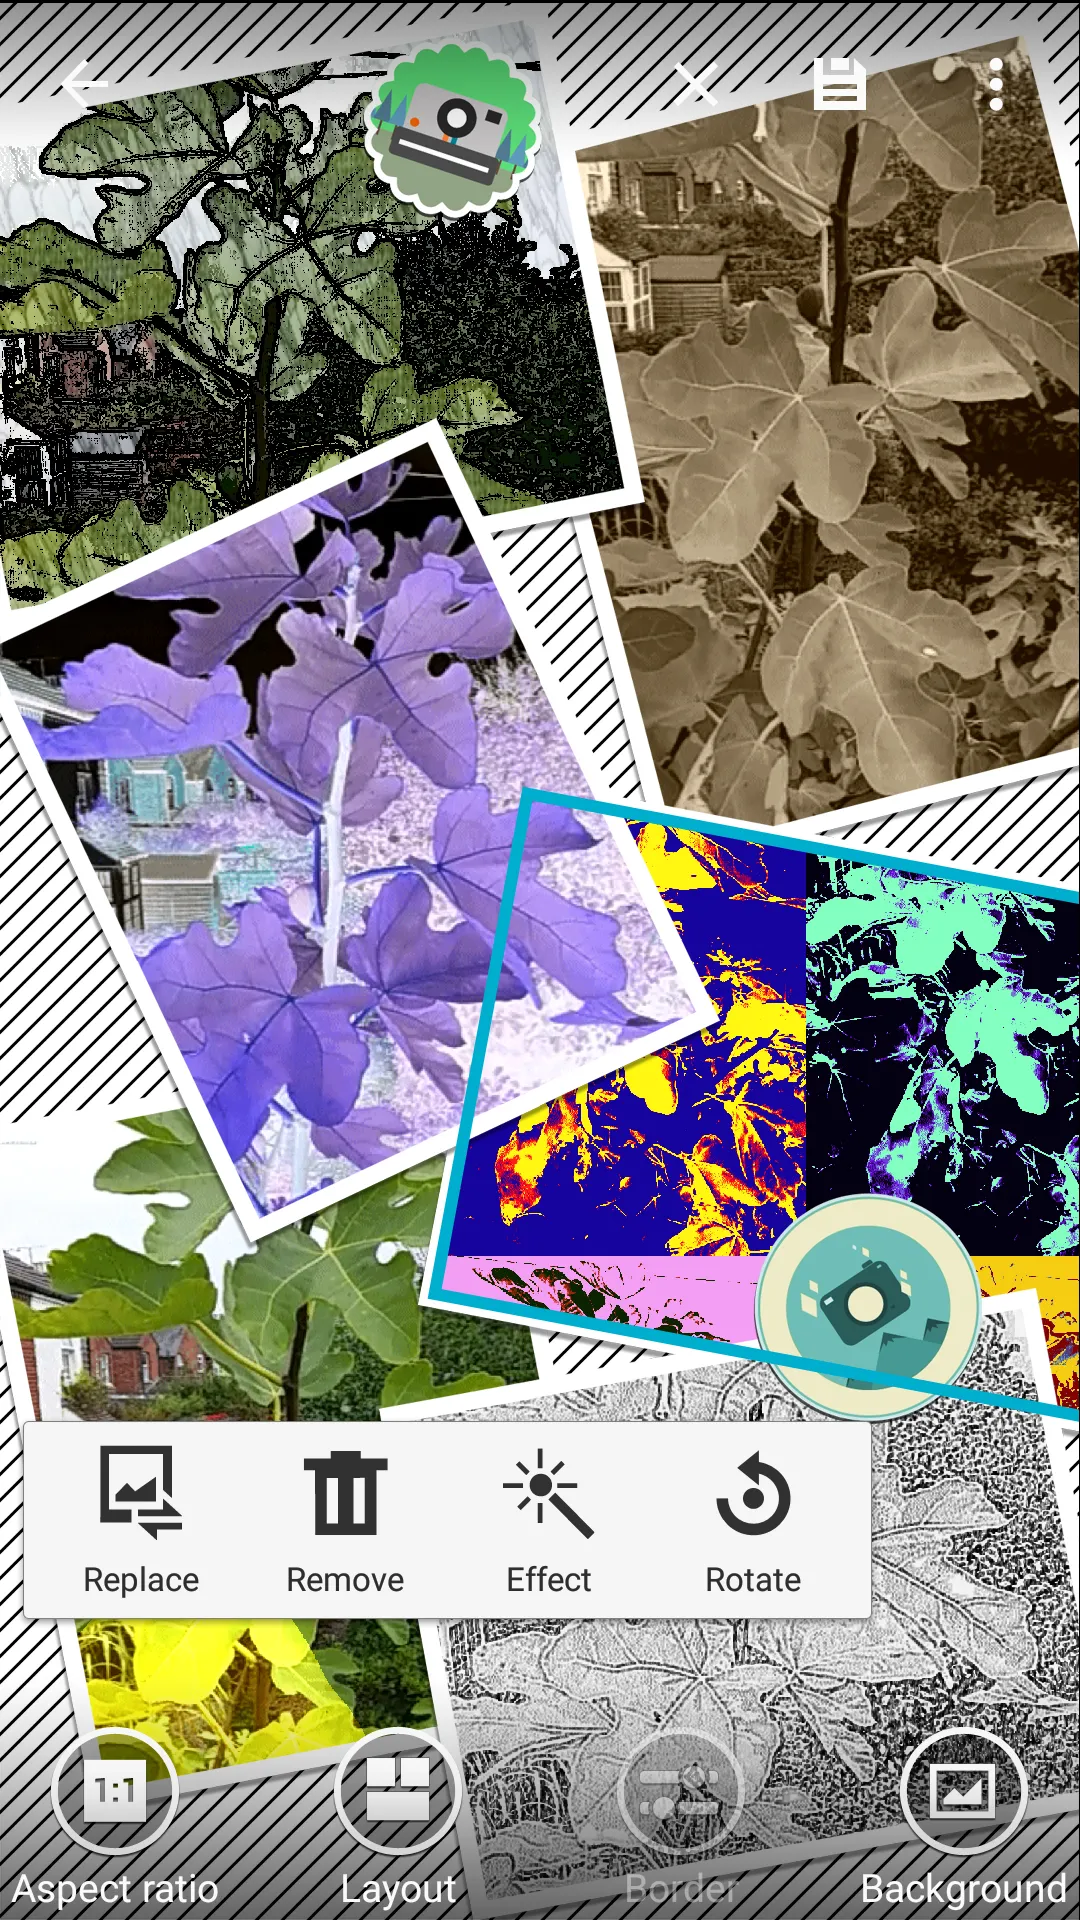
Pic. 30 The Galaxy S5 collage studio options (5): The way to erase some photos.
c) Shot & More
This option allows you to edit a couple photos at the same time in order to keep those images in the same quality and the level of edition. You can’t use this option when you didn’t take photos with the Shot & More option.
d) Videoclip studio
Videoclip studio allows you to:
– make a slideshow with your created images. You can use either new photos or newly modified images based on your photos taken previously. Besides, the slideshow may contain the music background if you want and another additional effect from several like thermal color, mirror, old film, etc.
– modify your movies: you may put a couple of your movies into longer ones or divide some too-long movies into shorter ones. Everything with various music backgrounds if you like (Pic.31).
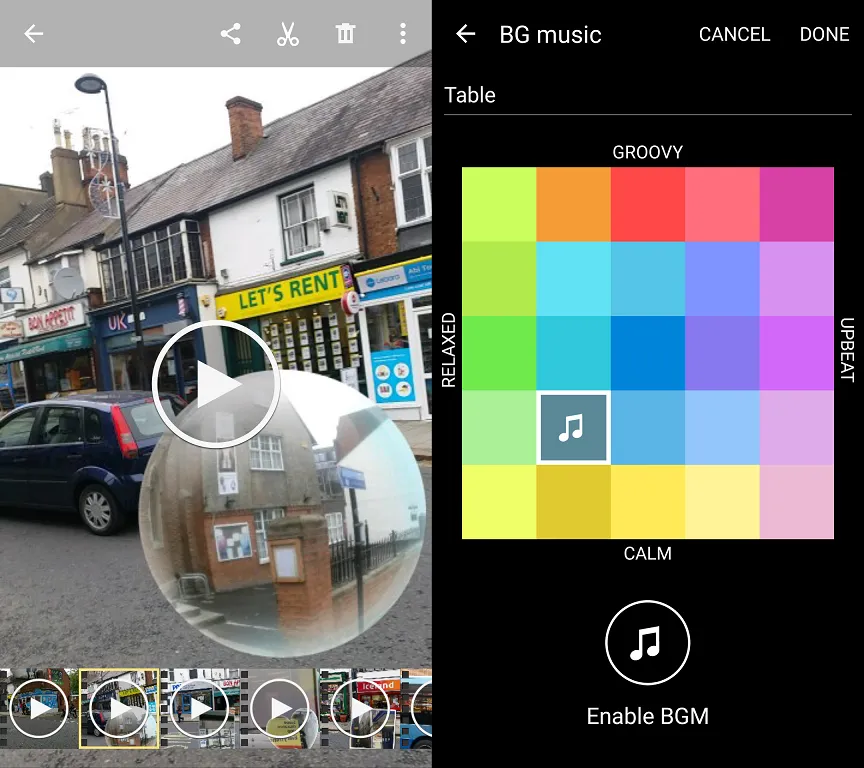
Pic. 31 The Galaxy S5 Videoclip studio: editing the movies (left) and editing the music background (right).
e) Video trimmer
This option allows you to modify your movie duration. When you have some parts of your movie, which you don’t want to there is an opportunity to trim them out (Pic.32).
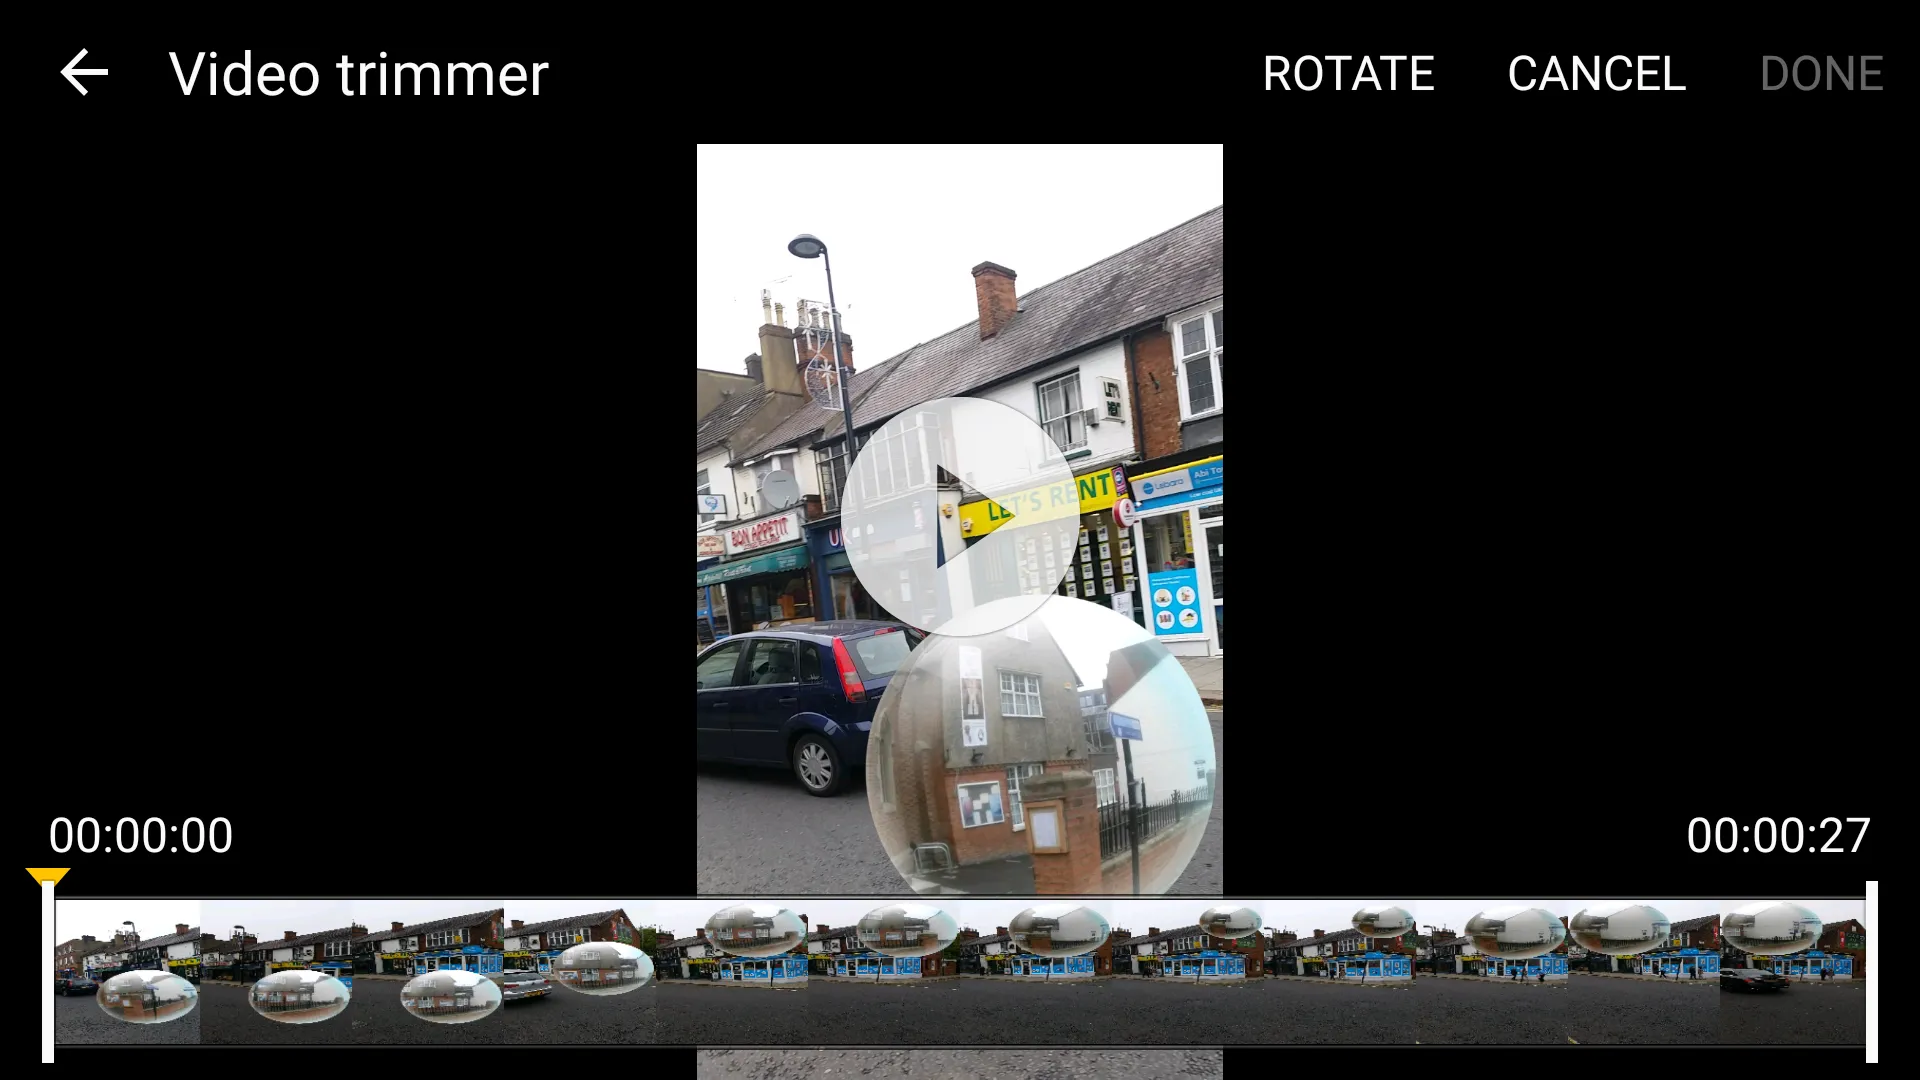
Pic. 32 The Galaxy S5 video trimmer option.
Mariusz Krukar

