Because you probably know how to add the feature layer into the ArcGIS Online platform from scratch, you might want to know how to do it quicker, and this is exactly the guideline for it.
The layer based on the existing feature layer can be added from the ArcGIS Online Create a feature layer selection (Pic. 1)
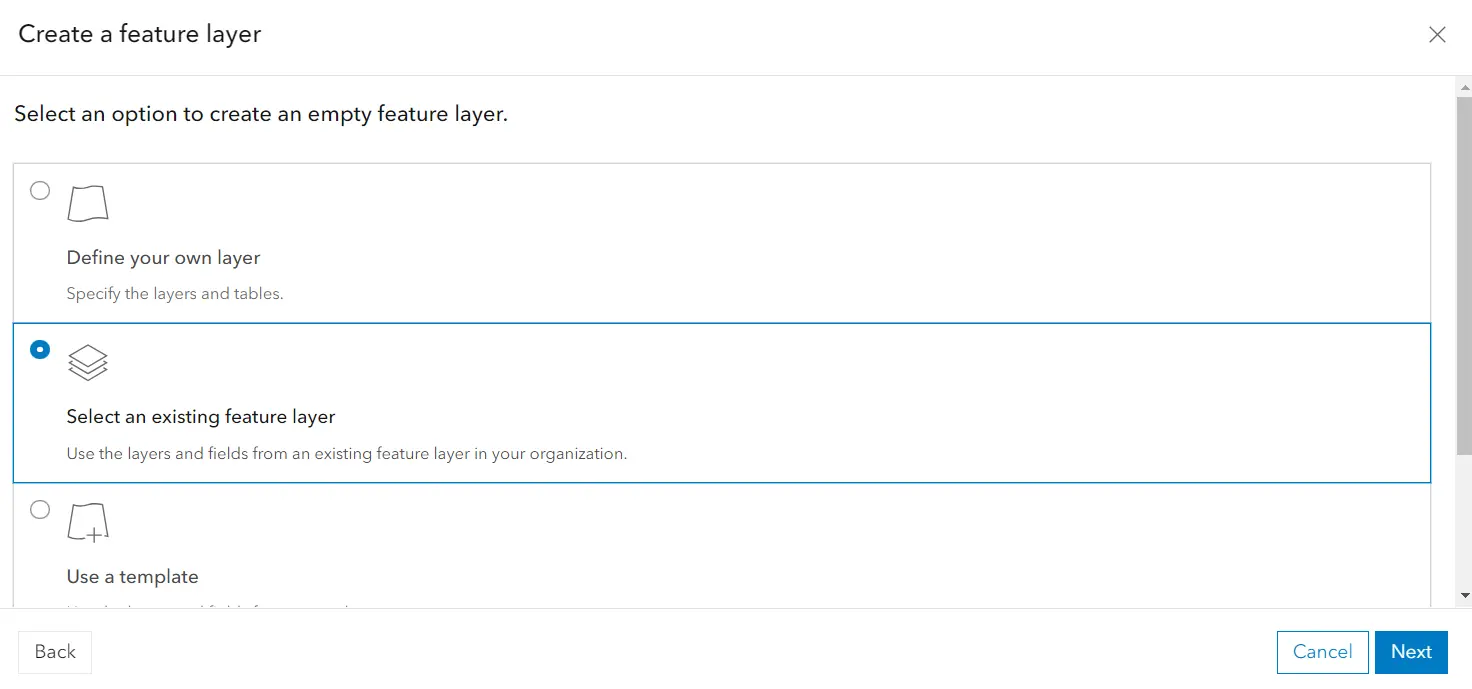
Pic. 1 ArcGIS Online – adding from an existing feature layer.
However, you must have a similar layer with the same geometry!
Creating the layer based on the existing feature layer has the following advantages:
– replicates the layer settings,
– transfers the layer properties defined i.e. in the Field Map Designer question forms,
– migrates partially the content of popups
Next, you will be asked about selecting a feature layer, very similar to the one you want to create (Pic. 2). The undeniable prerequisite is the layer geometry, which must match each other! The settings are also important, especially, since we know that the layer will reflect very similar content to the feature layer upon which our new layer is based.
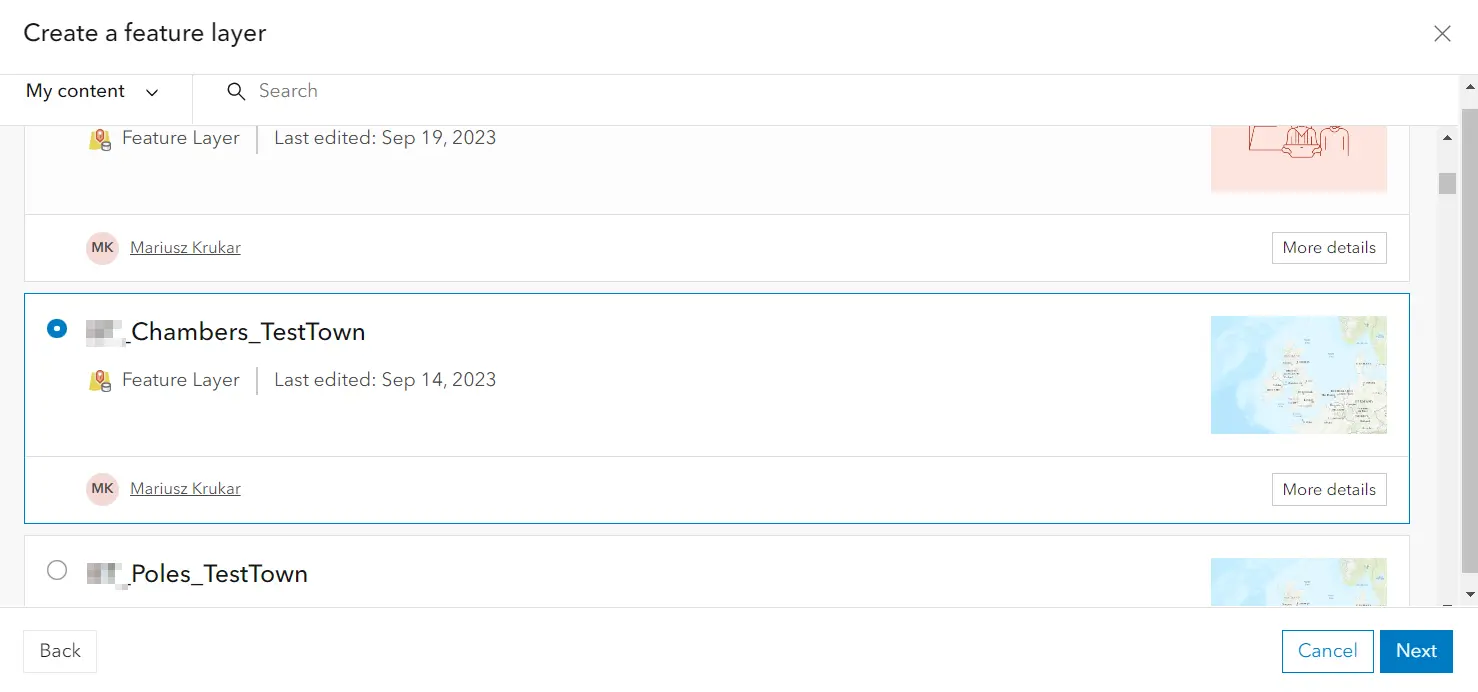
Pic. 2 Selecting the existing feature layer.
You can always check the details of the hosted layer selected as the base layer (Pic. 3). On the left, we can check the layer geometry (1). On the right, we can use the dropdown (2) and discover the layer properties in detail, especially the created layer fields (Pic. 3).
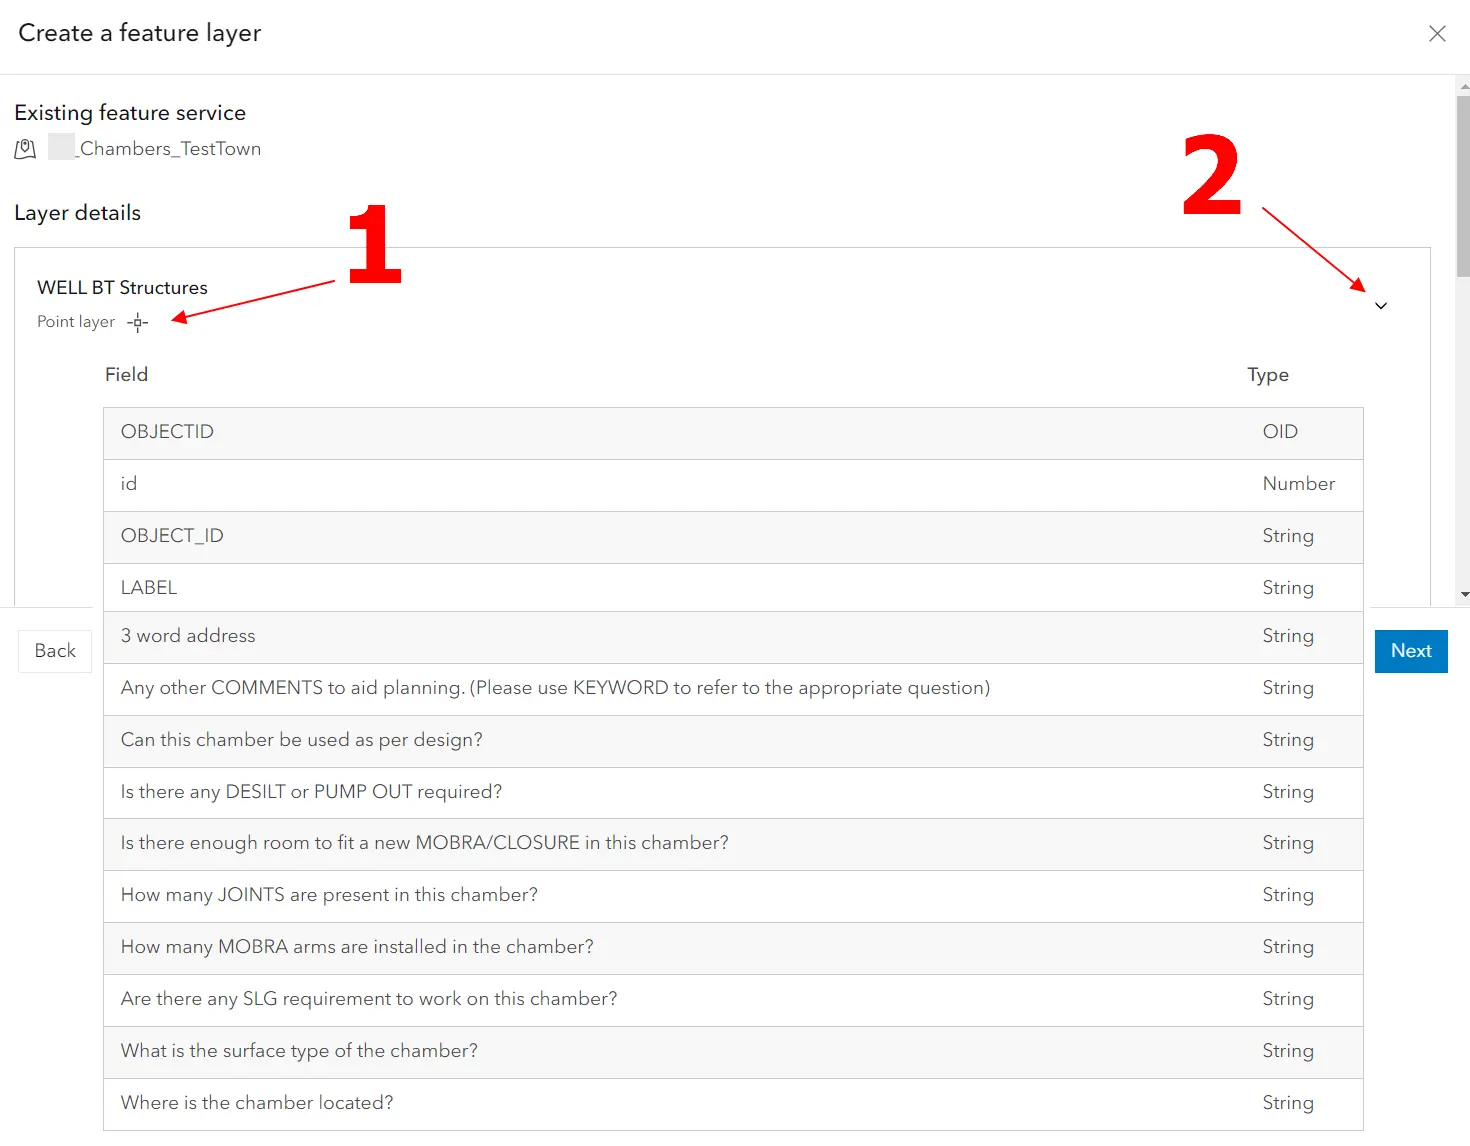
Pic. 3 New layer details, where: 1 – Layer geometry; 2 – Field list dropdown
Next, you will see the option for adding the GPS metadata fields, Z-values, and M-values when needed (1). If not, this step can be skipped. In the next box, there are two mandatory inputs, the layer name and the Folder. Both Tags and Summary can be added later(2)(Pic. 4).
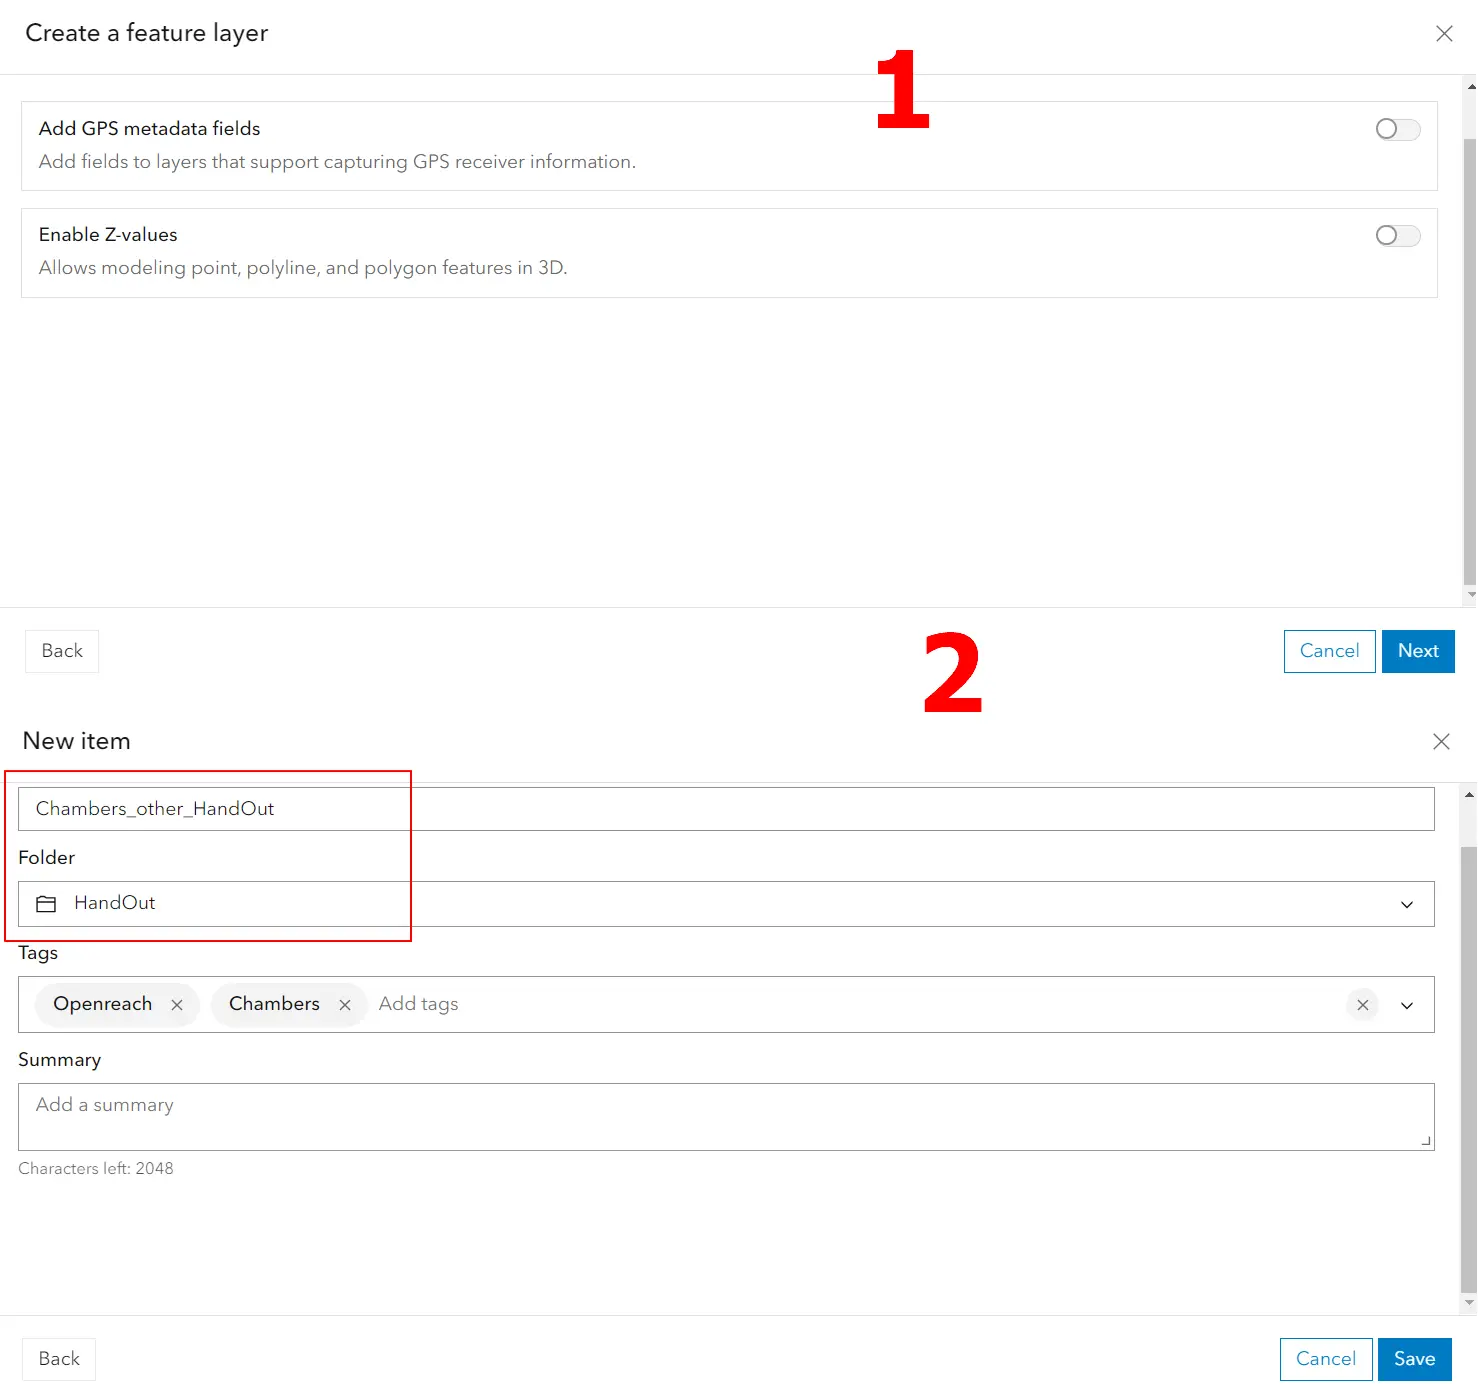
Pic. 4 The new layer definition, where: 1 – GPS Metadata and Z-values options; 2 – Layer general details. After the recent update you will see also the other option switched as default – Enable M-values.
When everything is fine, we can save our layer (Pic. 5).
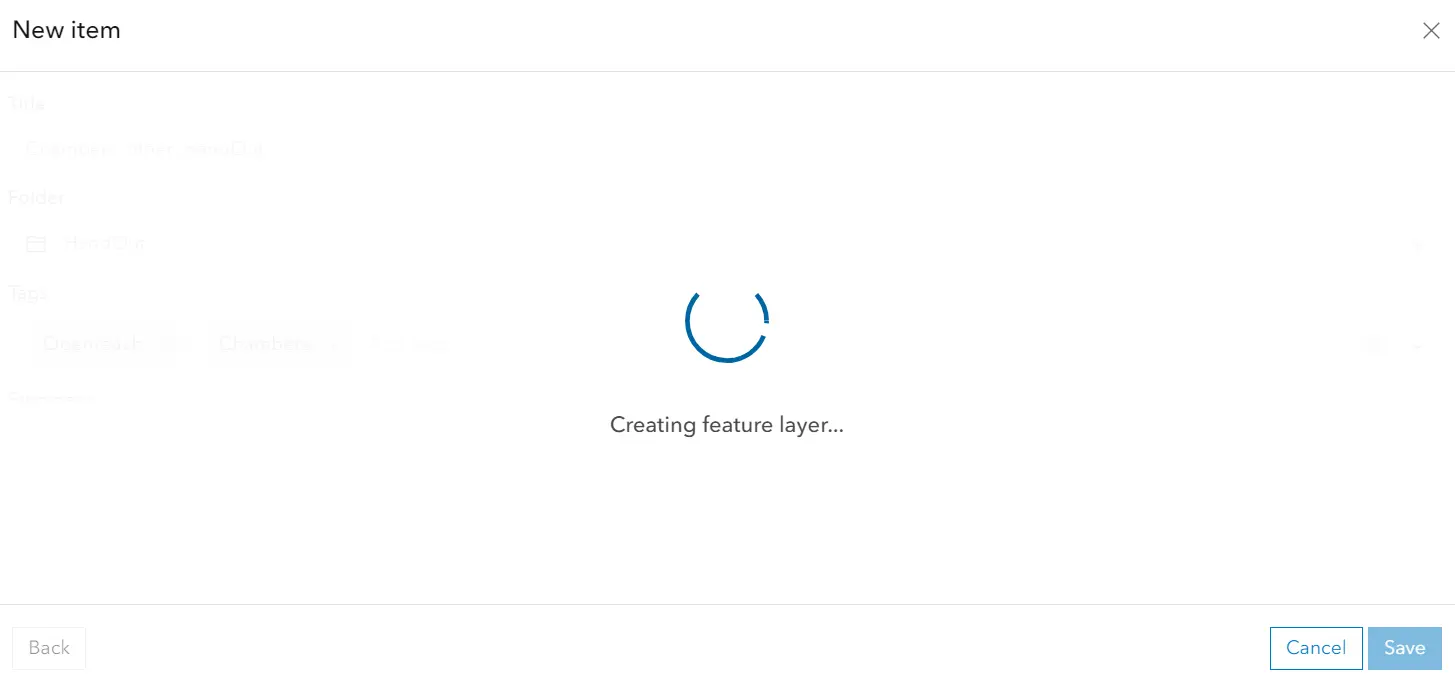
Pic. 5 Creating a new feature layer when all the settings are fine.
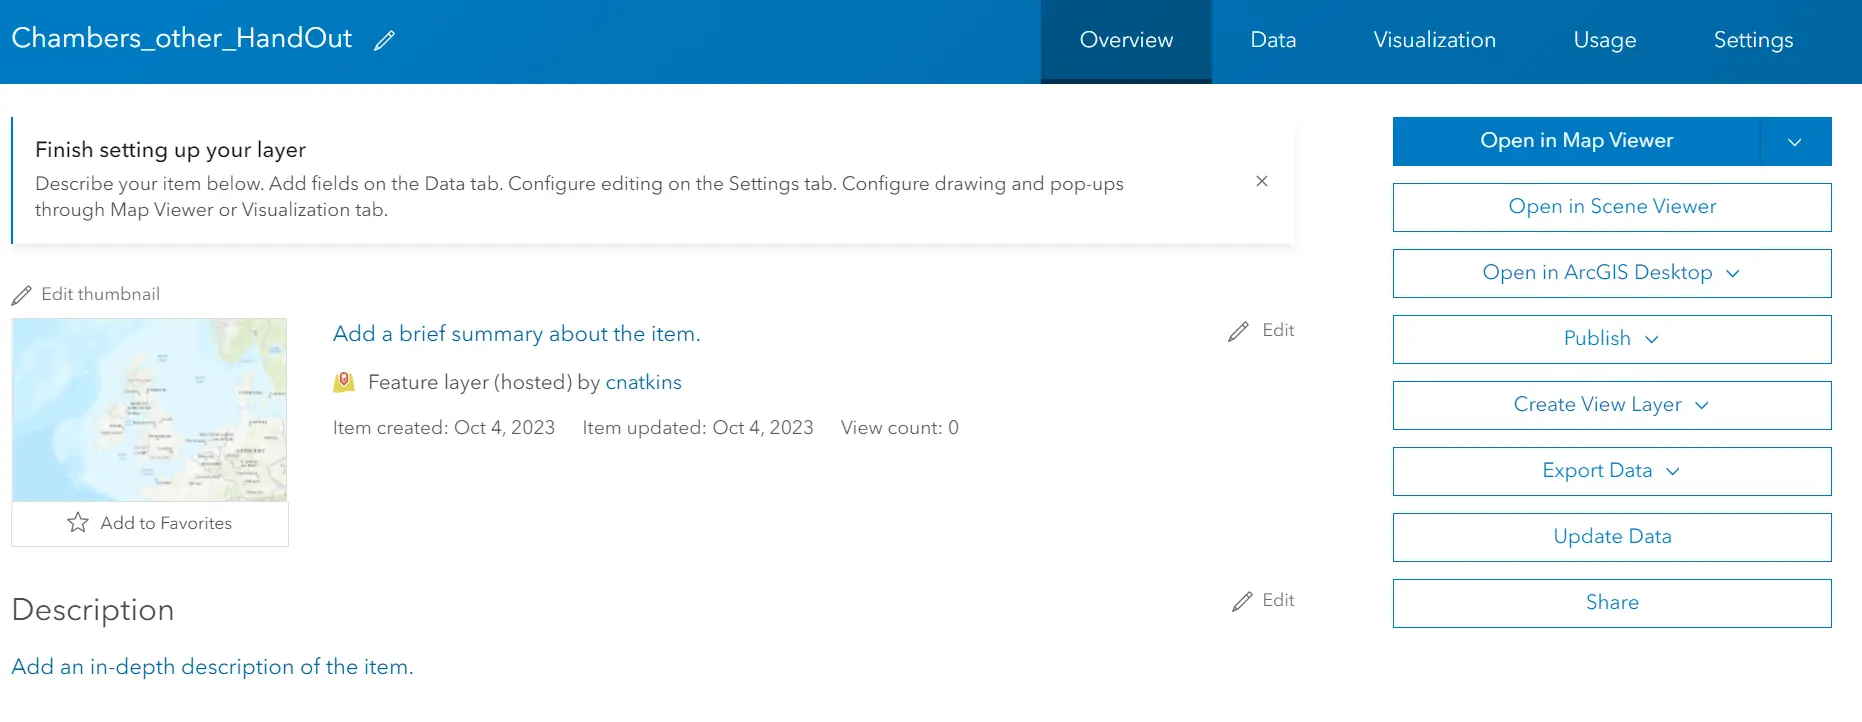
Finally, the platform will place us in the Overview panel of the new layer (Pic. 6).
Now we are in the position of adding (uploading) the new data to the layer in an analog manner, as described in this article.
Mariusz Krukar

