
In one of the last tests of my camera, I would like to share with you the night photography possibilities in this tool.
Night photography is very important especially during the time, when you are on a trip or you are facing some curious situation (e.g. weather, sport, etc), which is difficult to capture because of low light. Taking a photo during the night is also very interesting and may provide you something like “the game of lights”. When you will set some high ISO parameters, long exposure and HDR also you will see many lights, which come from quite remote places.
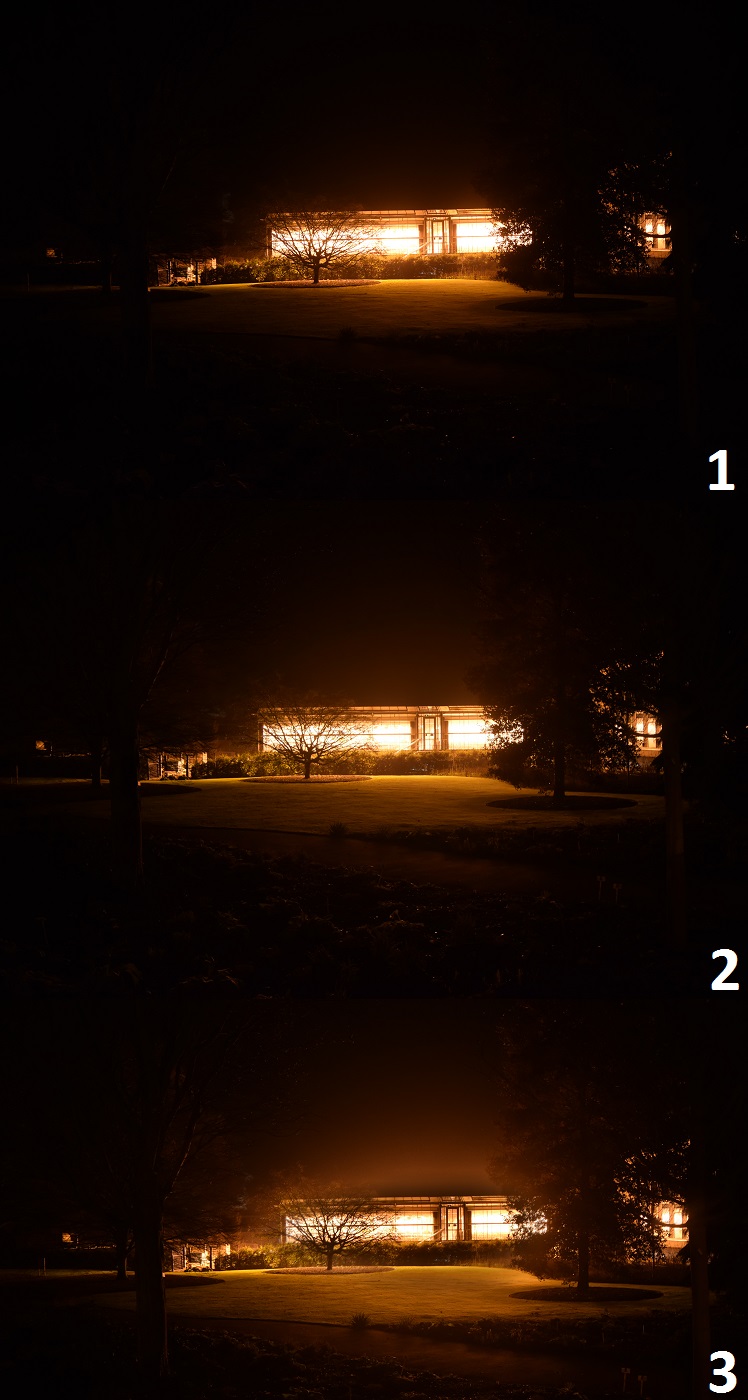
- D5300 night photography programmes & effects
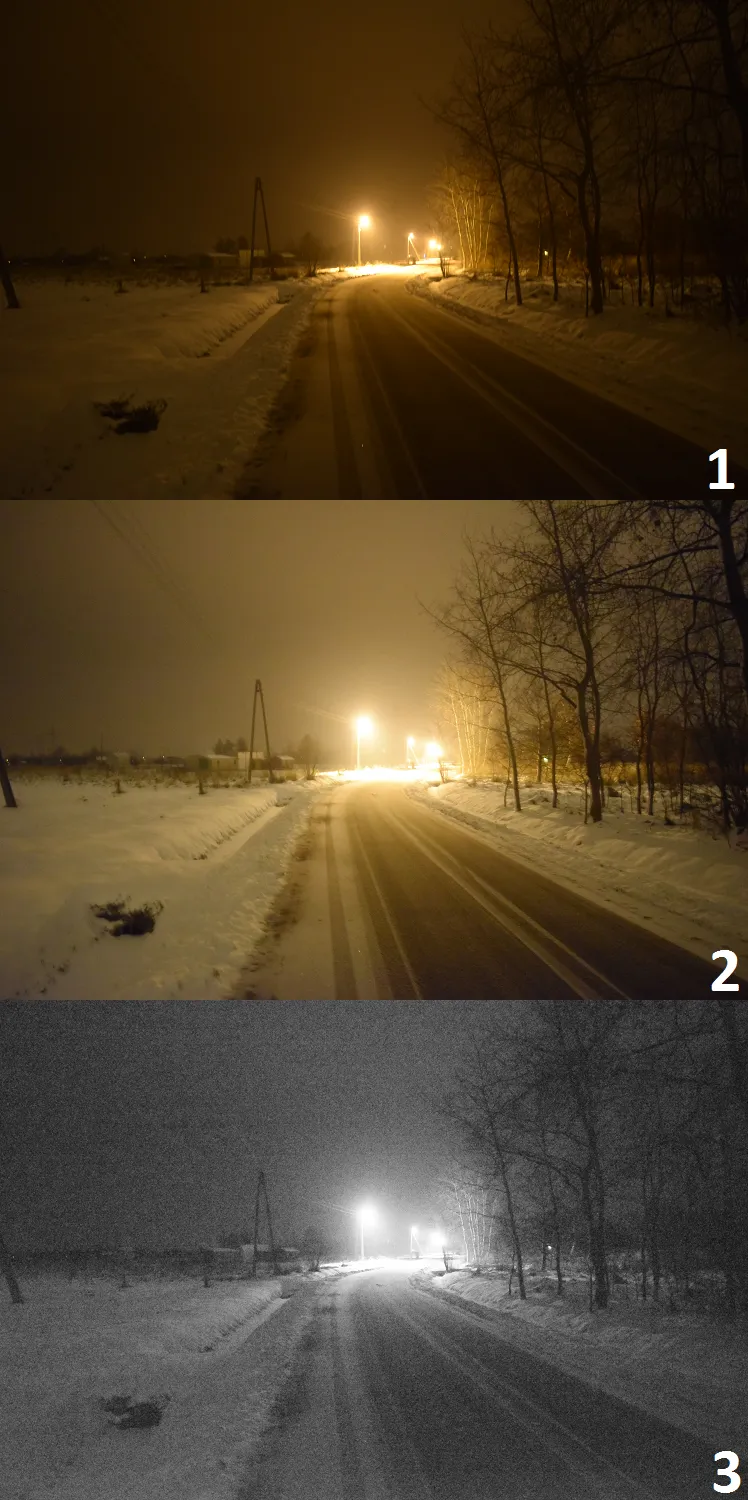
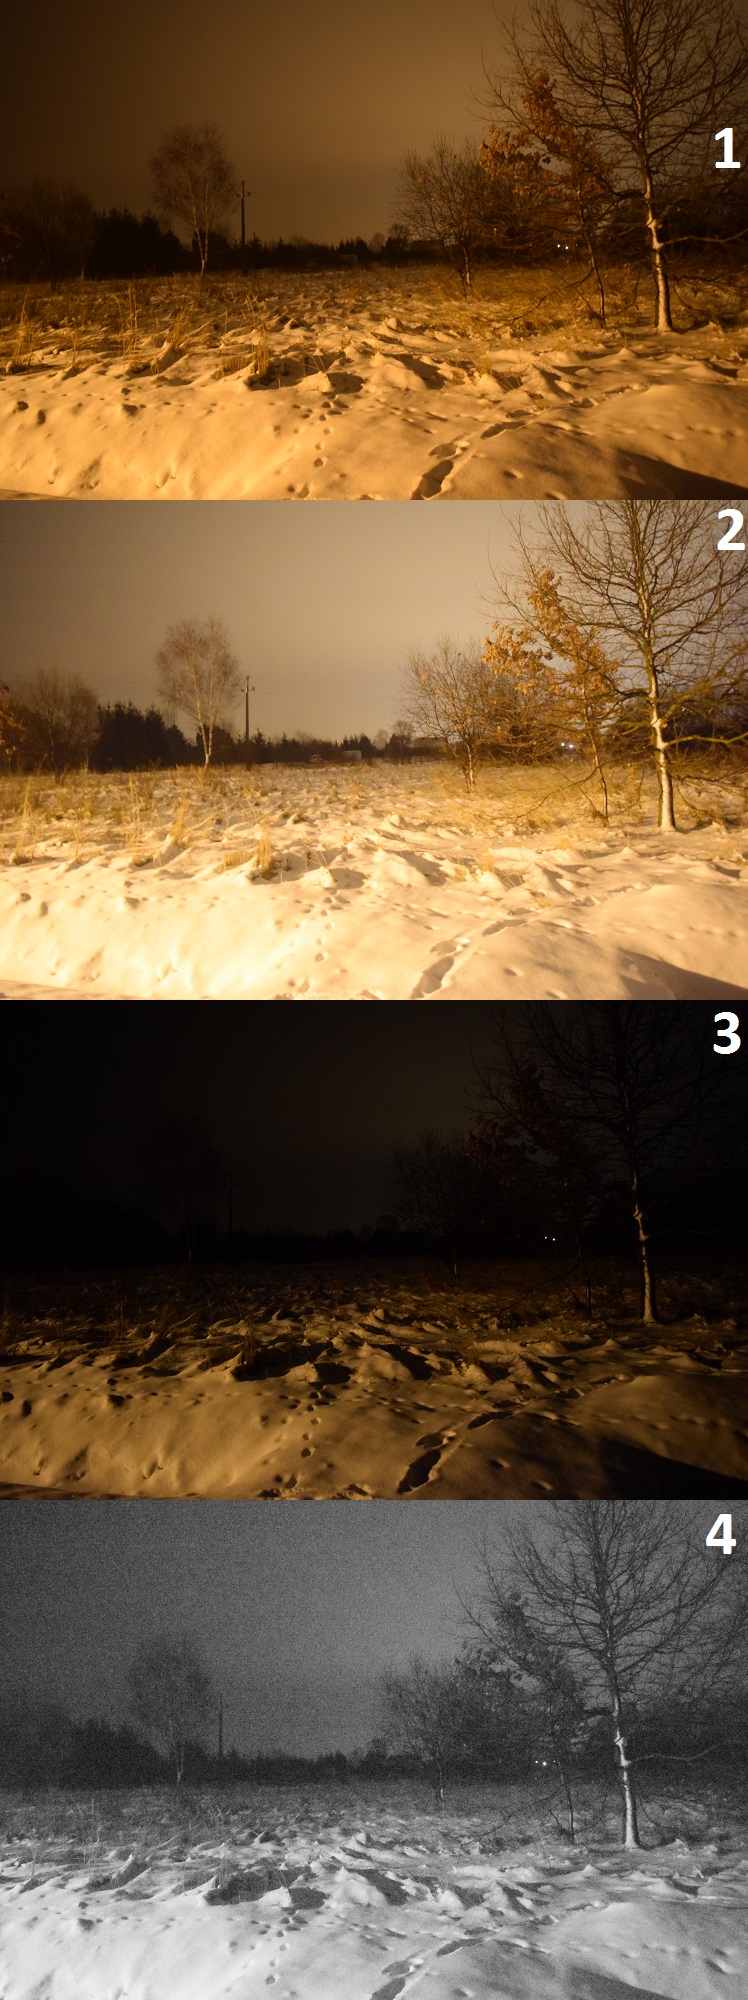
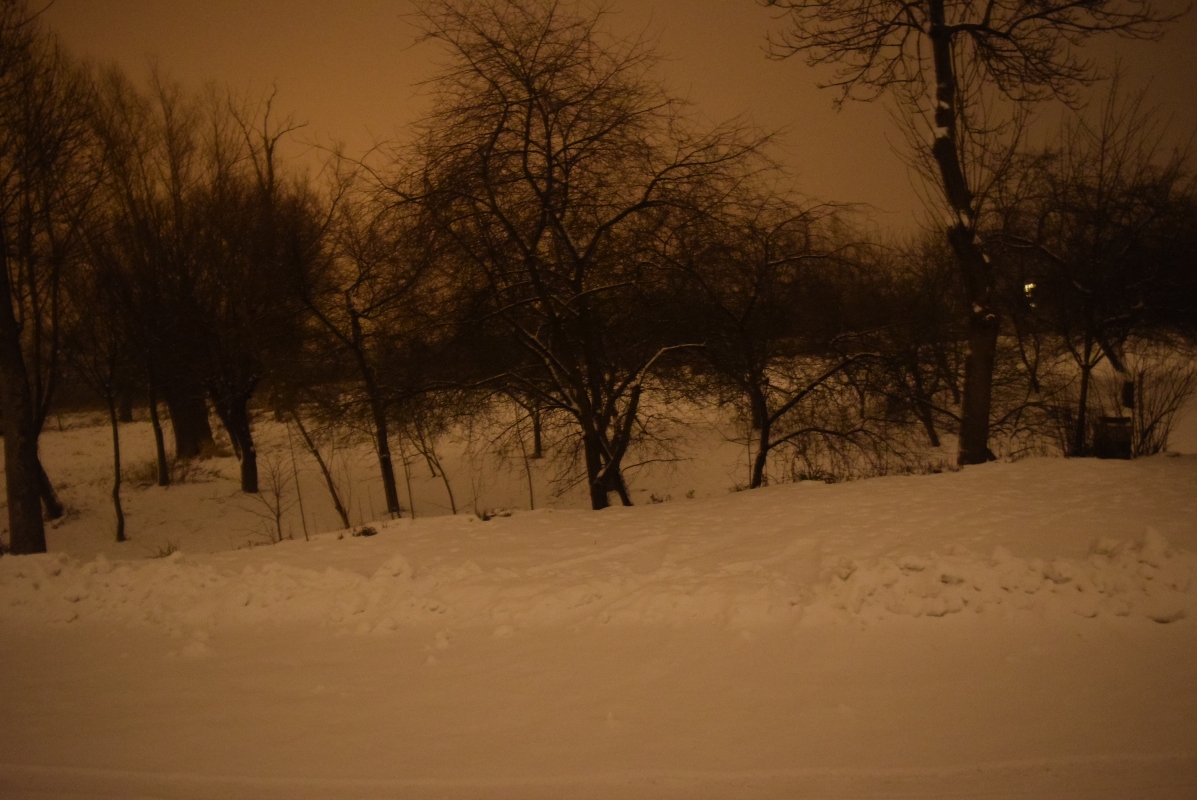
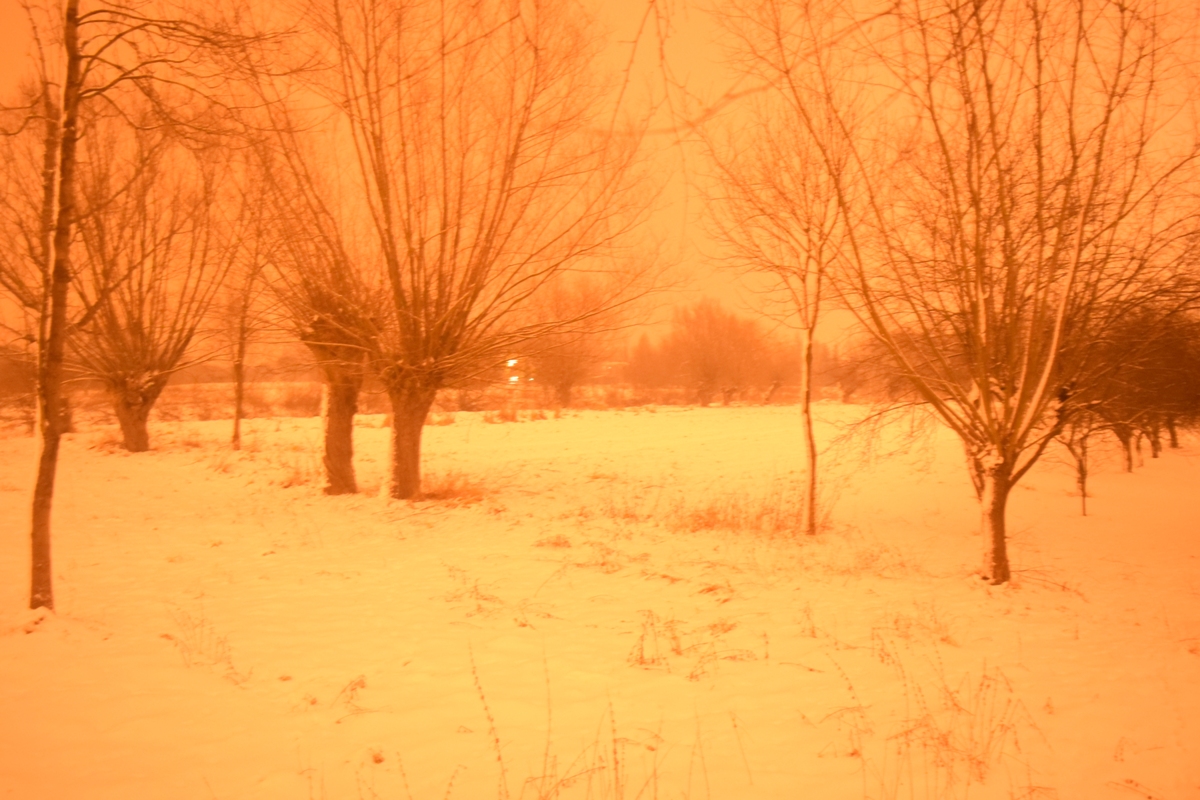
The D5300 offers mainly 4 basic programmes & effects allow you to take pictures by night:
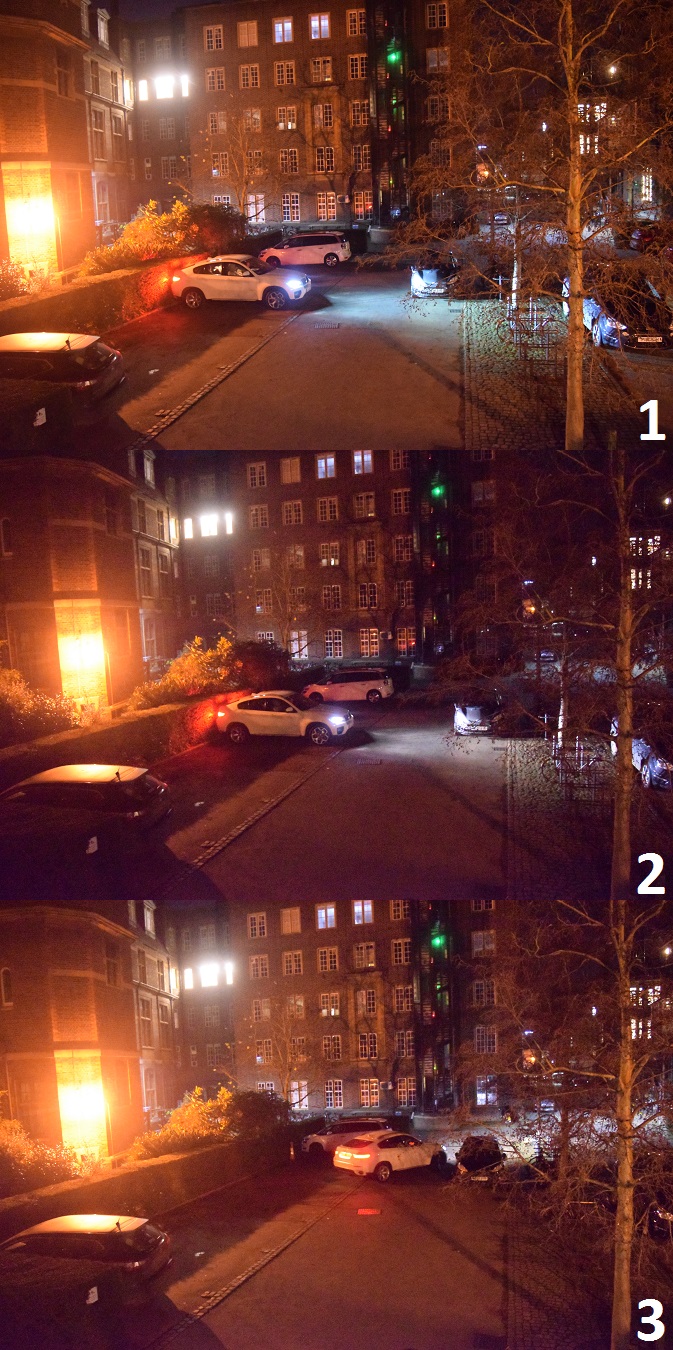
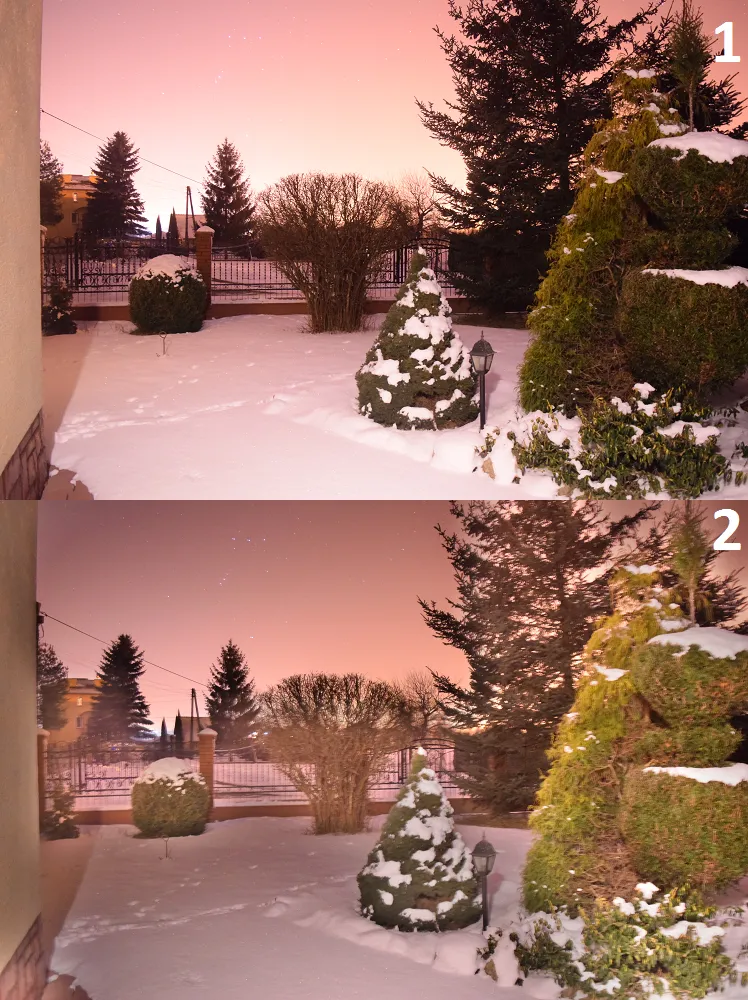
- Night portrait – allows you to keep strong details in conjunction with flash and low light beyond,
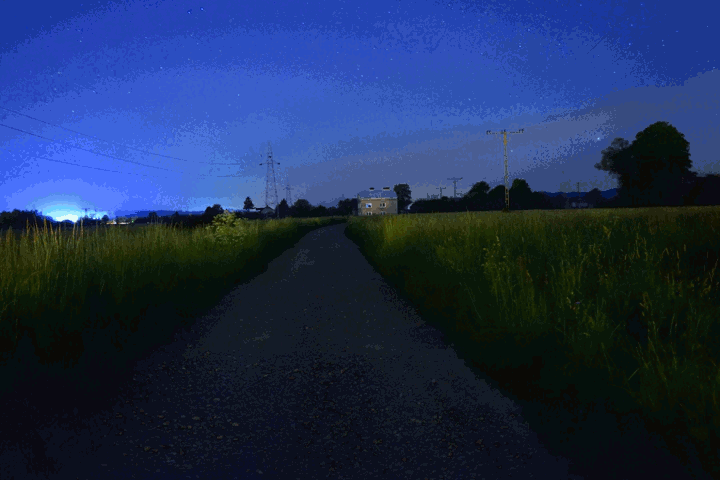
- Night landscape – gives you many options to take photos by night. I used to use this option, especially in bright and fully-lited places, where exposure isn’t so long. The camera sets the ISO sensitivity and exposure automatically in order to the situation (light pollution). Have it mind, that if you will use this function somewhere outside the urban area, where places are quite dark you may not receive sharp photos without a tripod or some stable place!
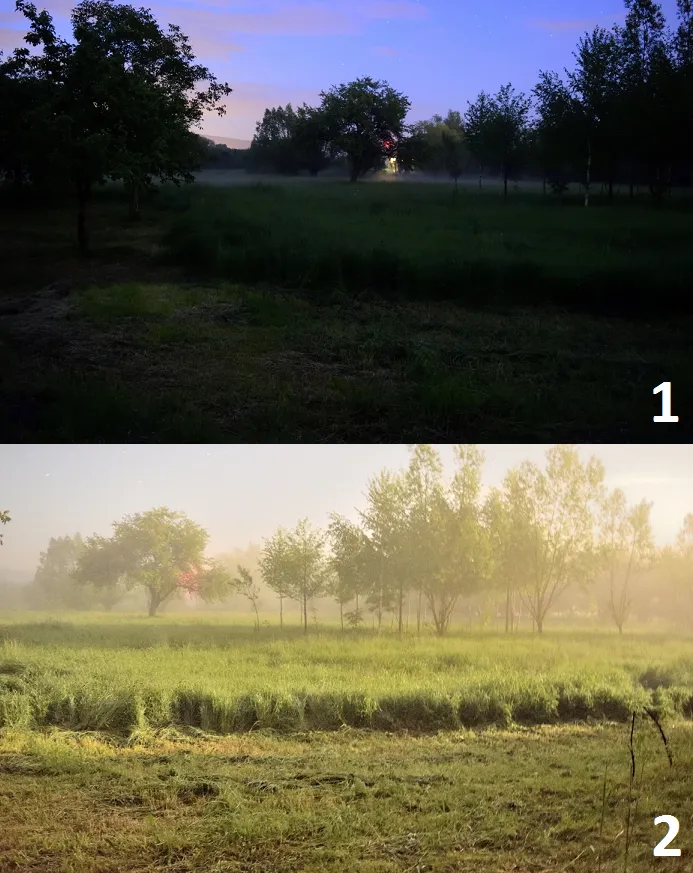
- High Key effect – is absolutely right to use in dark conditions. The ISO sensitivity and exposure time are set automatically, but ISO sensitivity is much higher than normal The exposure time for a place in the same conditions is a little bit longer too. In effect, you will see your photo much brighter and quite clearly. The D5300 won’t set your ISO to more than you need at this moment. The camera will set max. ISO 10000 during the gazing stars conditions only. However, this effect is most useful with bright scenes to create bright images that seem filled with light.
- Low key effect – might be used with dark scenes to create dark images with prominent highlights. The camera sets automatically lower ISO and shorter exposure time than normal. The built-in flash is turned off.
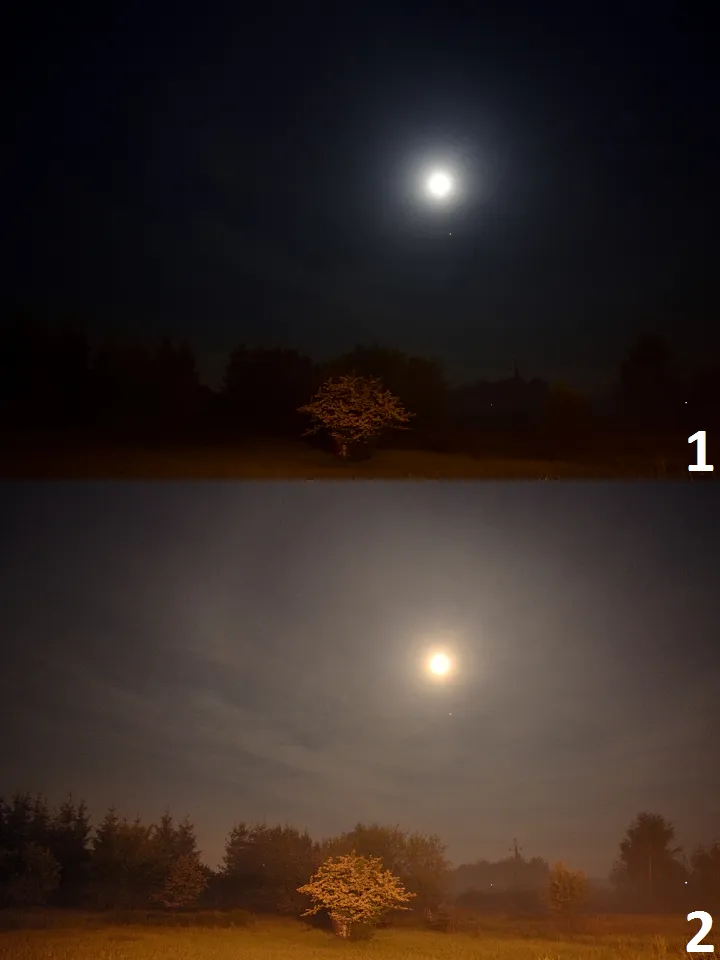
- Night vision effect – is able to record monochrome images with high ISO during night conditions. You have to bear in mind, that pictures may be affected by noise in the form of randomly-spaced bright pixels, fog or lines.
See the pictures below (Pic.1,2,3) to compare all of those effects.
2. ISO sensitivity & exposure time
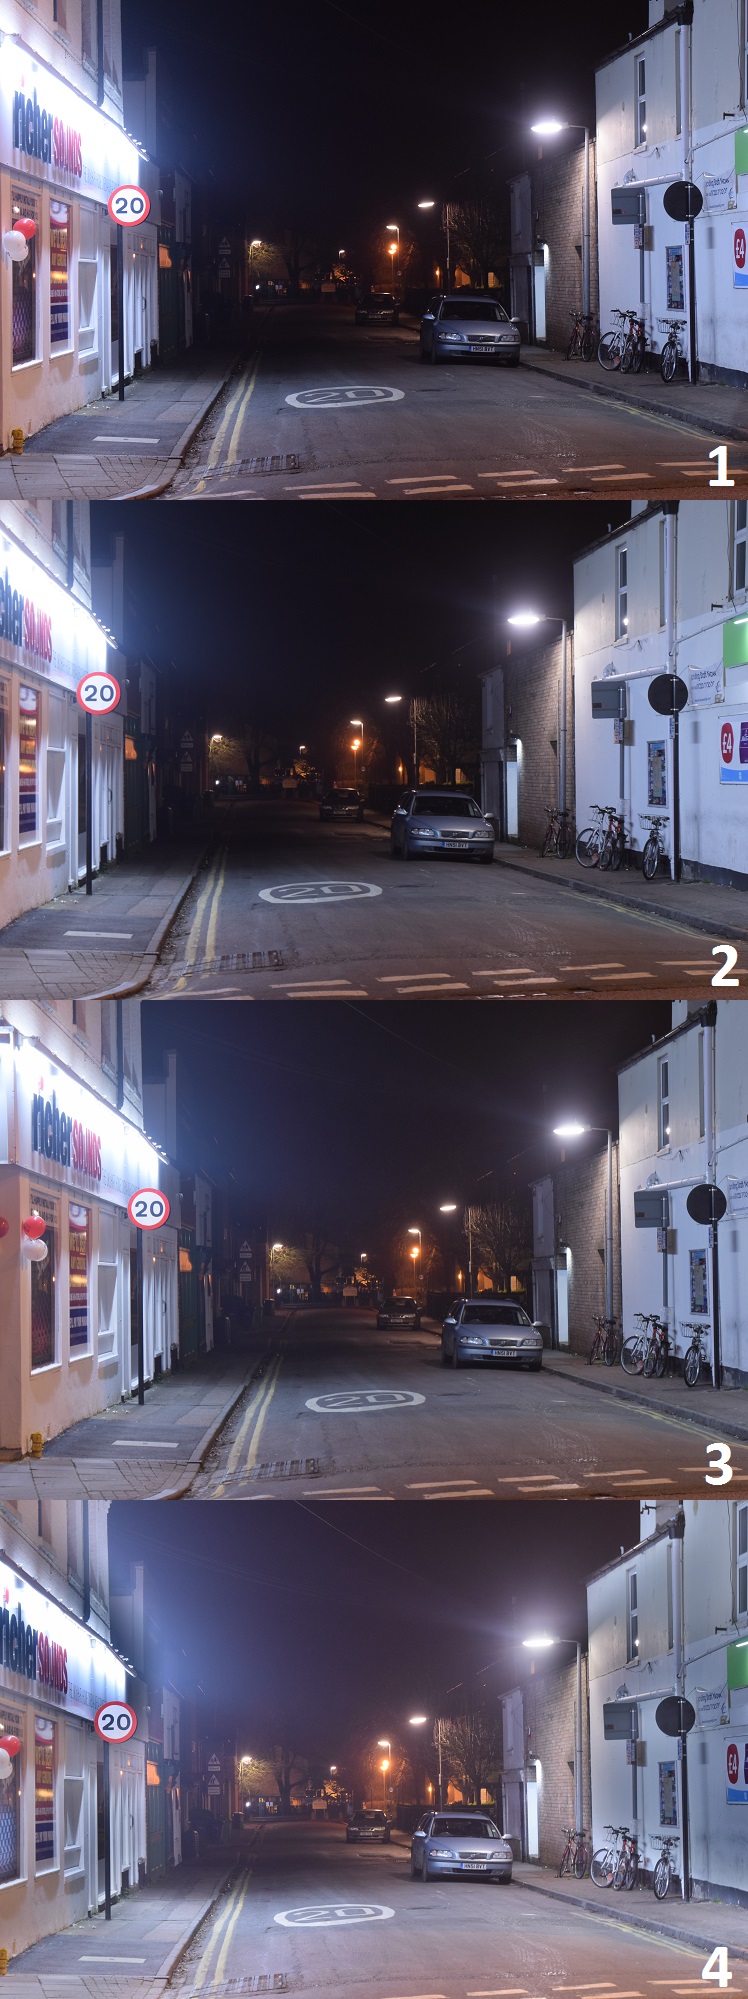
The ISO setting adjusts the D5300’s sensitivity to light. Basically, you can change the ISO value from 100 up to 12800 and also extend it to 25600. A higher ISO enables you to use a faster shutter speed or a smaller aperture (higher f-stop number) because less light is needed to expose the image. Unfortunately, you must be aware, that a higher ISO also increases the possibility of noise. In the D5300 case, this problem isn’t big. As you can see in the picture below (Pic.4) the possibility of noise starts from more than 3200, thereby you are absolutely able to make amazing photos during the night even in dark areas.
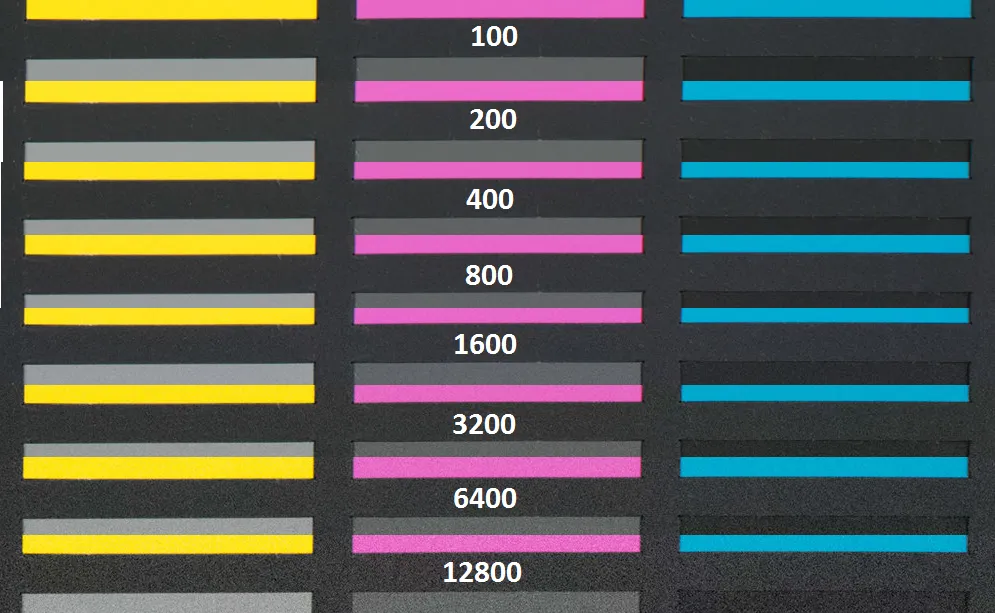
Nevertheless, when you are aiming at astrophotography remember, that the best ISO starts from 3200 (I am taking into account at least 15sec exposure) and you may experience some noises.
The time exposure in D5300 has a range from 1/4000 sec to 30 sec. You can use the bulb mode also.
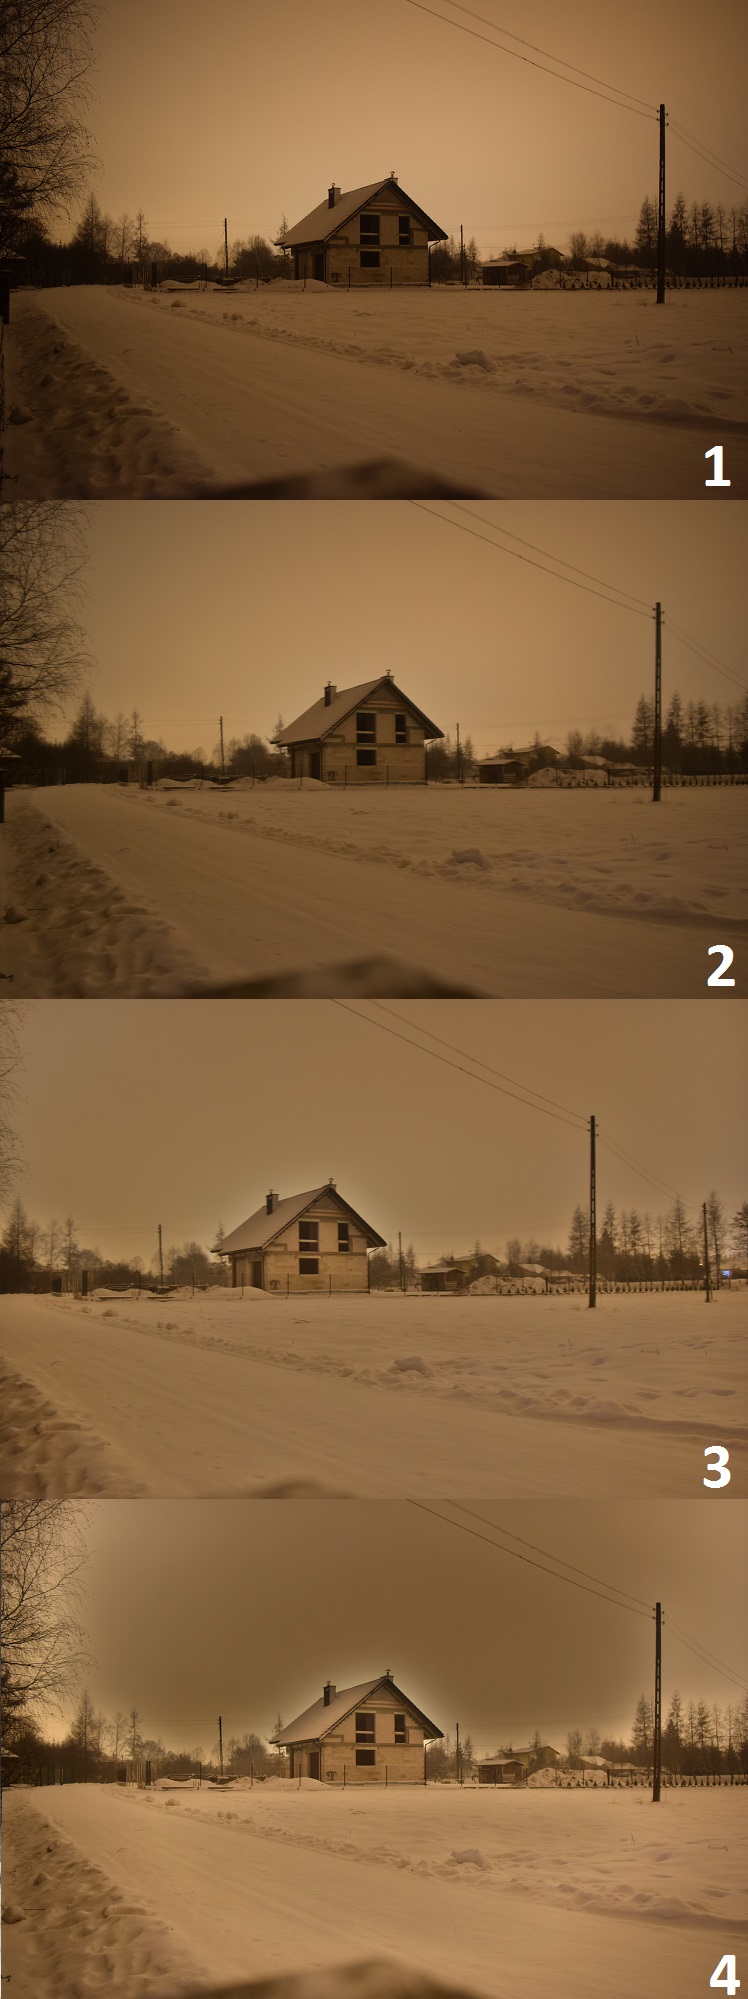
See the pictures below. There are simple examples of D5300 ISO sensitivity (Pic. 5 – 12).
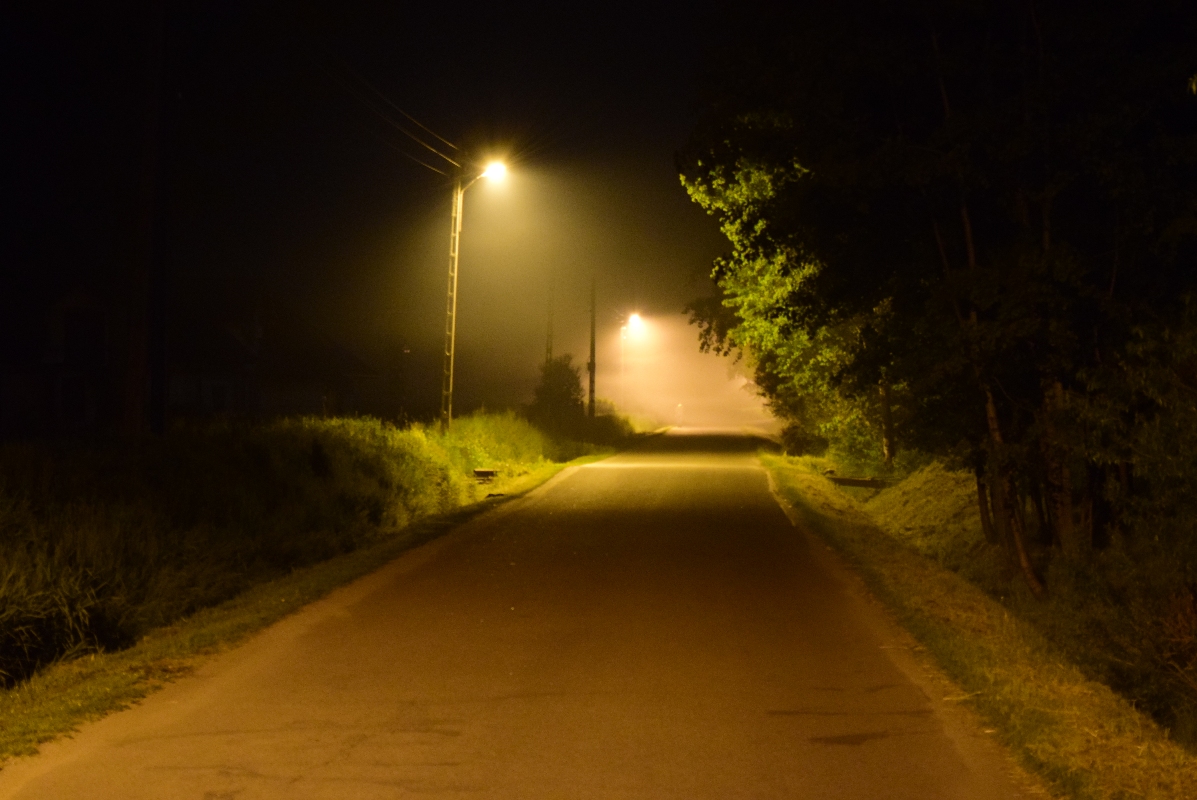
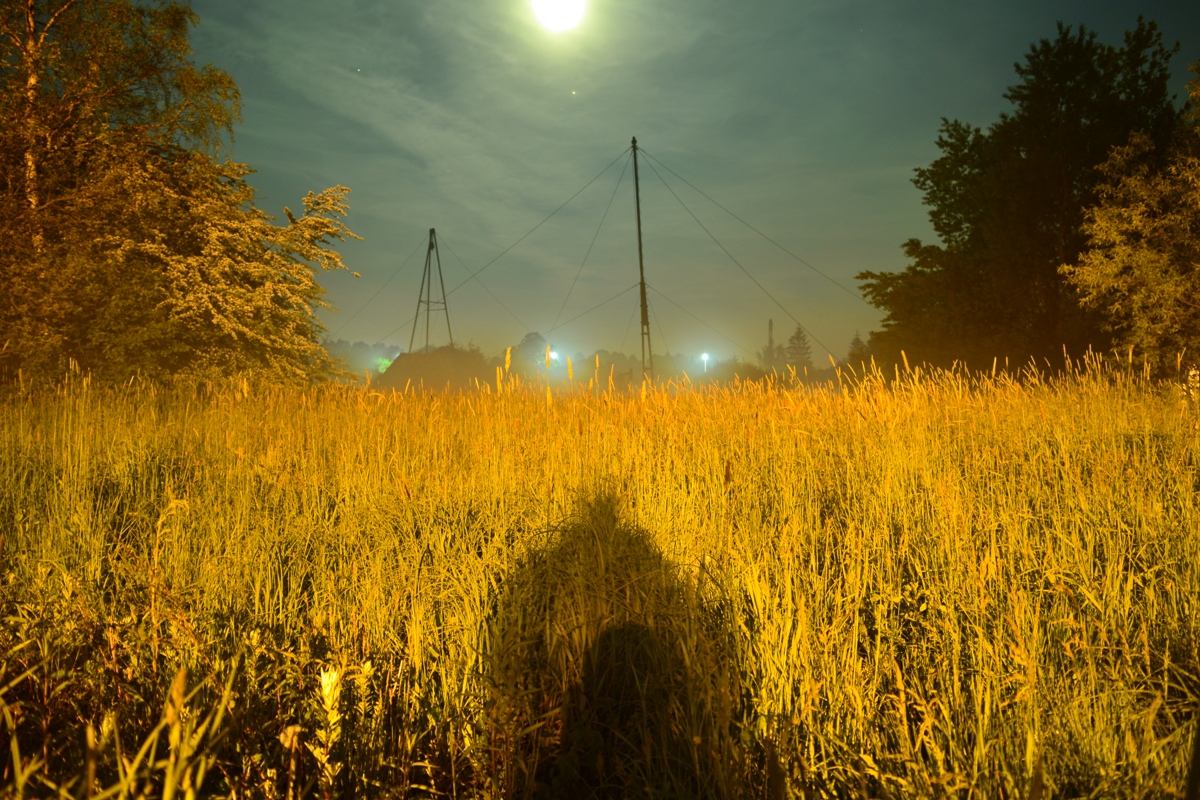


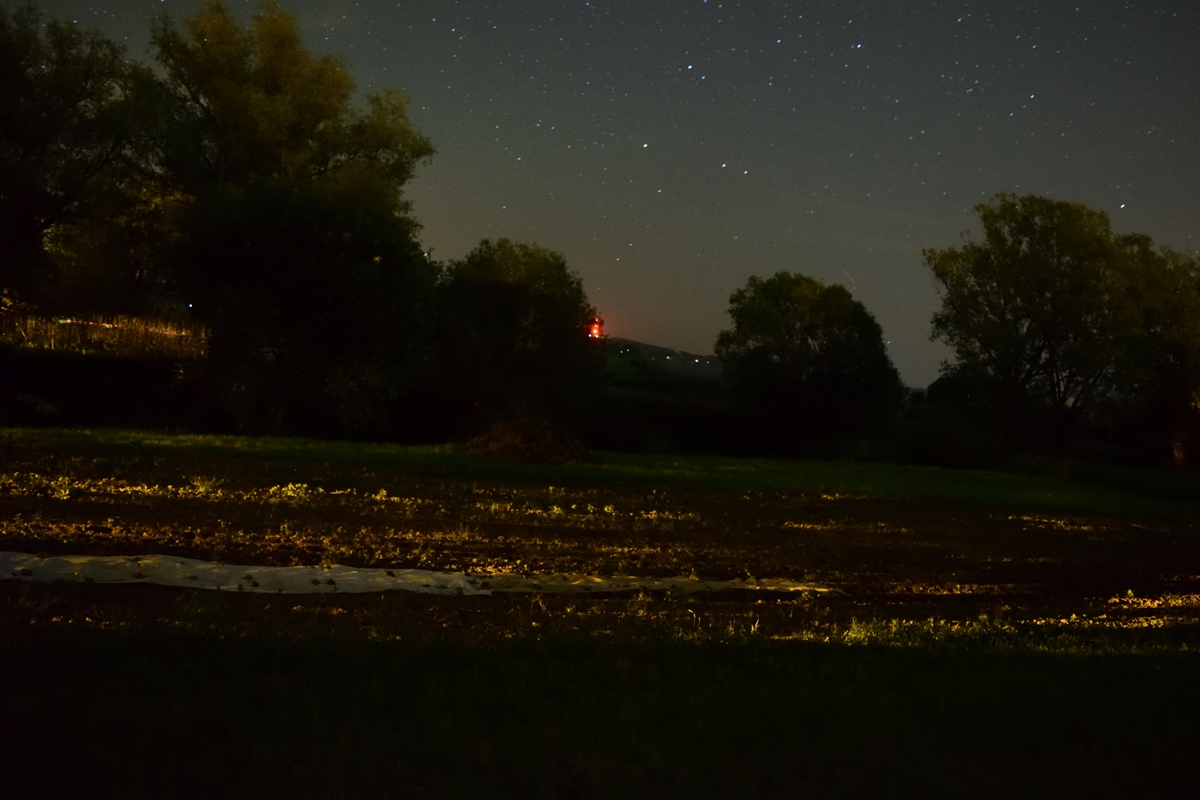
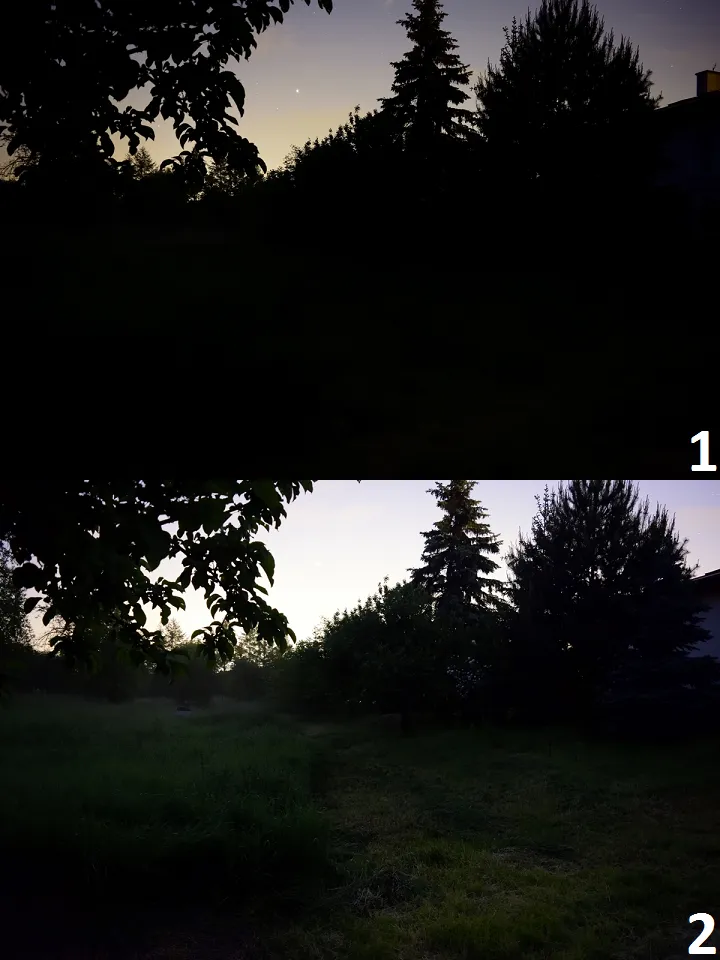
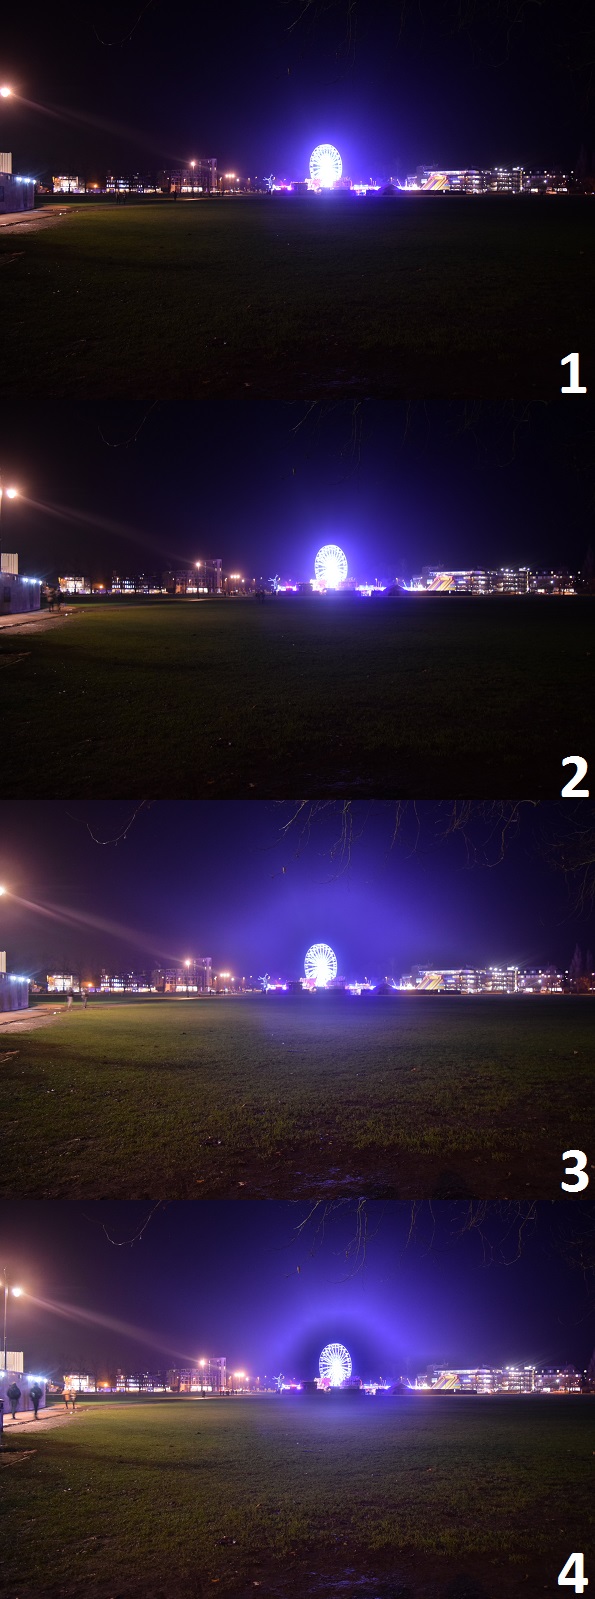
Now look in the photos below for the elements, which are very important during night photography. When you are doing photos with long-time exposure and with high ISO then every light is clearly visible. You can witness the white sky effect also!
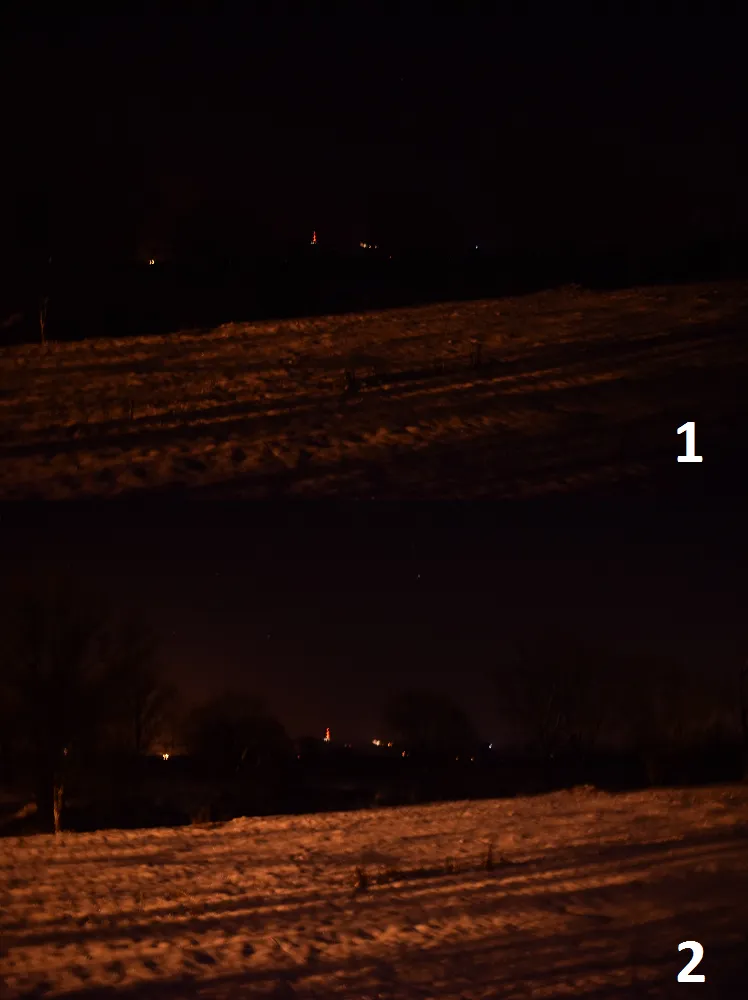
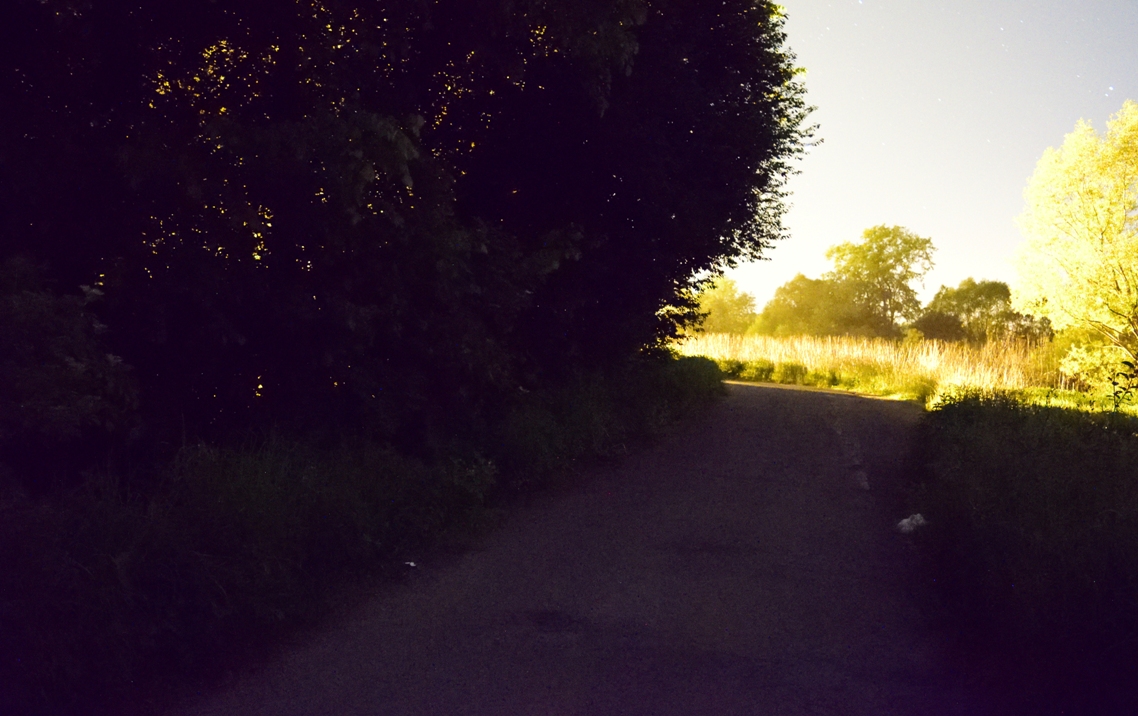
I would like to show you also live examples with D5300 ISO sensitivity. Once, when I was walking in the city I could prepare a good photo sequence with various ISO in conjunction with various exposure times also. See the first effect below (Pic.15,16), where those parameters weren’t kept at the same level. Eventually, every next picture was a little bit darker.

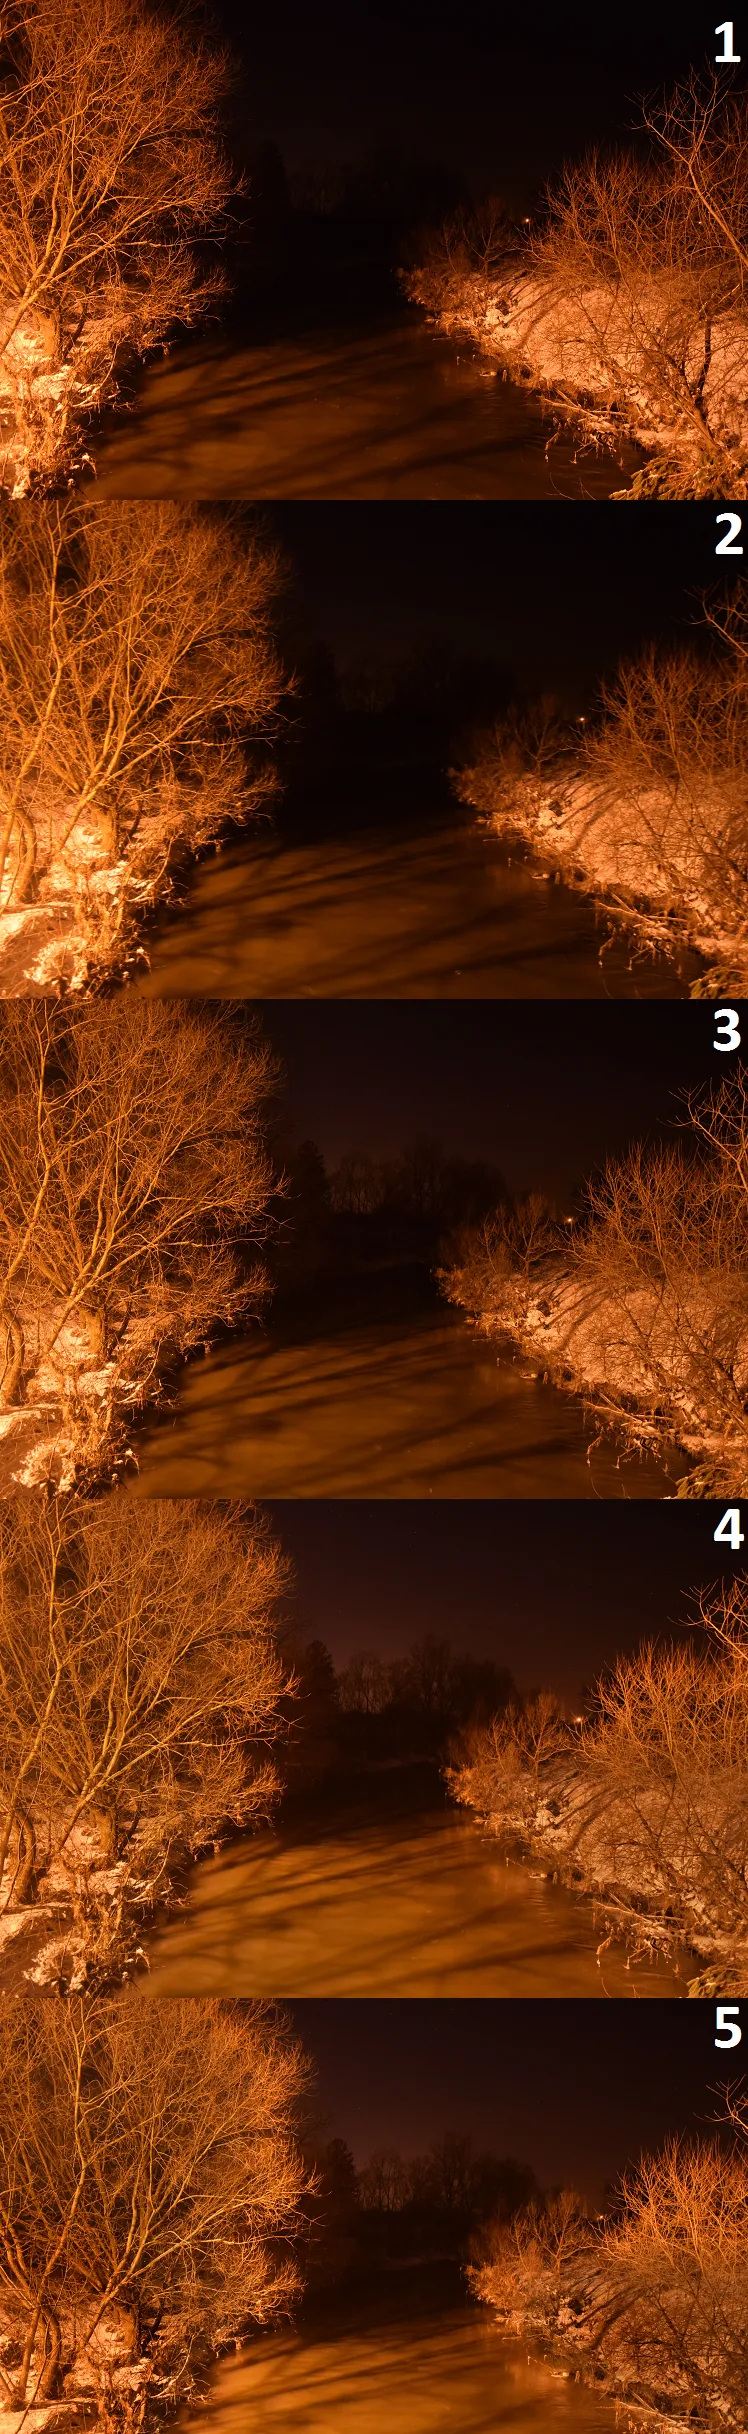
In the second picture (Pic.17) sequence the parameters were kept more or less at the same level, similarly to in Pic. 4 stencils. In effect, you may guess, that every picture looks the same. They differ from each other by noise.

See the last ISO sensitivity and time exposure examples below (Pic.18,19).
Remember, that in the automatic programmes or effects you can’t set ISO and exposure time manually.
3. Image retouch
At the commencement of the D5300 test, I wrote about Image retouching facilities in this camera. You can read more about it in the links below:
Nikon D5300 Test 1 – Jpg image retouch
Nikon D5300 Test 2 – RAW (NEF) images processing
Refers to those articles I would like to stress, that every photo taken by night and with high ISO, high exposure or higher aperture may be subject to retouching. I am going to emphasize D-lightning and exposure compensation only.
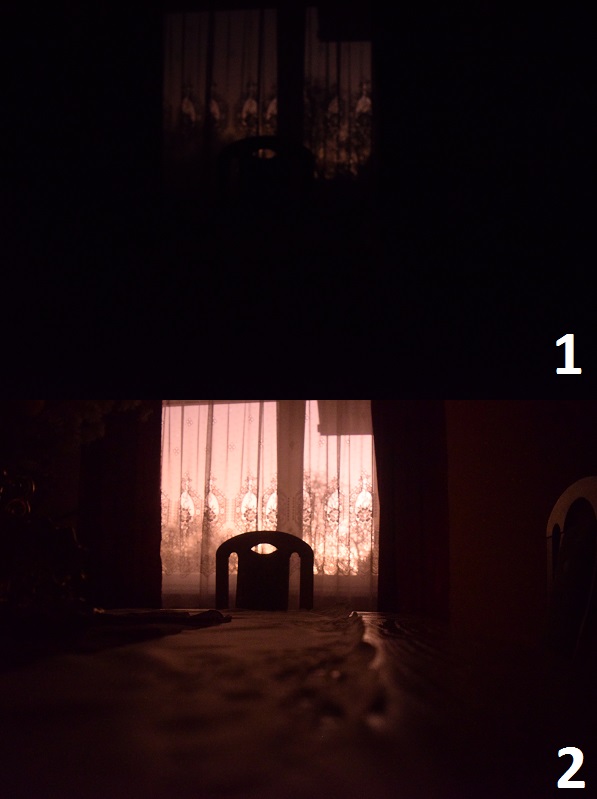
When you are planning to take photos in quite dark conditions or you want to receive a natural balance between the main subjects and the background after the fast shutter but you feel, that your photo is too dark. Use RAW format to save your photo. After this, you will be able to refine your photo manually much easier as you want. Set D-lightning on the High option. When it won’t help change the exposure compensation in your photo. Exposure compensation is used to alter the exposure from the value suggested by the camera (Pic.20, 21).
4. HDR Support
You can use the High Dynamic Range in night photography also but is very important to see where certainly is a source of light and what is the attitude of the light to the area, which you would like to capture. You can learn more about HDR from my previous article about D5300.
However, in my opinion, using the HDR during dark conditions is slightly different. First of all, the same as during the day you have to adjust your HDR value properly, otherwise your photo will look like a painted sketch. The night lights are weaker than daylight, thus your exposure time is longer and you have much more light sources at all, not mainly 1 or 2 like during the day.
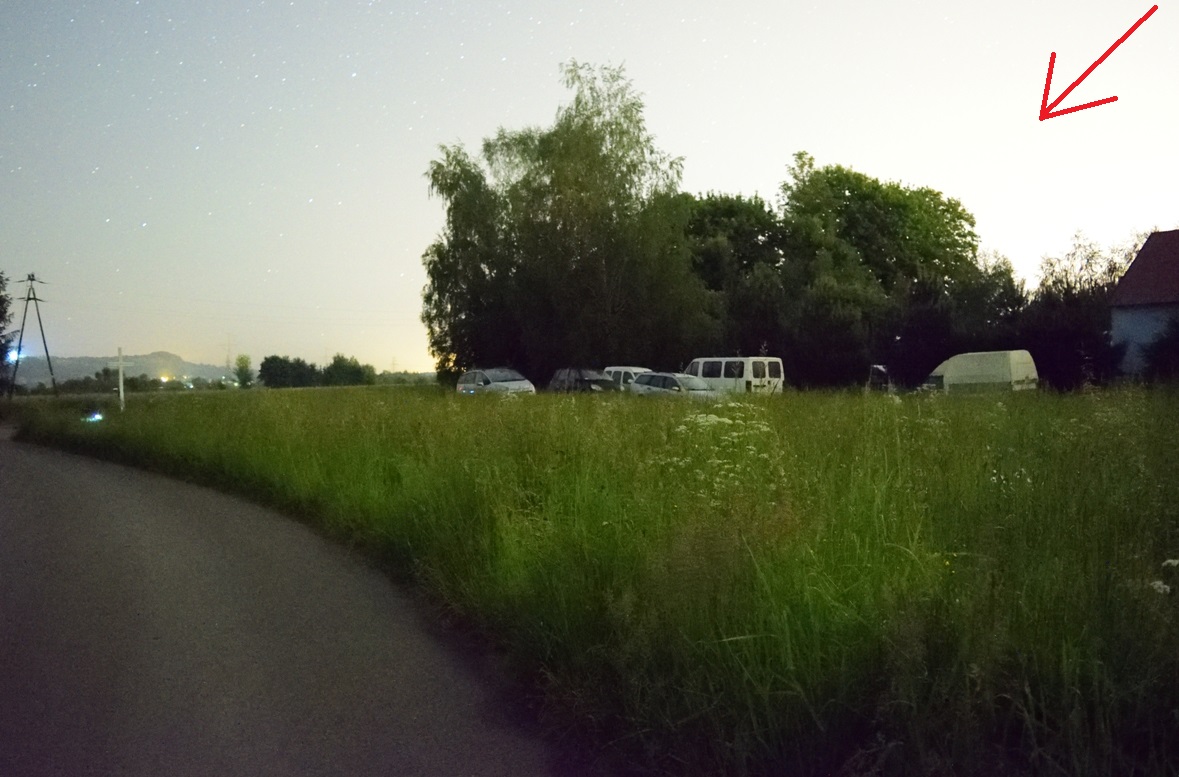
If you are planning to use HDR take into account 3 basic situations (Pic.22):
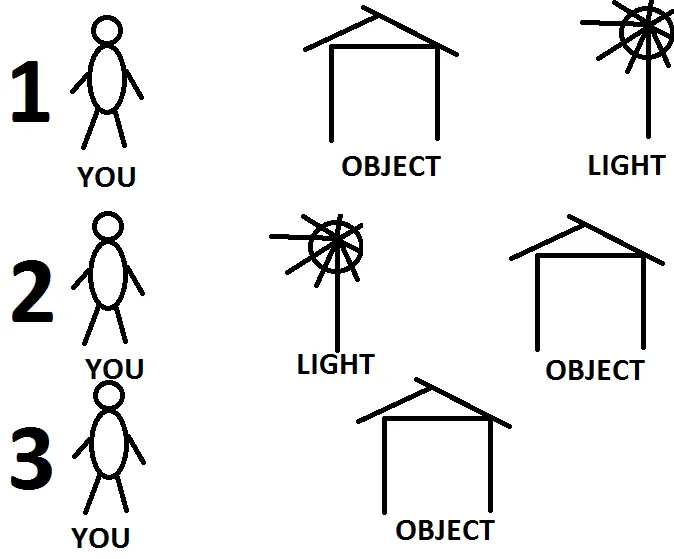
1) You – Object – Light – you are going to take a photo of an object, which is covered by the light beyond. You can use HDR medium level only.
2) You – Light – Object – when you are going to capture something, which is outside the light beyond is essential to use an extra high HDR level.
3) You – Object – in this situation you can use an extra high HDR level and make your photo slightly brighter.
Now you can see the examples (Pic.23-27).

There is a different situation too, like in Pic.28, where the light source is behind the photographer and the main objects are very bright but the background is almost completely dark. In this case, you need to put an extra high HDR level also.
In another situation (Pic.29, 30) the light source is quite far from you, but everything in your view is dark. In this event, you mustn’t exaggerate and try to make the picture at a medium HDR level only.
High Dynamic Range may support your night photo because it’s going to be slightly brighter. In many cases is easier to create a proper view, especially in dark-bright places. Otherwise, when you put a very high ISO and you have some brighter parts of your view it may create a noisy picture with a white sky effect! (Pic.30,31).
Almost every photo has been done with an f3.5 18mm lens.
5. RAW Images
You can take the RAW images and make various modifications to them the same as during daylight photography. Read more here.
Mariusz Krukar
References:
2013, Nikon D5300 Reference Manual, Nikon Corporation
Links:
How to control ISO in your Nikon D5300?
How to adjust your aperture and shutter speed in the Nikon D5300?
Movies: