The United Kingdom addresses are specific because usually, a single postcode applies to a single building or at most a compact group of properties. It means, that these objects can be found very quickly, even when we are facing a bulk of addresses. Imagine, that under one unique postcode, you have a dozen or so flats. Your goal will be achieved solely when you find the right postcode. This is a very convenient way.
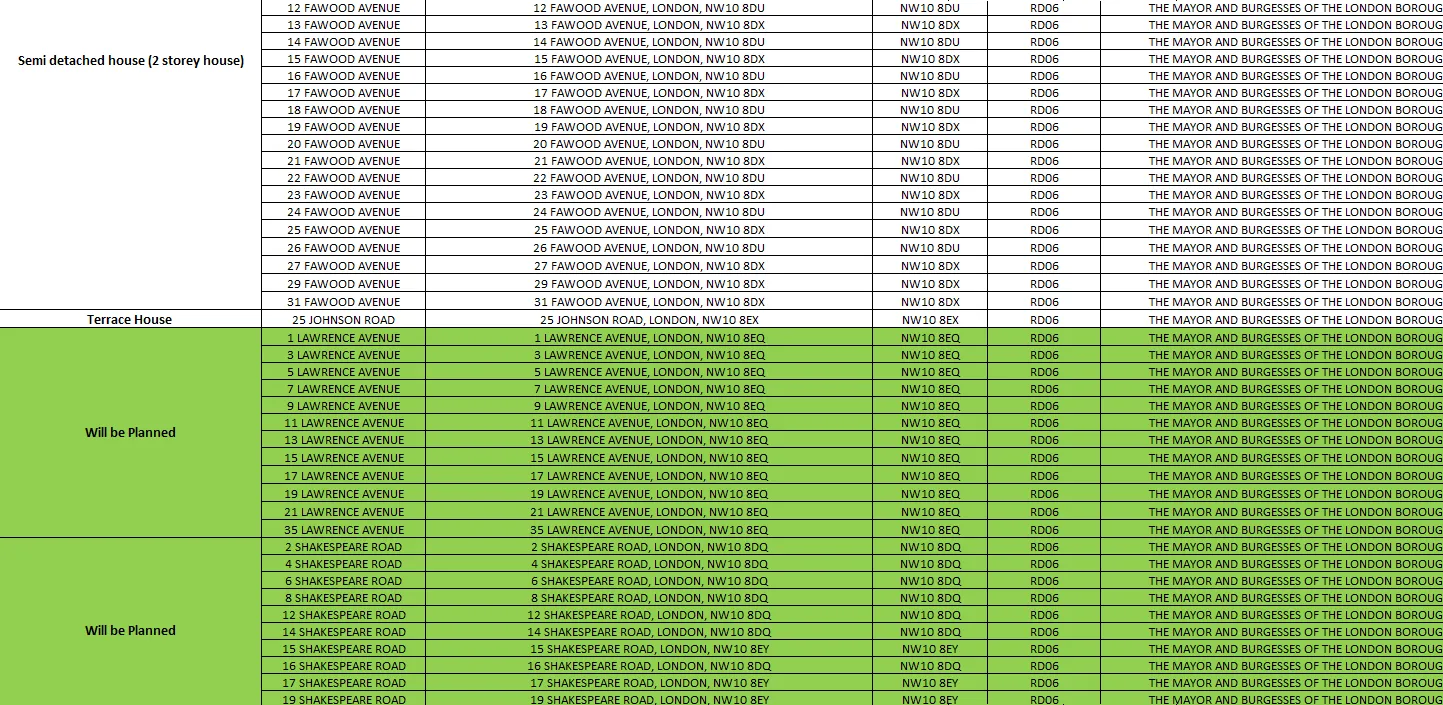
In my example file, I have got a few thousand single flats in London, listed in MS Excel (Pic. 1). MS Excel is a common way to store bulk data of single properties address. Having it there, we can use the filter tool to group all single properties belonging to one unique postcode. Anyhow this is not my solution for now, because you would like to have them placed on the map I believe.
How to get about it, in order to have it placed on the map? First of all, I would recommend distinct all unique postcodes, visible in our Excel spreadsheet document. As I mentioned above, the first thing, that comes to our mind is the filter option in MS Excel, although I won’t explain it here.
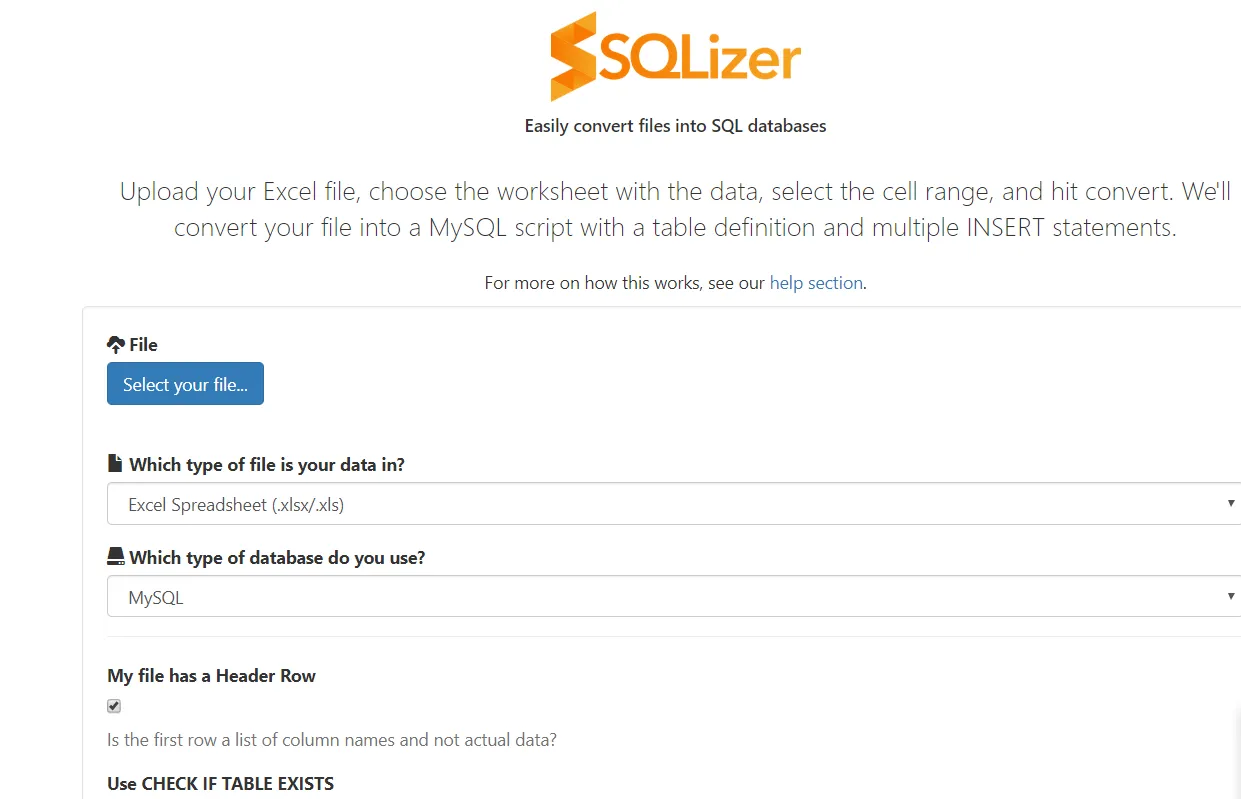
For my purpose, I must make this Excel spreadsheet as a .sql file. The quickest option is a straight conversion between .xslx and .sql formats. You can do it using i.e. SQLizer.io (Pic. 2).
Afterward, we must import our new .sql database into the PHPMyAdmin (Pic. 3).

The image above shows only a general way to upload your file. You can use different options or upload a file format other than .sql.
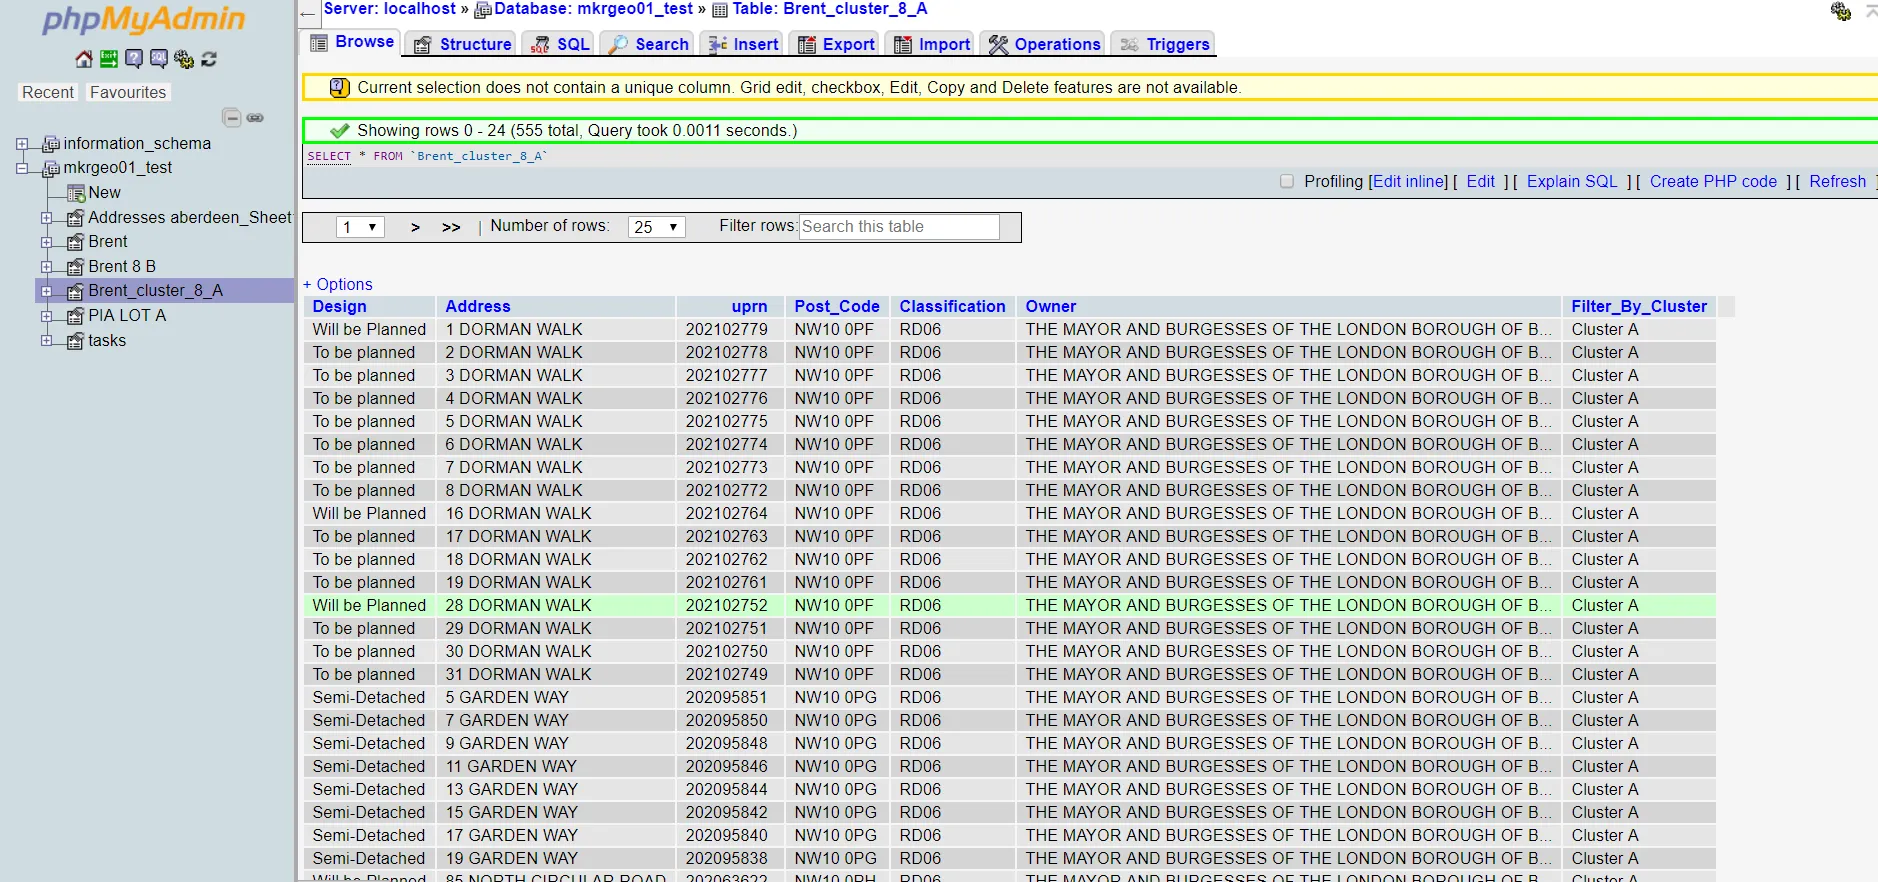
If you uploaded the file successfully, you should have a list as follows (Pic. 4).
Now we must figure out, what to do, to squeeze up our address list as much as possible. As per my opinion above, you usually have a bulk of single addresses, assigned to much less amount of the unique postcodes – particular locations (at least it works in the United Kingdom like this). Then we must find a quick way to distinguish these postcodes.
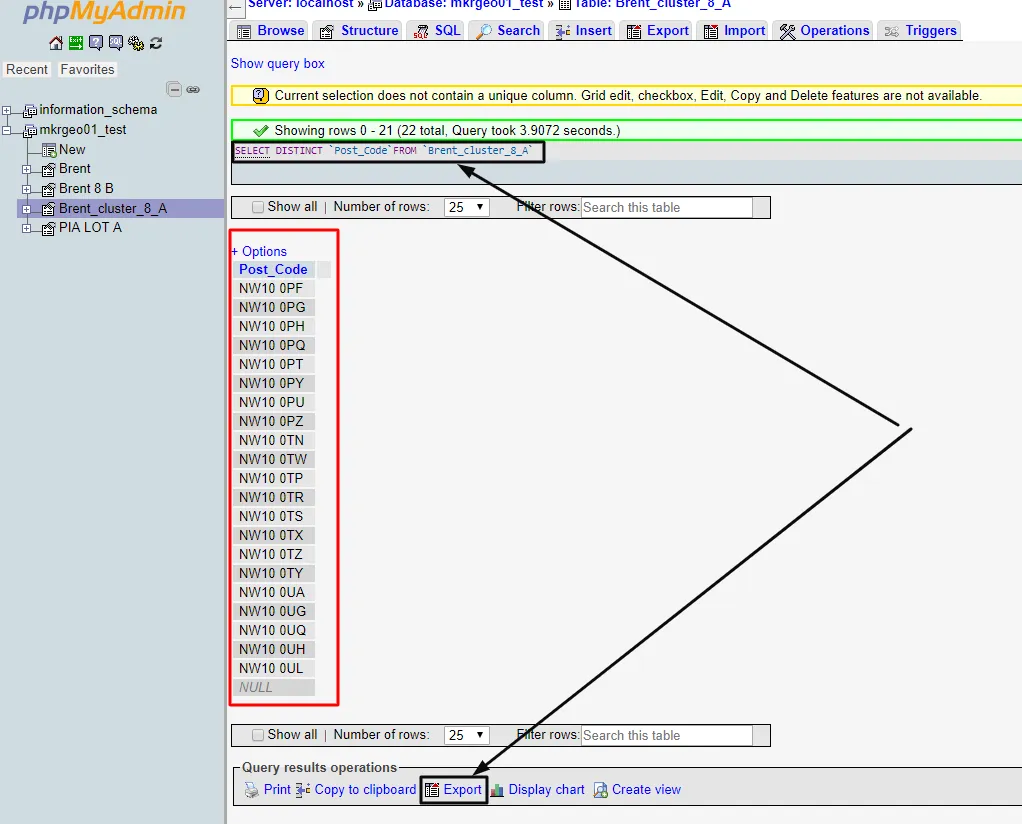
Now, comes a simple query – SELECT DISTINCT column FROM the table (Pic. 5), which tidies up our data extremely quickly.

This command must be written in the “SQL” console, available in the main bar on your PHPMyAdmin (Pic. 6).

Once we are happy with our result, the next step leads to the export of the data sorted (Pic. 7).
We can export our data, by choosing one of a few file extensions (Pic. 8). I would recommend downloading our data as a .csv file.

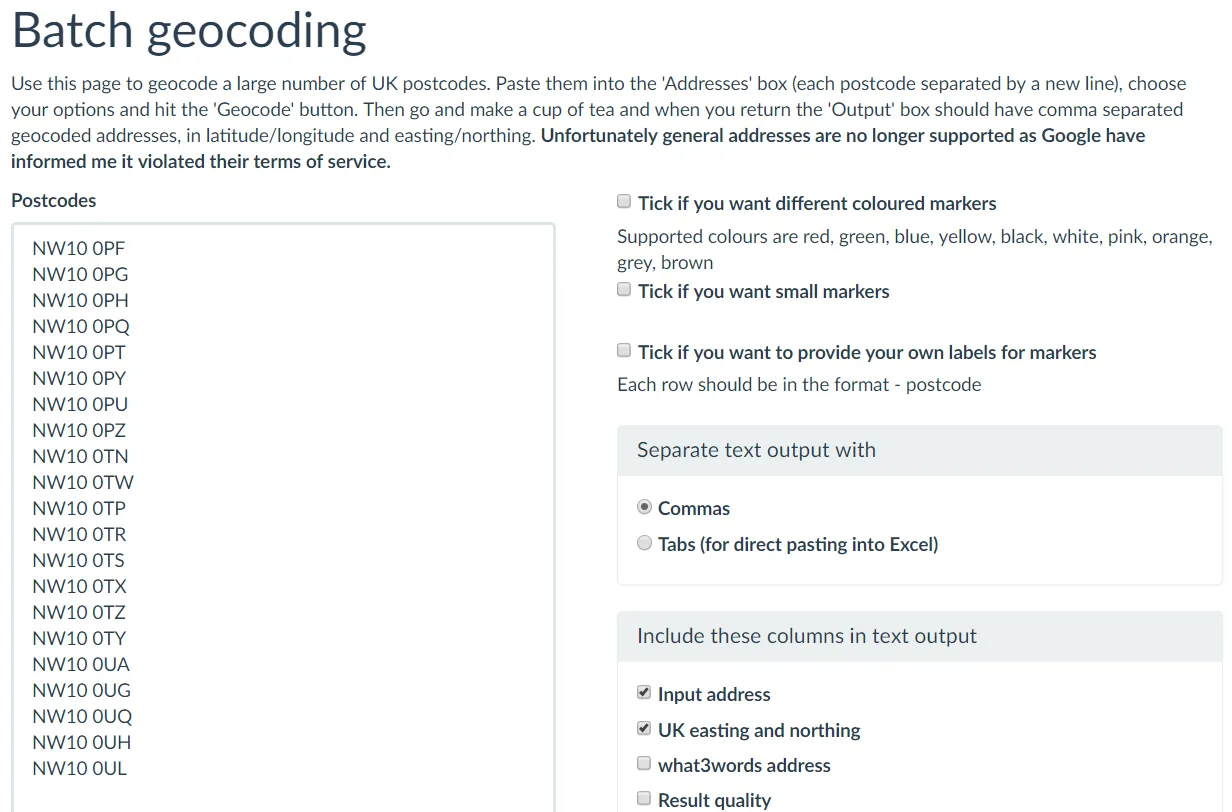
The .csv file extension can be quickly uploaded into batch geocoding tools available on the web. The most convenient, I believe is Doogal.co.uk (Pic. 9). You can literally copy and paste the codes there. Once your amount of codes is small, you even don’t need to export your data from PhpMyAdmin. Just copy and paste into this batch geocoding tool (Pic. 9).
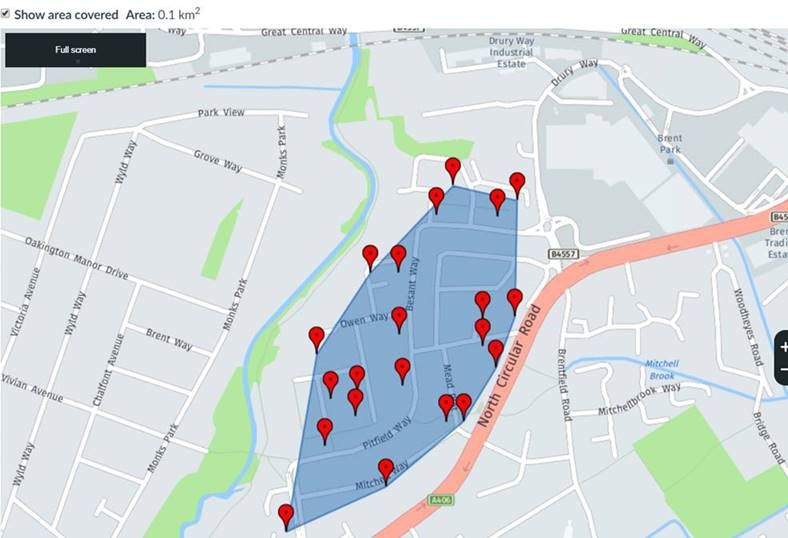
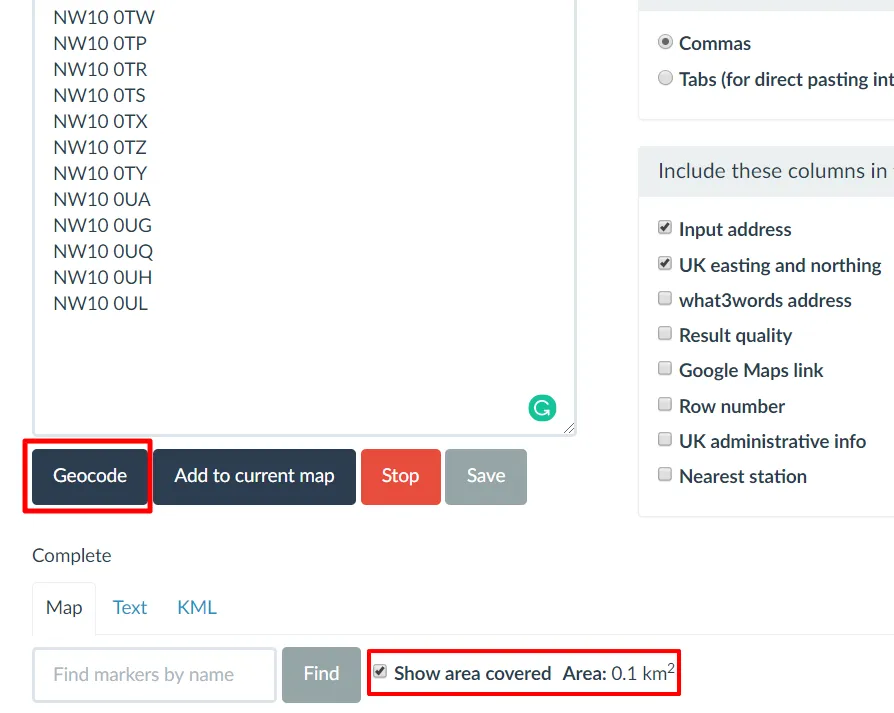
Our literal last step is clicking two elements. One is the “Geocode” button, and another is thick with the “Show area covered” option (Pic. 10).
Finally, you should get the result in the picture below (Pic. 11).
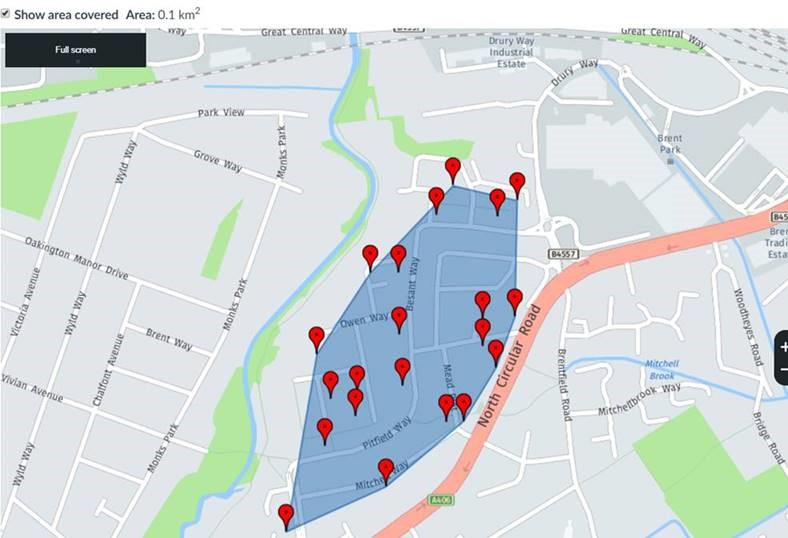
A map shown is one of three options to display the geocoded postcodes. You can also switch to the “Text” or “KML” options. Through the “Text” you can copy them and save them as a .csv file or download them directly as a .csv file. The “KML” option is the same and refers to the .kml files.
Doing it in the other way – by another, PostgreSQL database we must follow the steps:
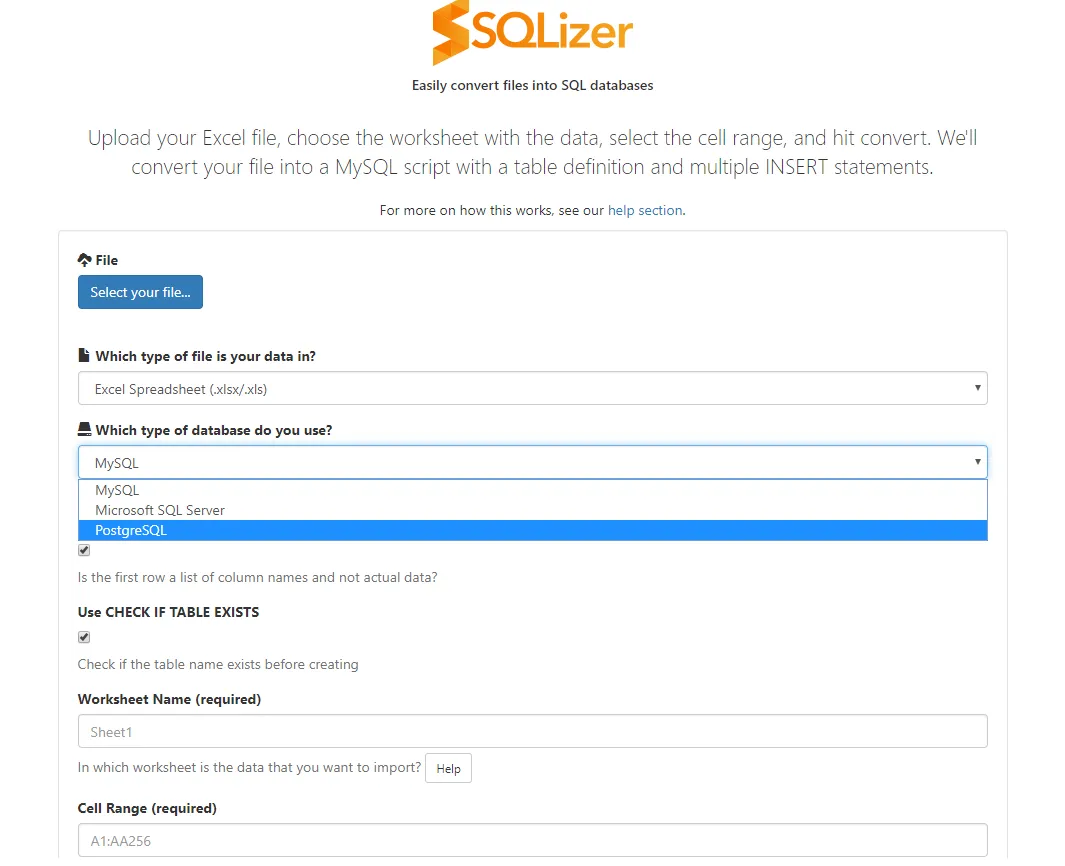
In Sqlizar.io the option “PostgreSQL” must be selected (Pic. 12).
Thereafter importing our newly created .sql file into PhpPgAdmin should be straightforward (Pic. 13).
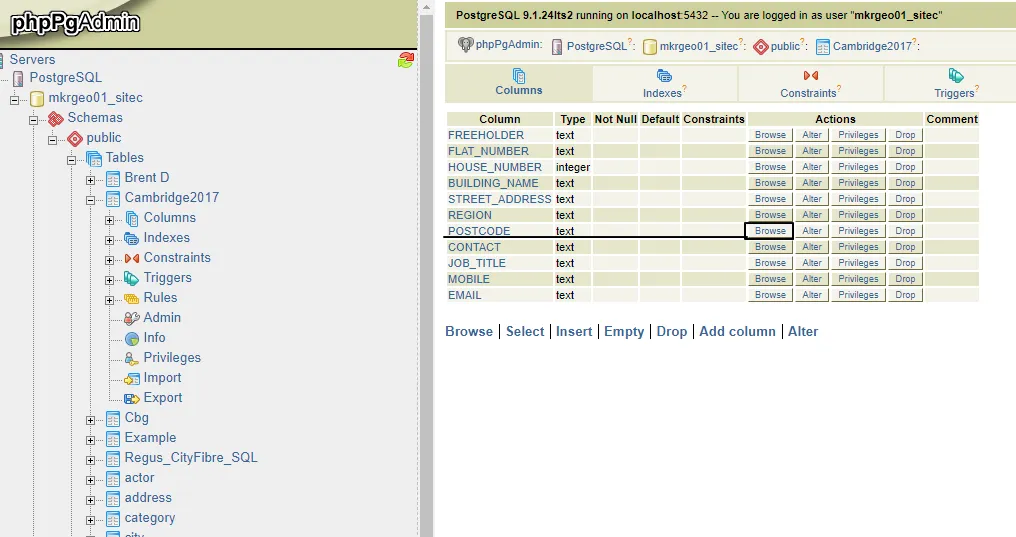
In this event, all columns belonging to our table have been sorted. We don’t need to type the “SELECT DISTINCT” option here, because the PhpPgAdmin has been done already for us. You must only “Browse” the interesting column as per in the picture above (Pic. 13). Clicking the “Browse” button you are instantly redirected to the column, where all our postcodes have been sorted along with the “SELECT DISTINCT” command, as we know from MySQL. Moreover, you also know how many times the single postcode repeats throughout the column (Pic. 14).
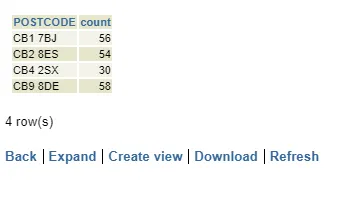
Having this key information, you can export this data into your destination file like an Excel spreadsheet or .csv document. In this case, you can drag, mark all of them (if your dataset looks like this – very small), and copy them into your file. Saying wholeheartedly far better option will be clicking the “Download” button underneath, which should show you the entire list ready to take away (Pic. 14).
Before you get the data ready, firstly precise file format is required (Pic. 15).
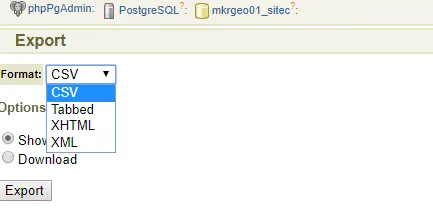
In my case, it’s the .csv file. Clicking on the “Export” button you should get raw data, ready for further use (Pic. 16). Thereafter copying it into i.e. MS Excel won’t be a big deal.
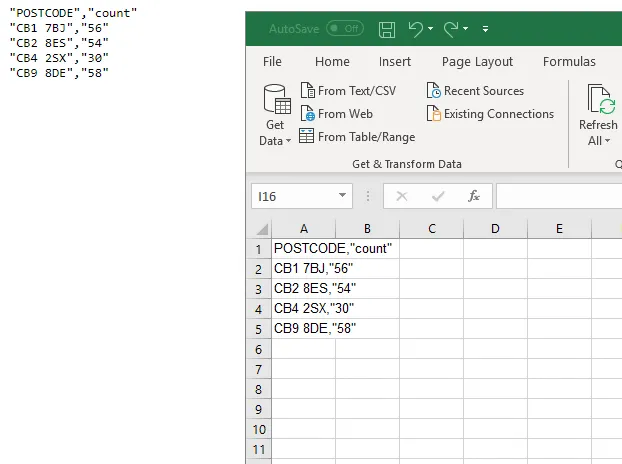
You should get the data compacted in one column, although the customization won’t be difficult (Pic. 17) because it’s only 1 step, which you can overcome. This is dividing the data into 2 columns.
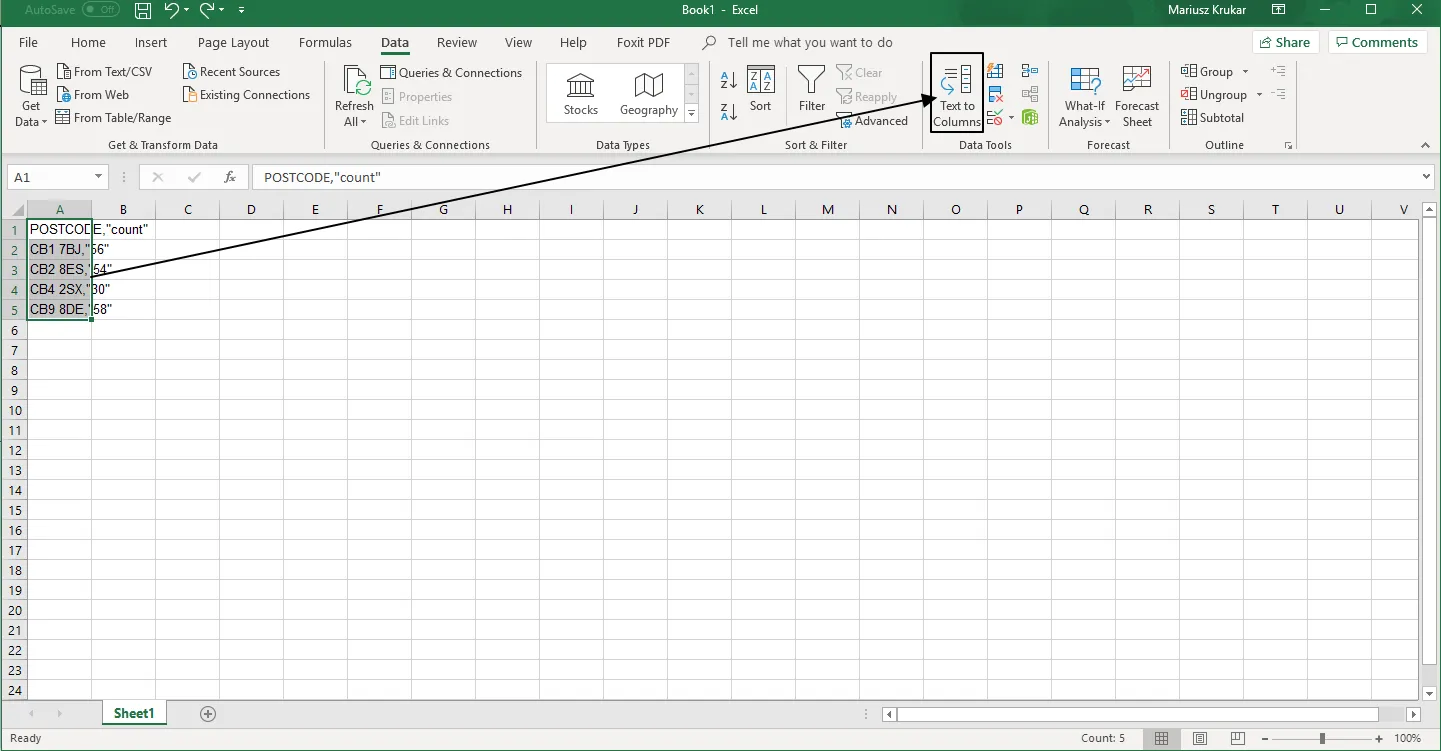
In your main toolbar select “Data”, and find the next “Text To Columns” as per in the picture above. As a result, you should have the data sorted (Pic. 18).
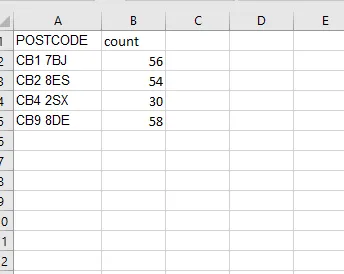
From this moment your data is ready for geotagging.
I have presented you two ways of swift UK postcode organization in order to further geotagging. It looks like the PhpPgMadmin option is quicker.
Mariusz Krukar
Links:
Read also:

