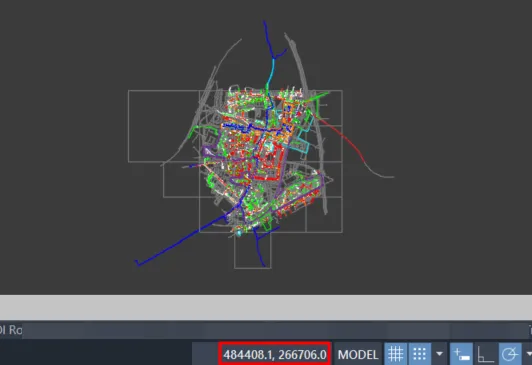
I would like to show you a nice feature in this short article. You can use it in your AutoCAD software and the LT version. It applies to searching (or zooming) the object by coordinates.
When can it be useful? Usually, in the case of validation of your projects, you have thrown some coordinates.
Usually, the coordinates in AutoCAD LT are shown in the bottom sidebar (Pic. 1). They change as you move your mouse cursor across the project.
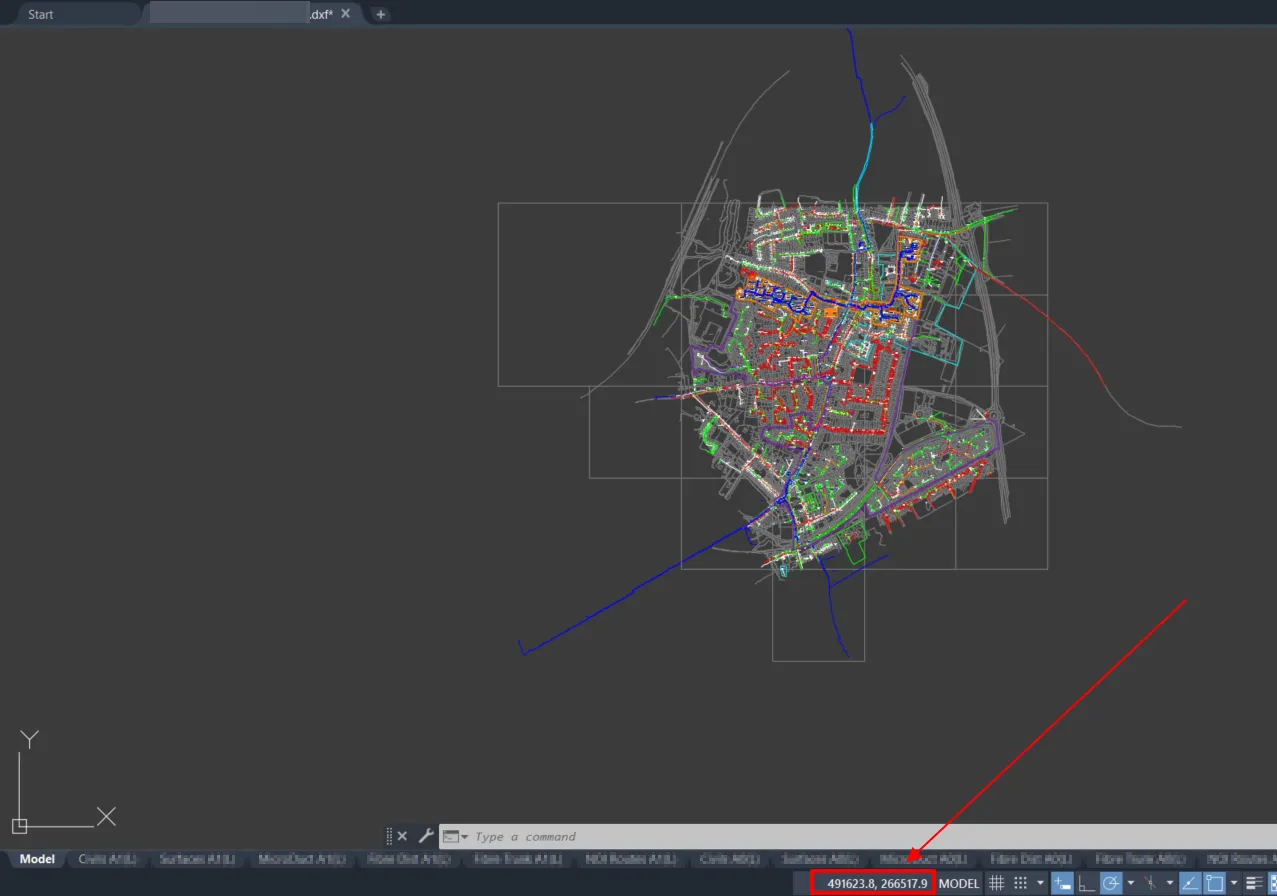
In your validation document, for example in Excel, you can find the coordinates of the given place across your project (Pic. 2). They can appear separately or together in one column, split just after the comma. Everything depends on the coordinate system applied to your project as well as further formatting in the Excel file.

In order to reach the specific place in our AutoCAD LT project, we need to use these coordinates.
Let’s consider the very first example with the following coordinates: Easting: 496011; Northing: 268847
The easiest way is to type the ZOOM command in the command box. Next, we should select the Center option (by clicking it or typing the C letter) and Specify the center point, where we provide its coordinates for the Easting (X-axis) and Northing (Y-axis) accordingly. The last step is to Enter the magnification or height, which will specify the level of our zoom (Pic. 3).

When you take a look at the Enter magnification or height command, you will see the value in the brackets <4480.0>. It corresponds to the current zoom of your project (Pic. 1, 4), which we are going to adjust by typing optionally the closest view as possible (10).
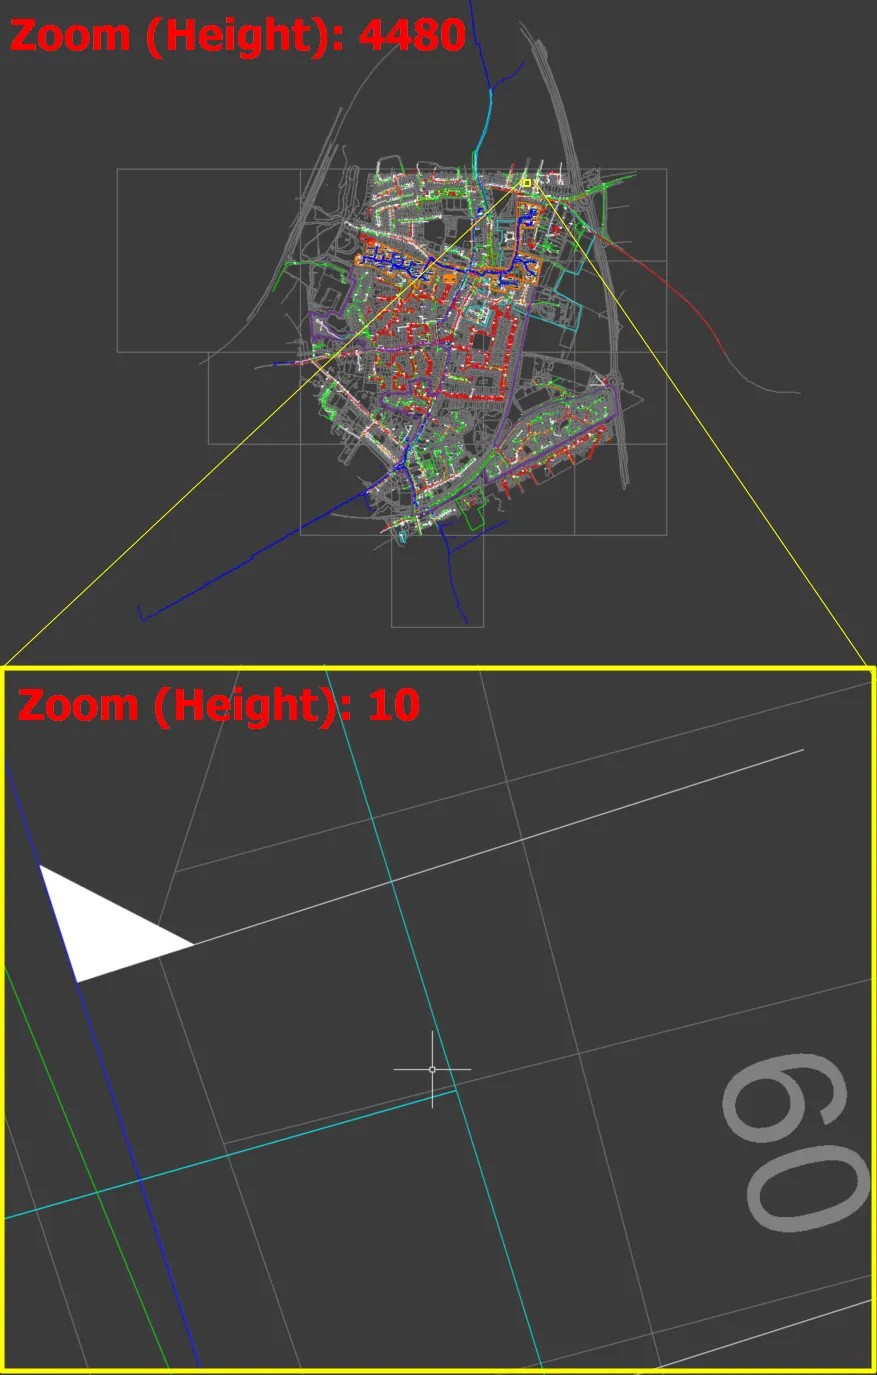
I used intentionally the expression “the closest view as possible” earlier because you need to find the balance between a good zoom level and a decent view of our zoomed area. You can set the value even smaller than 10, but I doubt you will get yourself easily around the problematic area. On the other hand, by setting higher values you will eventually get a smaller zoom level. It means, that your view will be less precise. The biggest disappointment might come out when after zooming in you will see the coordinates different than provided by the command. In a case such as this, you can move your cursor to the center of the viewing area or simply type the VIEWCTR command, which should return your correct coordinates just above the command box (Pic. 5, 6).
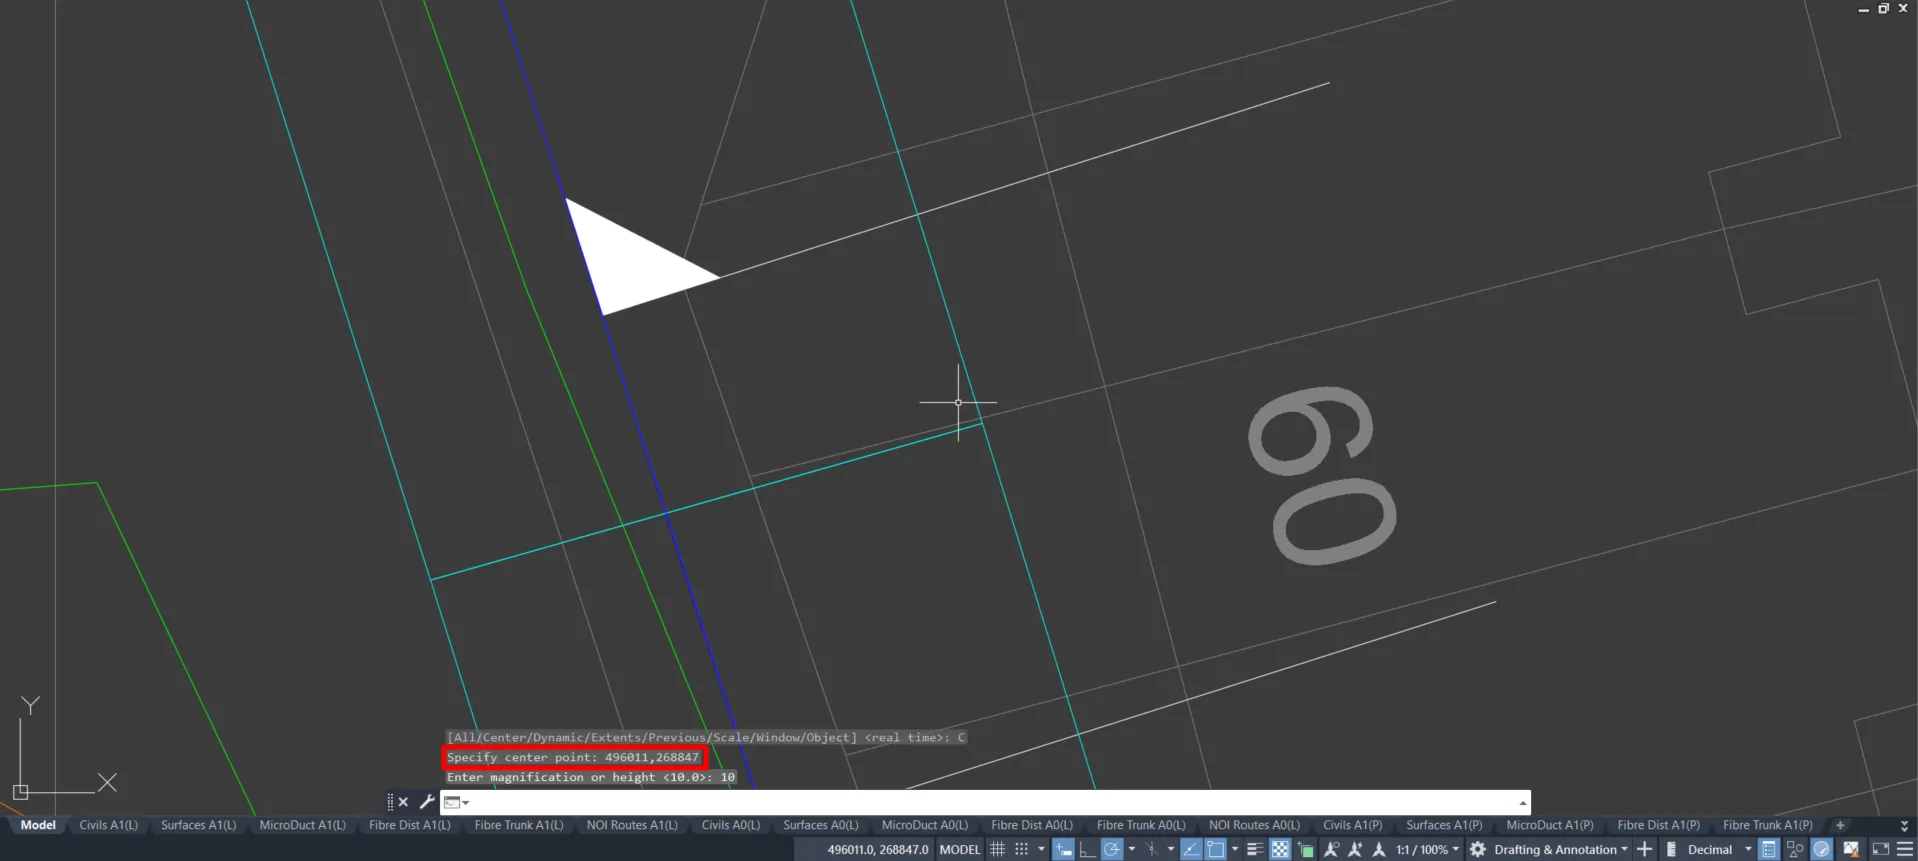
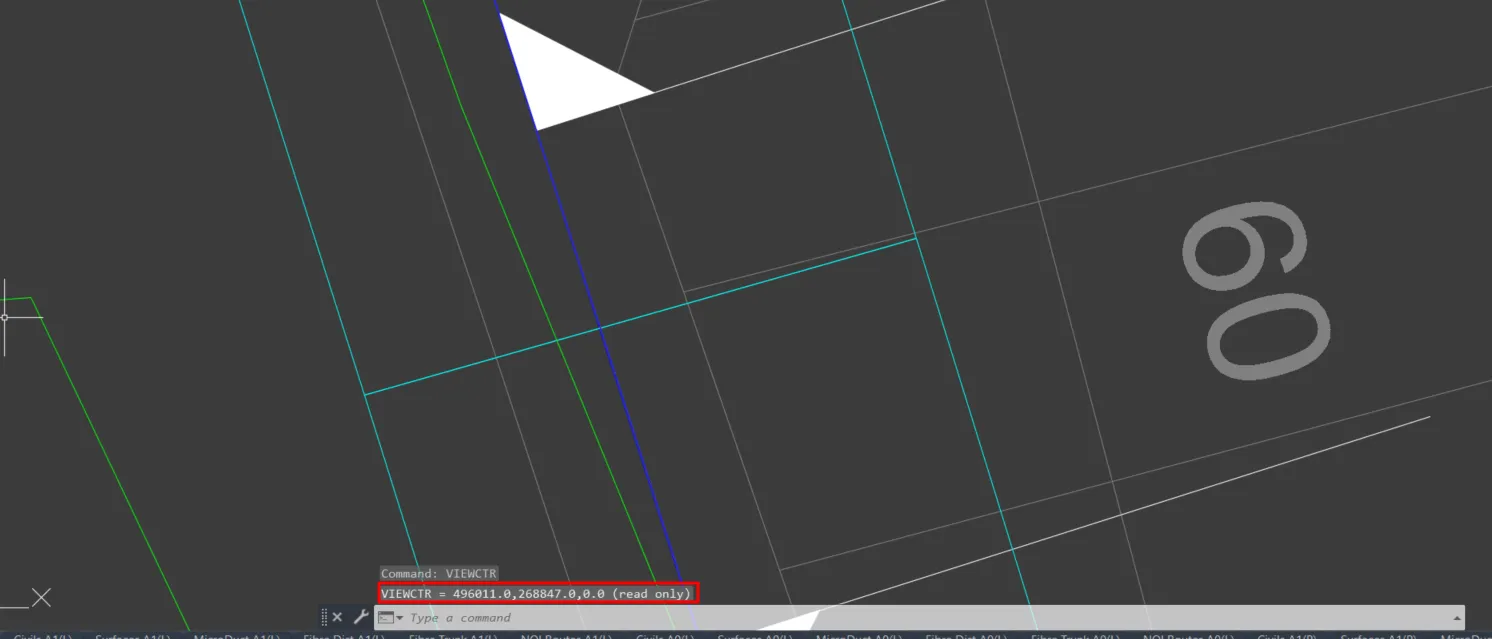
As you can see, we can easily get to any point within our project by providing coordinates.
Mariusz Krukar
Links:
Forums:

