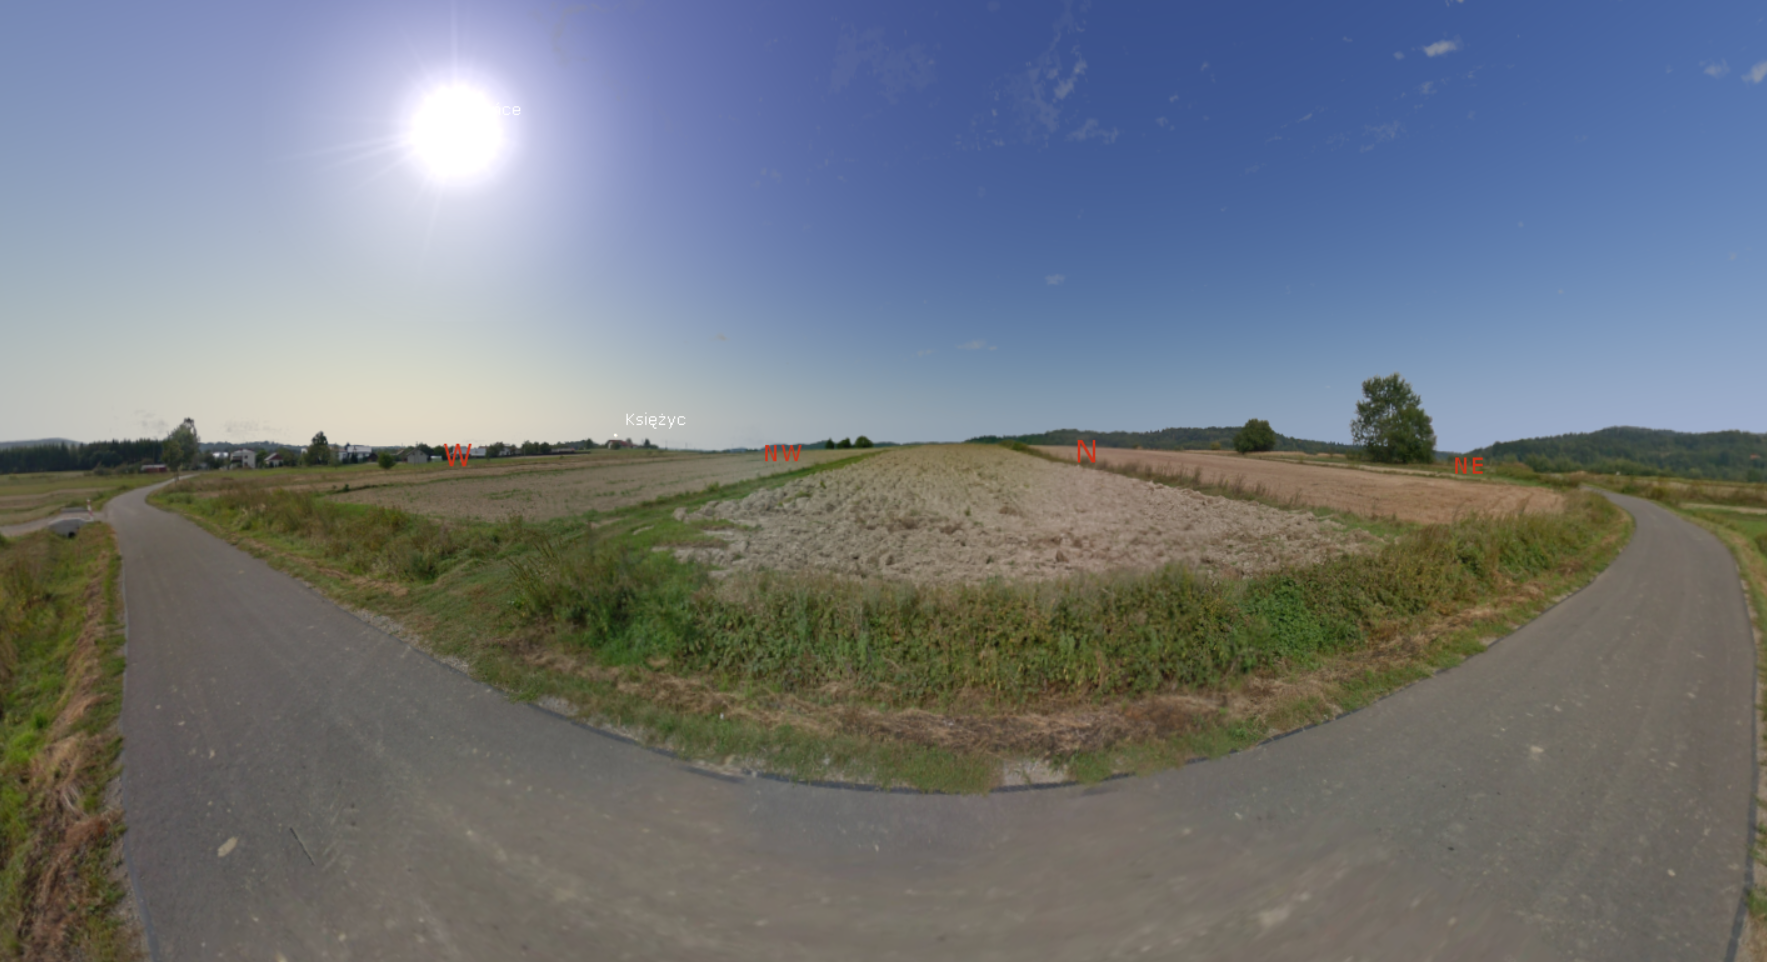
If you like watching the night sky, you must have been using at least one of the stargazing (night sky) apps or software. Mustn’t you?
One of the most popular software, which is both easy to use and contains most of the relevant stuff for night observers is Stellarium. The current version of this program at the moment, when this article is producing is 0.19.1. Today I would like to discuss the custom horizon option available.
Customizing the landscape in Stellarium can be a really fascinating exercise, especially when you are doing it for your own landscape, which has been known by yourself for a very long time. Now you can transfer your real view into this program and enjoy the stargazing simulation.
I won’t explain this stuff, due to its wider availability on the web. I would like to show you the nontraditional way to get the vista, which comes from…Street View.
- DOWNLOADING THE STREET-VIEW IMAGE
The street view image is not downloadable in a traditional way, as we used to do in the case of other web-based images, where we right-clicked on the image and chose “Save image”. In this event, a relevant tool is needed to get our 360 views.
Firstly we should refer to the (former) iStreetView.com, which gives us an opportunity to find our panorama (location).
Next, you must follow the steps, which have already been presented widely on the web i.e. in the footage below. Remember to install the small tool Street View Download 360, before you get through.
In case of difficulties, which came out recently, it is better to find your place in Google Maps Street View, then copy the link into this app and generate the Street View image ID as per in the picture below (Pic. 1).
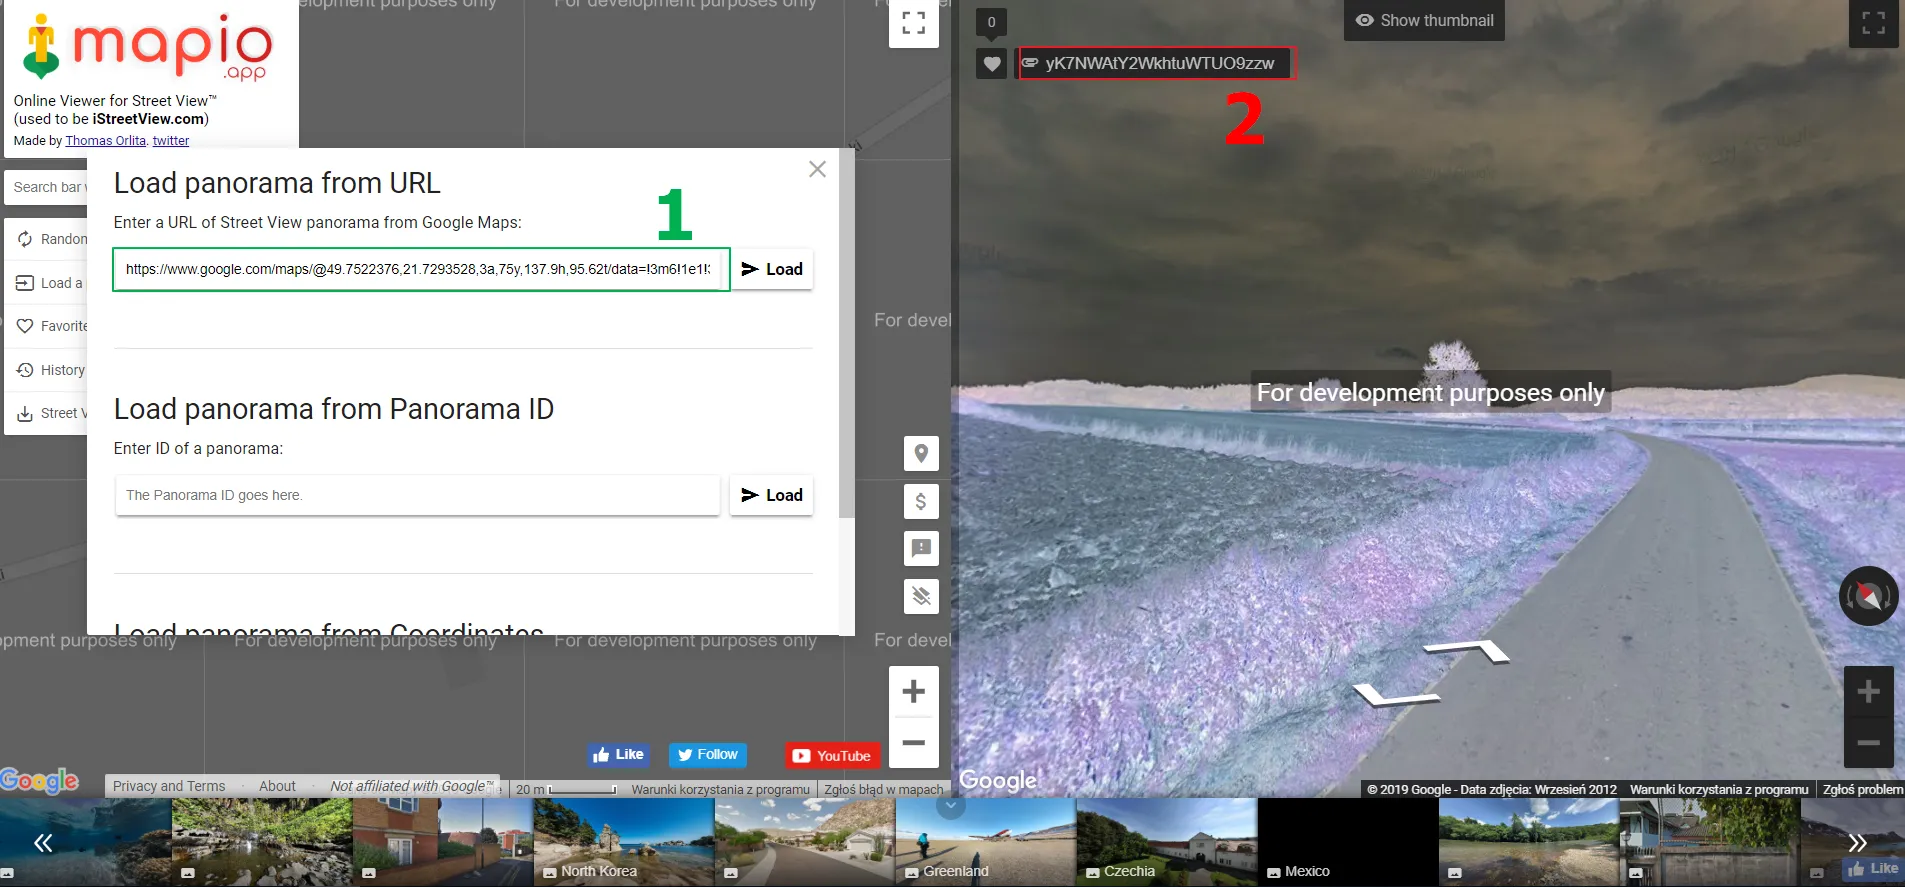
Finally, you should get an image like this below (Pic. 2):
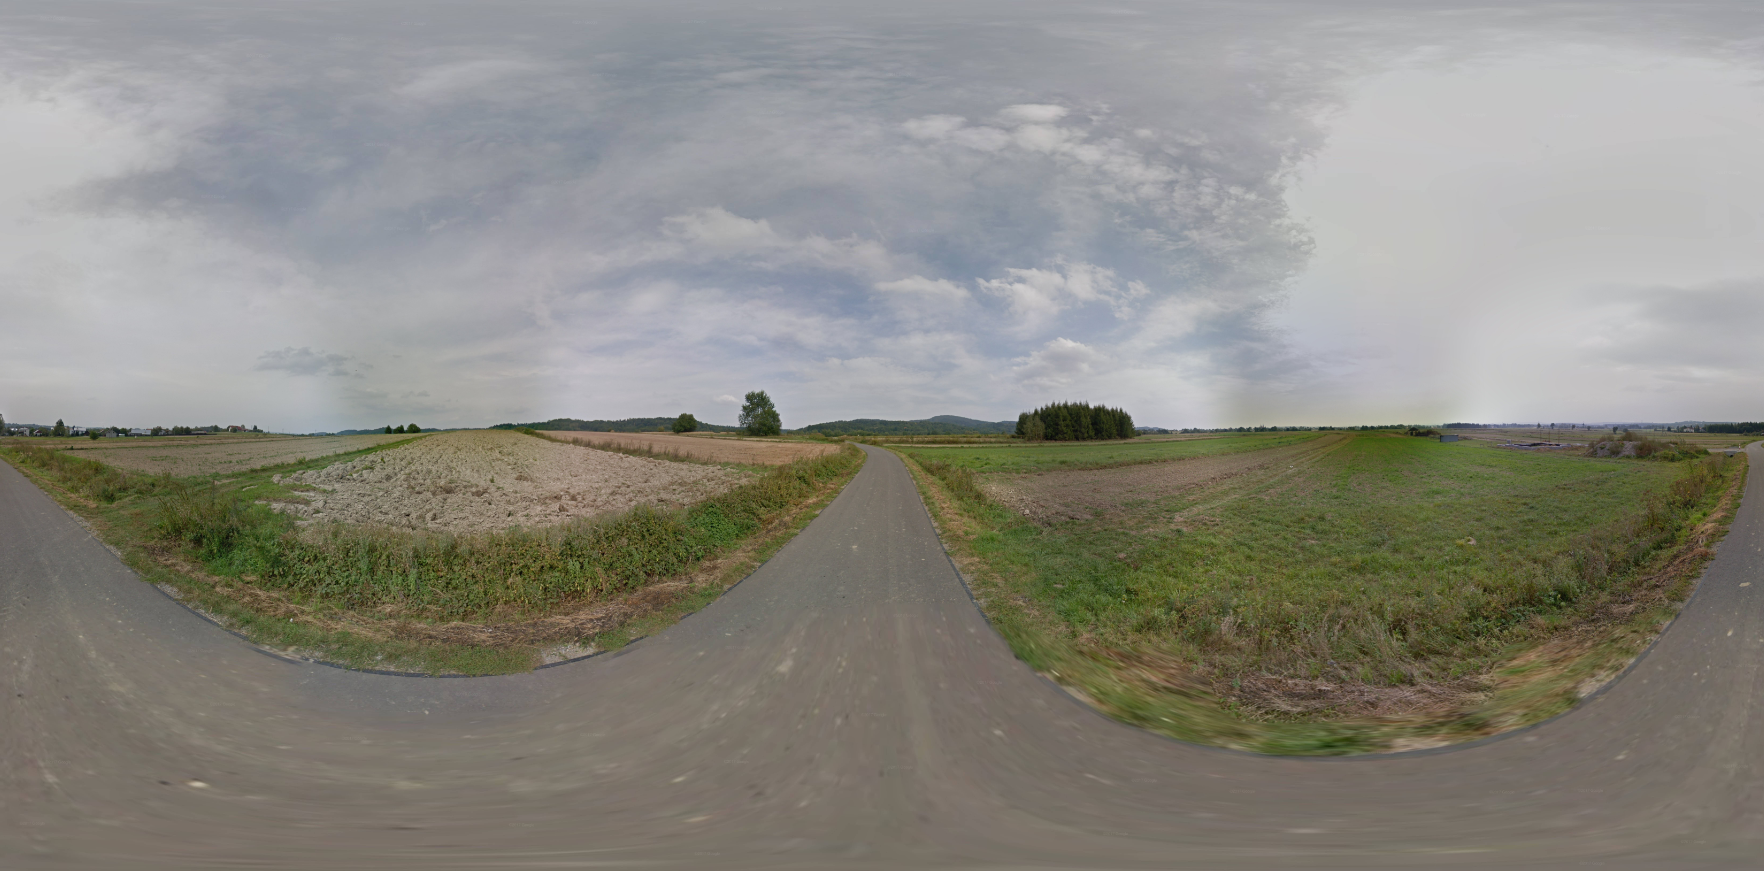
2. STREET VIEW IMAGE PROCESSING
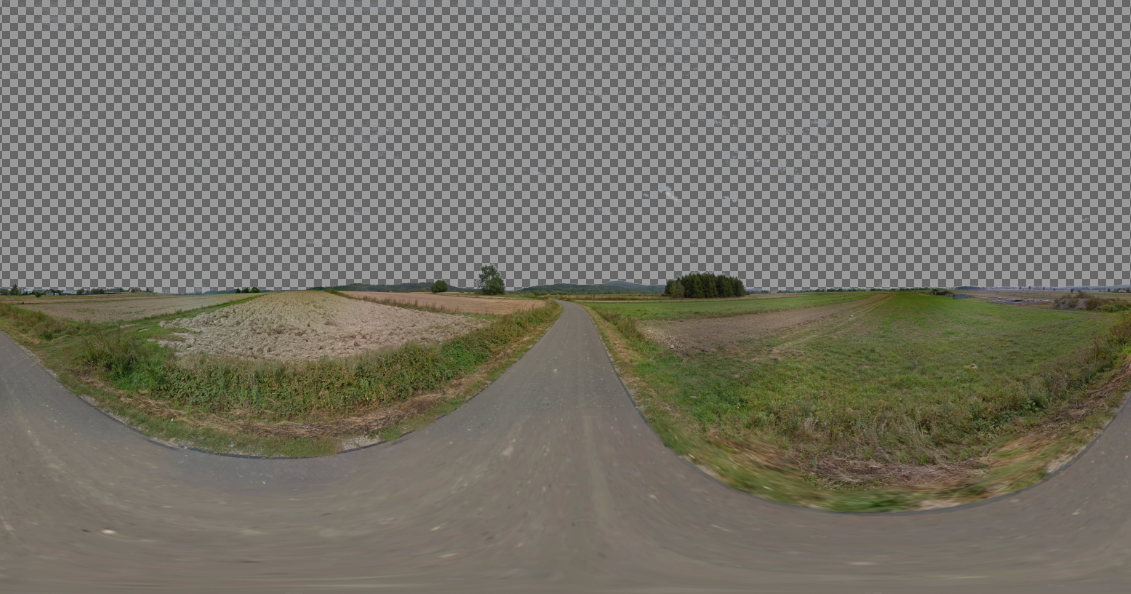
Once you have downloaded your Street View image you must make some processing before you use it in the Stellarium software. Basically, a key thing is making the image transparent everywhere on the sky view. It’s both a clear sky as well as some small gaps appearing between objects and also leaves on the trees. Summarizing it, you must sacrifice some time to make it as best as possible. If you were done with some custom panoramas, based on the single picture stacks, you know what I mean.
For this purpose is good to use Adobe Photoshop or a similar one. Personally, I use GIMP, so the footage below will be related to this open-source graphics software.
What you will definitely need is the fuzzy selection and erase tool. Next, you must create a transparent mask.
My output image looks like this:
3. CREATING A CUSTOM HORIZON IN THE STELLARIUM
This is undeniably the last step of our work. It also has been widely explained before, so I leave it for your individual learning. I just would like to show a sample video below and tell something about the pros and cons of this solution.
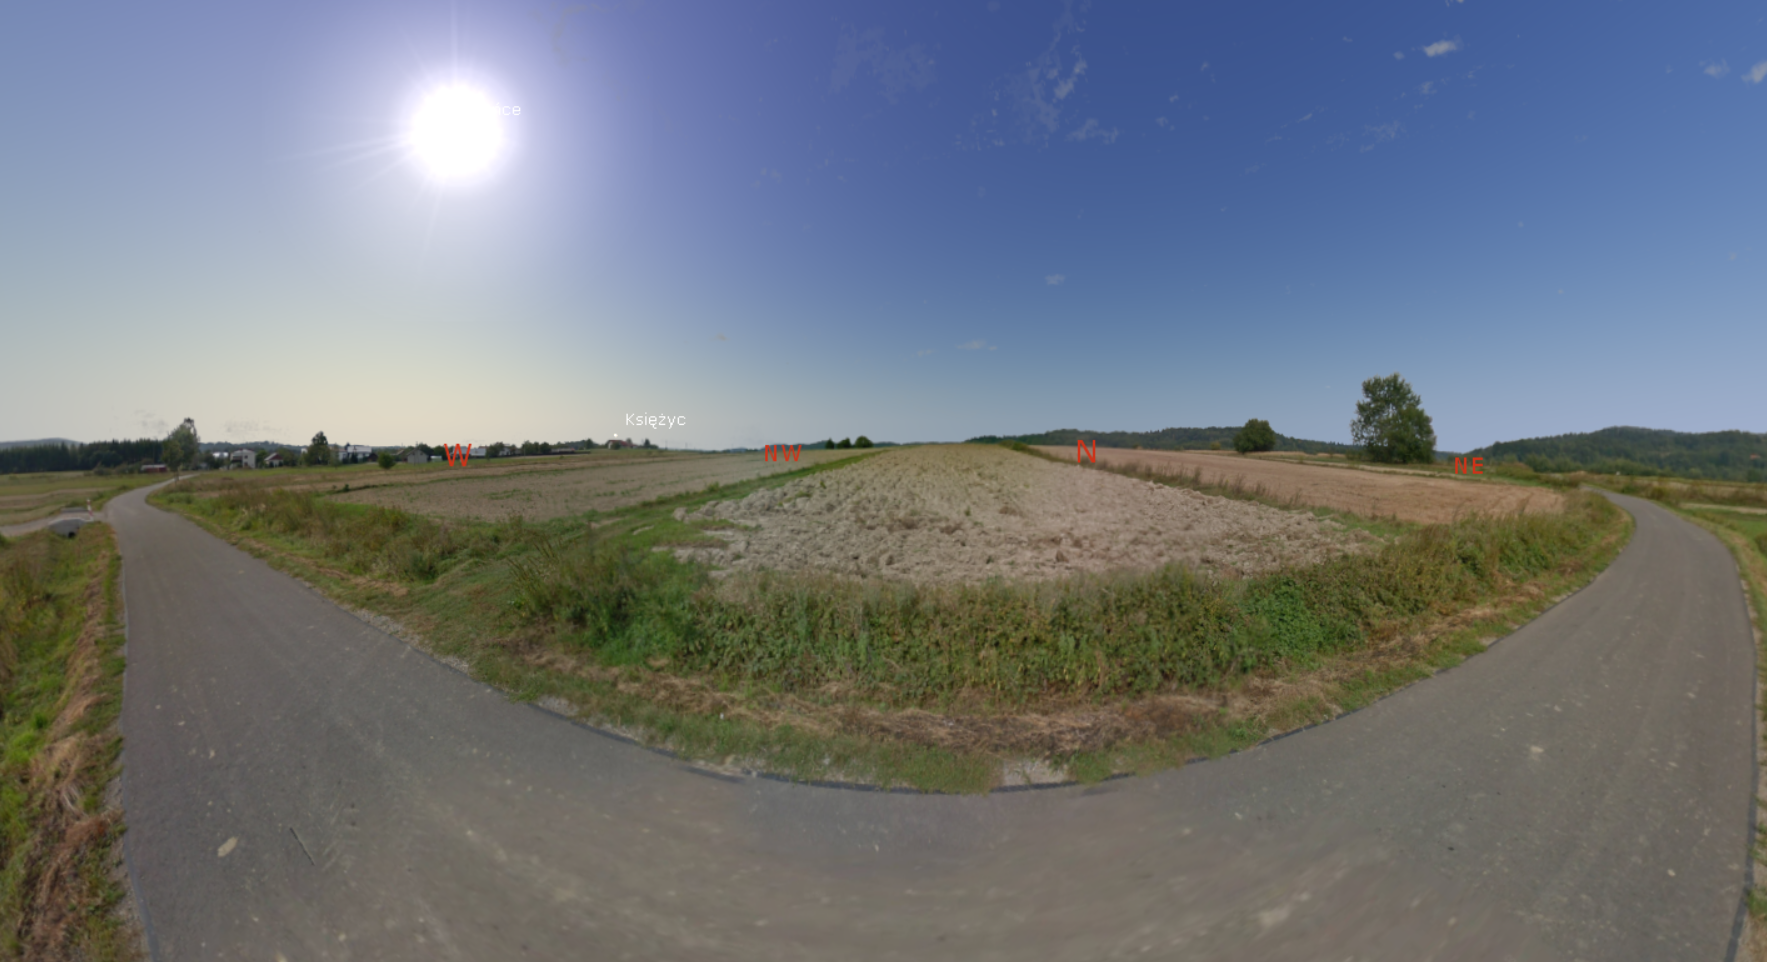
My result looks like this:
Pros:
– You can get an image so quickly, without frill copy&paste operations,
– There is a wide choice of places covered by Street View worldwide,
– The images are detailed enough for use
– A significantly quicker process from the crude image into a ready-prepared vista for Stellarium.
Cons:
– Street View usually covers the streetside, where light pollution usually blocks you from carrying out decent observation
– You don’t have the possibility to get an image from i.e your backyard
Mariusz Krukar
References:
Links:
- https://stellarium.org/
- Customizing landscapes in Stellarium
- https://svd360.istreetview.com/
- Former IstreetView.com (today Mapio.app), from where you can download your Street View image.
- Gimp – fuzzy selection tool

