Boeing 787-9 Dreamliner flight images procesing
In this short post, I would like to show you a way how to relatively quickly process the images, taken through the Boeing Dreamliner 787-9 window. Initially, an issue sounds very silly, although knowing the cabin crew policy during your flight you can be really disappointed when you want to take some pictures outside of your window.
How it works? The Boeing 787-9 Dreamliner windows have an electronic system, responsible for the fast switching light control and gradually diminishing effect from clear to dark (Pic. 1, 2). More details about it I have brought in this article.
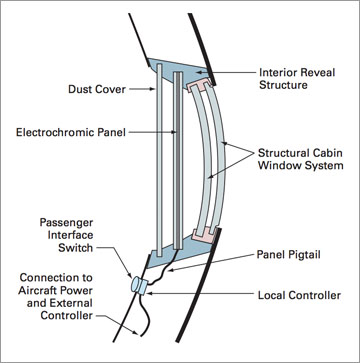
Pic. 1 The Boeing 787-9 Dreamliner window (aviation.stakexchange.com).
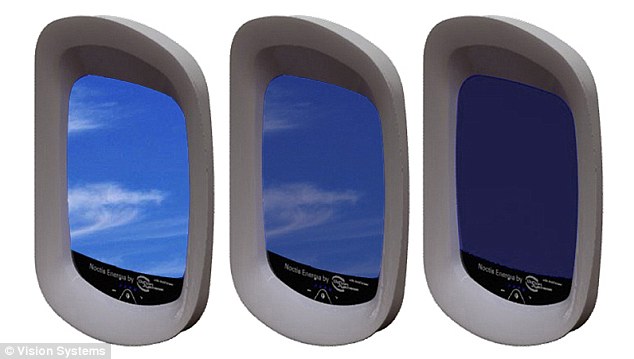
Pic. 2 The gradually diminishing effect in the Boeing 787 Dreamliner window (scale 1 on the left, 3 in the middle, and 5 on the right) (aviation.stakexchange.com).
You have a button underneath your window (Pic. 2), where you can adjust the level between 1 and 5. Level 1 means, that your vista is clear, and Level 5 indicates a completely dark window, which is good when flying under solar conditions. Unfortunately, this controller has only a local character, because always someone else can do this adjustment for you. In the case of the Norwegian flight, the cabin crew sets level 3, which is not enough for good pictures. Passengers need at least level 2 for it.
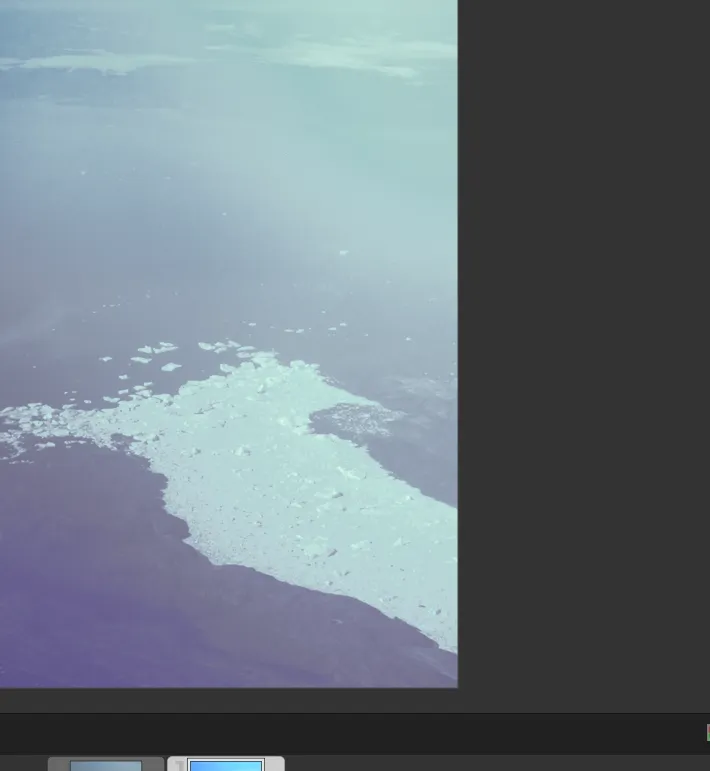
In the result you have a view like this:
It makes taking good pictures outside very difficult. Basically, you cannot make other colors apart from blue. Images require further processing, which takes quite a long time.
You can do the image processing using obviously Photoshop, Photoshop Lightroom software, or even both. Personally, I use OpenSource image manipulation software, which is GIMP and Darktable.
My results can be still out of the question at some point, but I haven’t spent much time with it. Anyhow if you experienced a similar situation to me I would like to make you feel a bit better, having a decent opportunity to get your pictures right.
These images have been taken during my journey to the United States from Oslo to Oakland San Francisco. I was flying above Greenland alongside my group. Seeing, that the weather above the glacier sheet was pristine I was meant to enjoy the formidable view of this wintry area. I got a blurry blue hint instead!
The first examples come from GIMP. GIMP has quite a few color correction and alteration options, that can help you retrieve the natural view of the image.
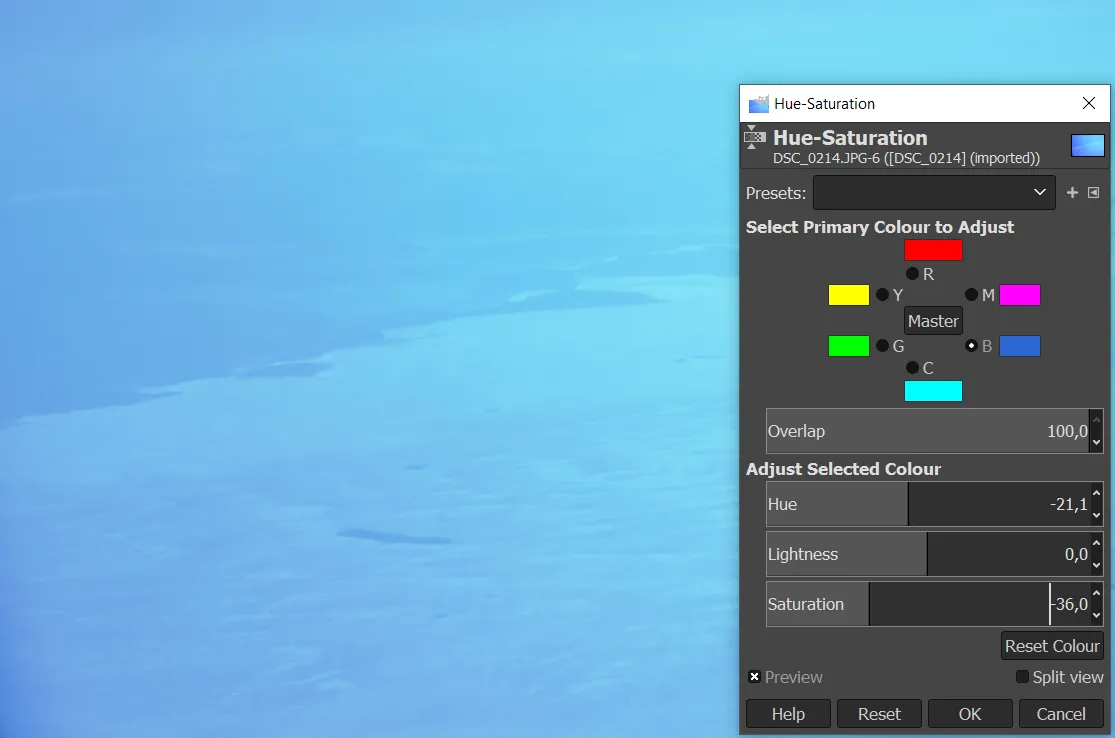
Pic. 3 GIMP image manipulation – color options.
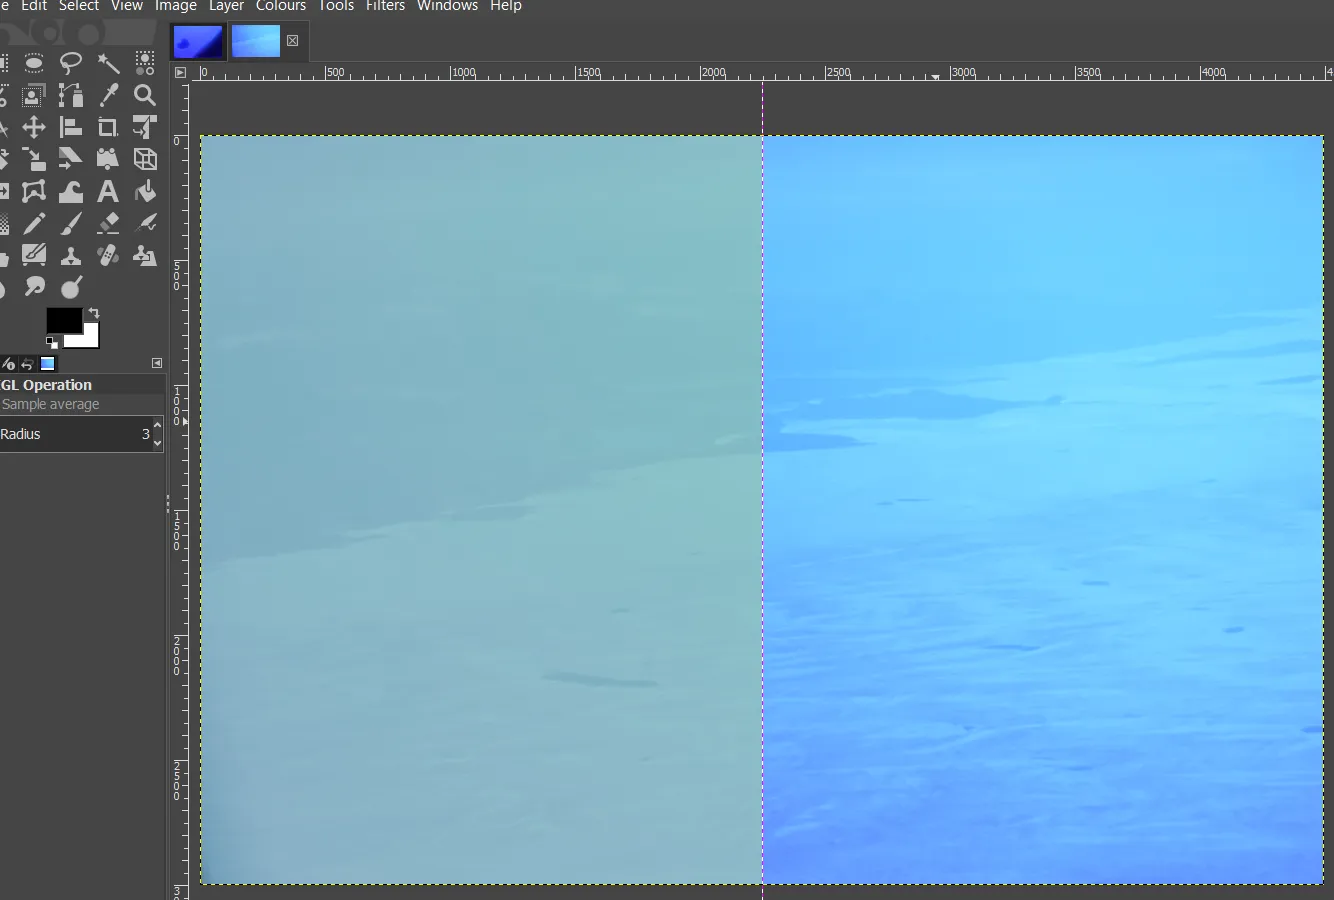
Pic. 4 Screen division in GIMP software, which helps you keep an eye on your editions.
There is a lot of stuff on the Web, regarding each step, which we should consider when processing our image. I will omit them right now and jump straight to my ready examples below (Pic. 4 – 9):
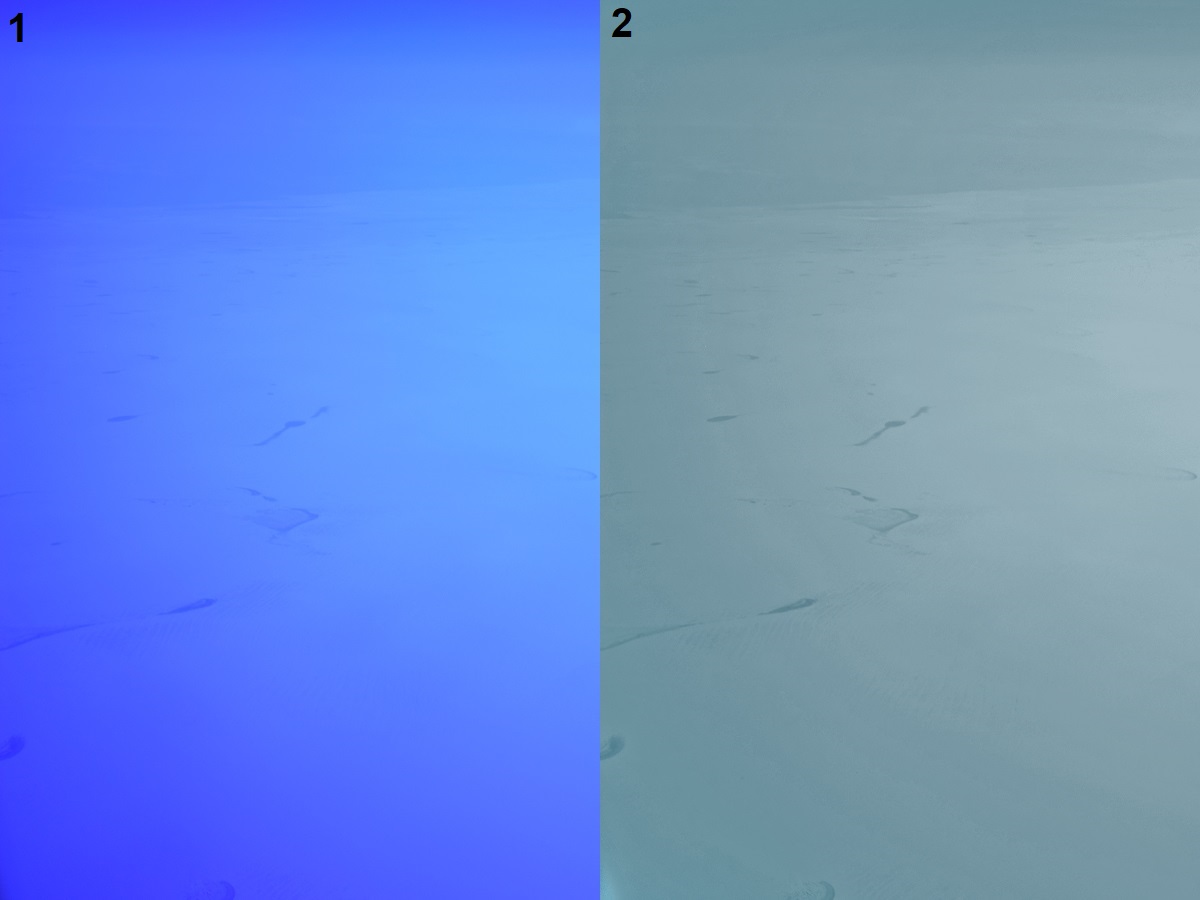
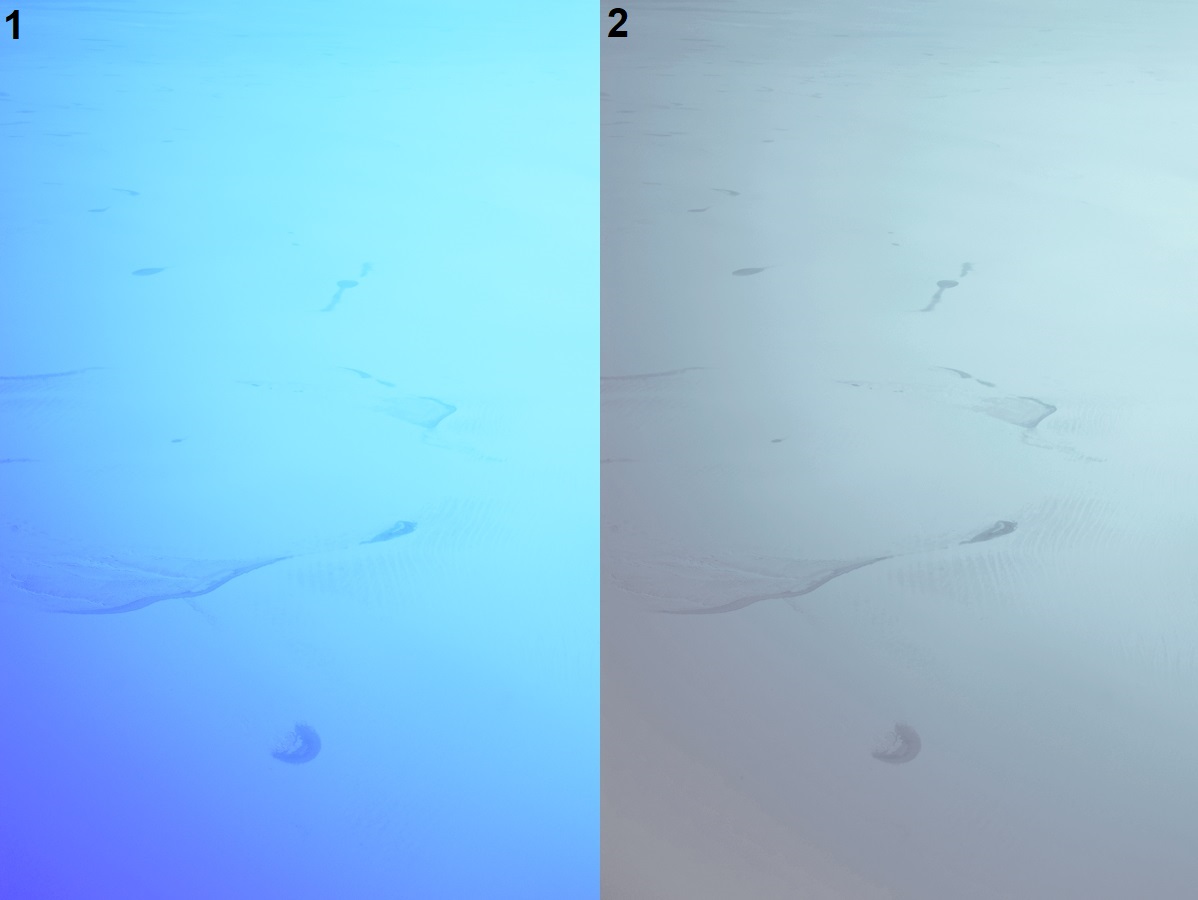

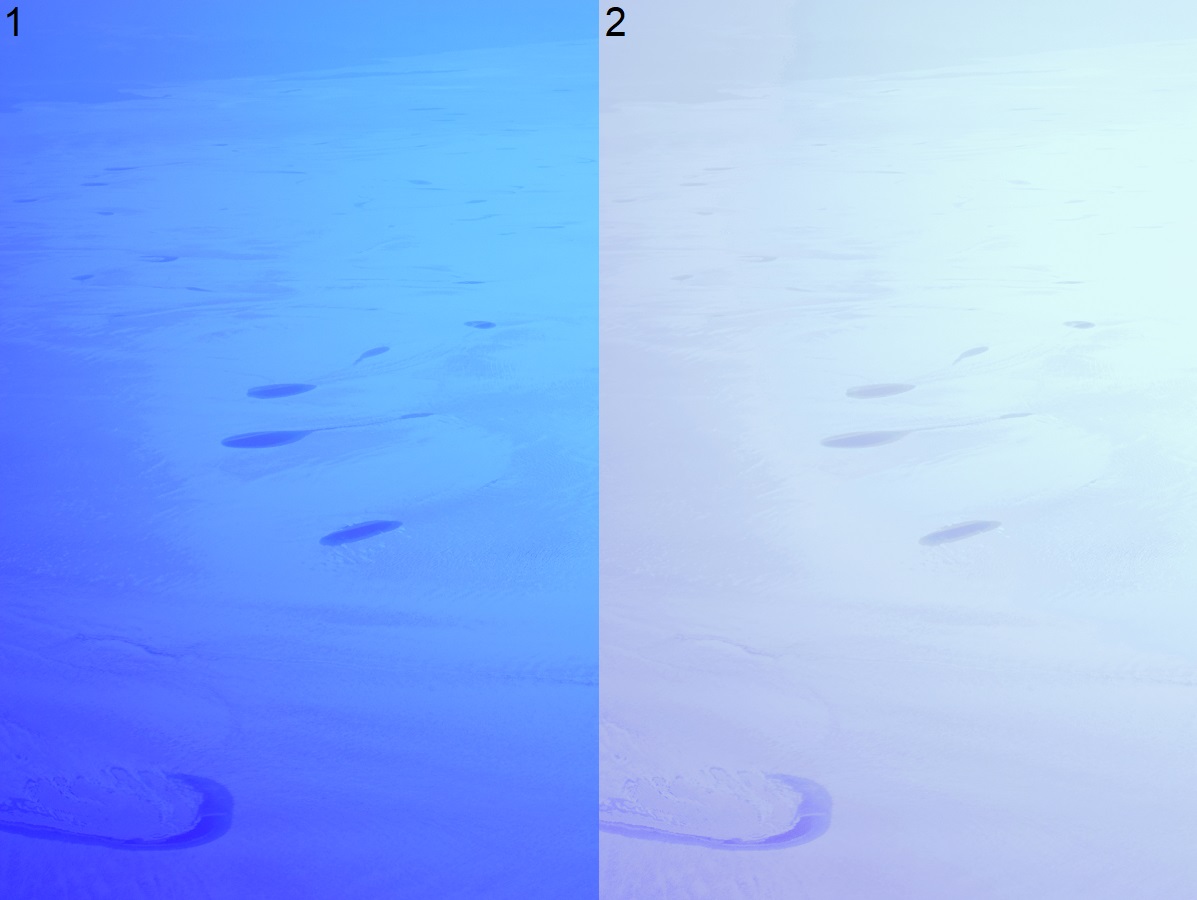
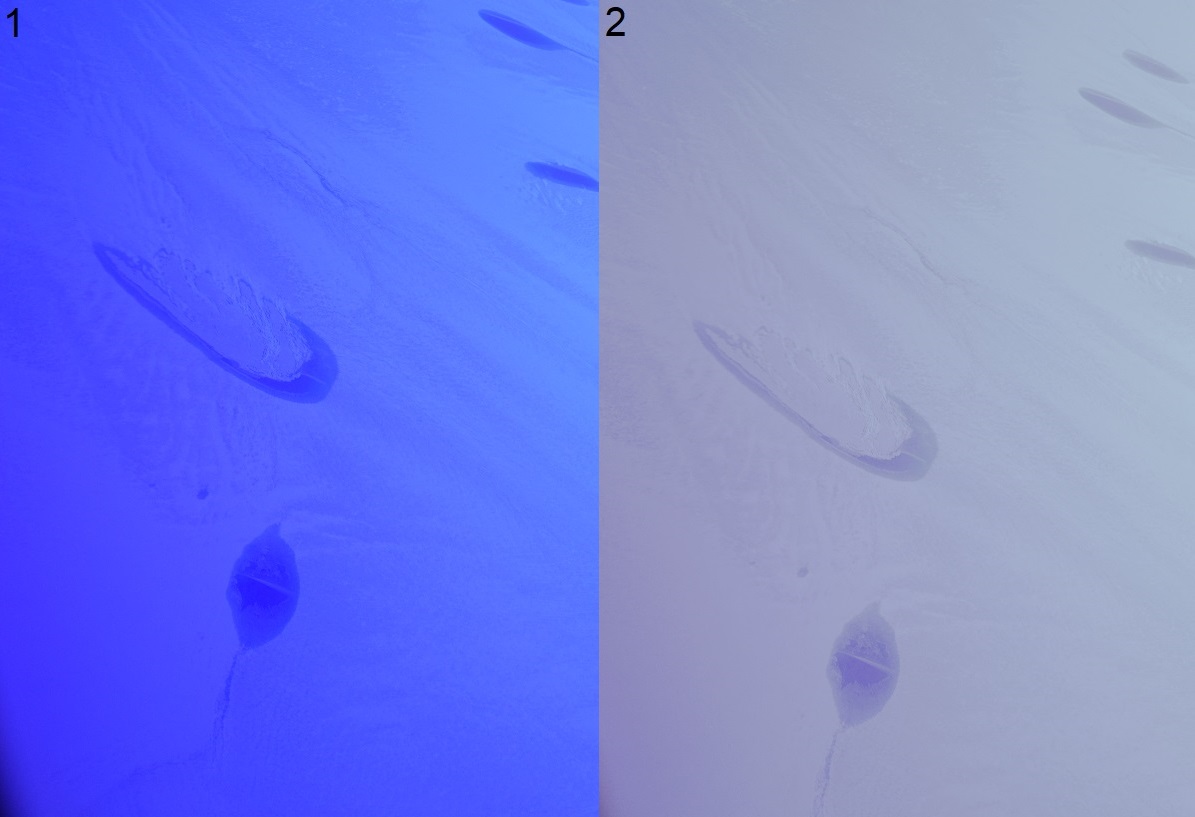

Pic. 4 – 9 Image of Greenland ice sheet, taken from Norwegian flight DY 7063 OSL-OAK, after quick further processing in GIMP: 1 – before; 2 – after.
Similar processing you can do in Darktable, free open-source software, which is a perfect counterpart to Adobe Lightroom. The result looks slightly better, although you must work on it for a longer time.


Pic. 10 – 12 Darktable image processing examples: 10 – mask application; 11 – monochrome effect; 12 – colorized effect. View at one of the glaciers in western Greenland.
Finally, you can get pretty nice results, which look like old photography (Pic. 12). I believe, that you can make a much better result when sacrificing more time for it.

Pic. 13 An effect of image processing in Darktable. View at the glacier in western Greenland.
To do it quickly you can always make your image monochrome. That won’t take such a long time, unlike colorized pictures (Pic. 14, 15).

Pic. 14 Monochrome effects in Darktable compared to the crude image from the plane.
You can always use both programs to make your image as best as possible (Pic. 15).


Pic. 16, 17 – Further image processing in Darktable after previous GIMP manipulation.
At the finish, I am showing you the comparison between GIMP manipulation and Darktable image processing (Pic. 18).

Pic. 18 An output image comparison between crude manipulated in GIMP and processed in Darktable. Western Greenland ice sheets.
In the end, I would like to say, that my image processing was done very quickly. You can do it better for sure. I just wanted to show you the way, how to manage this problem, when you will want to get some pictures of beautiful areas, which you are flying above.
Mariusz Krukar
Links:
- https://www.gimp.org/tutorials/
- https://www.darktable.org/
- https://digital-photography-school.com/darktable-vs-lightroom-does-it-measure-up/
- https://expertphotography.com/gimp-vs-photoshop/
- https://www.darktable.org/usermanual/en/darktable_basic_workflow.html
Youtube:
https://www.youtube.com/watch?v=GgfurVT7sLg