
Photography of the Sun through a natural filters
Gazing at the Sun with the naked eye is dangerous. Much more dangerous is watching the Sun through instruments like binoculars or telescopes without a filter! It causes serious eye damage, which is a retina burn and blindness for the rest of your life.
Basically, there are two types of solar filters: white light and hydrogen alpha (H-alpha). In this post, I will mention only white light filters. The white filters transmit the entire spectrum of visible light, which is next attenuated to a level that makes an observation safe. A filter designed for visual observation transmits only 0.001% of the solar light.
The best and most widely commonly used are Baader solar filters, which are both easy to buy and easy to mount manually to your instrument too.
My observation of the Sun was specific and quite dangerous. I used a natural filter instead of the artificial types mentioned above. This natural filter is simply water vapor. Any cloud in Earth’s troposphere is comprised of water vapor. However, the Sun is not always clearly visible through them. The basic difference is in the special combination of particle size and cloud thickness (Lynch, Livingston, 1995). When in a majority of cases the Sun behind clouds has a sharp edge, sometimes, especially through the altostratus clouds, it looks fuzzy. This is driven by the optical components of the altostratus cloud. This cloud type contains particles large enough to increase the optical thickness to a moderate level. These large particles are caused by big layers both of raindrops and crystals, which are common in the altostratus cloud.
Other clouds can be composed also of large particles, but they are typically too optically thin to cause a fuzzy Sun, or too optically thick for the Sun to be seen at all (Liskens, Bohren, 1994). Some fuzziness of the Sun can be also caused by cirrus and cirrostratus clouds, which are comprised of ice crystals, whose optical properties are different than rainfall droplets. However, in this case, the Sun will appear still quite sharp, because this kind of cloud is not thick enough to produce the full fuzzy Sun effect, as the altostratus cloud can do. On the other hand, this is the topic for a separate article.
I managed the observation and photography of the Sun with its sharp edges. Basically, I took the pictures under 3 major cloud conditions:
– stratus (fog)
– cumulus
– stratocumulus
Comparing these 3 basic types of cloud I can point to the most convenient one. This is obviously the fog.
Fog gives an observer a theoretically consistent layer, which should provide conditions safe enough to watch and capture the Sun without the filter. The fog attenuation depends on the distribution of particle sizes. Usually, fog particles are bigger, than light wavelengths, so the Mie scattering plays a key role. Fog is usually described in terms of visibility because reduced visibility is the characteristic feature of fog (Chen, 1975). For this purpose is good to know the wavelength dependence of the extinction coefficient in fog (and also haze), which is shown below (Pic. 1).
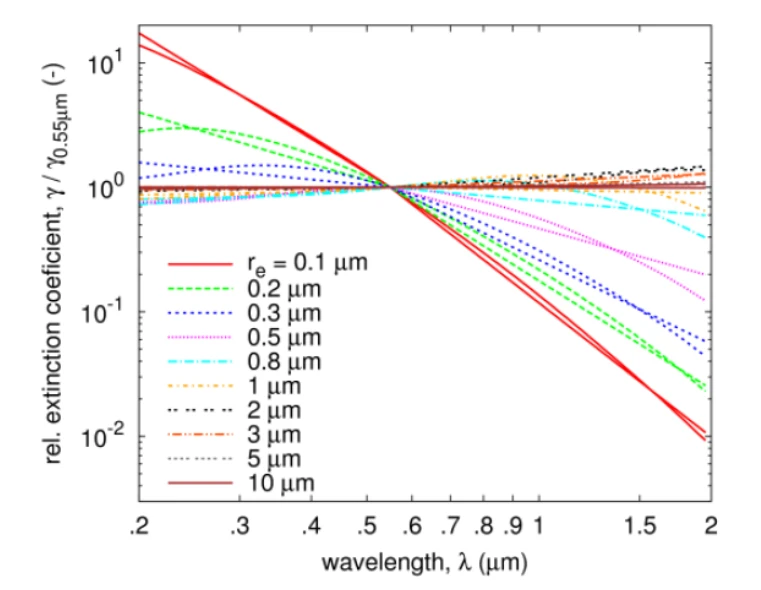
Pic. 1 Relative extinction of fog for different particle sizes depending on the wavelength (Grabner, Kvycera, 2011).
The graph above refers to any type of fog, containing small drop sizes (up to 10 um diameter) and concentration. For bigger particles (such as 15-20 um diameter) the relative extinction coefficient remains almost constant. The Sun can be observed safely only through the stratus lowering fog (STL), which is initiated by the stratus cloud layer and mostly radiation fog. The minimum depth of the fog, which enables the observer to watch the Sun safely without the filter depends on the liquid water density in this fog. The value of the liquid water density ranges up to 0.5 g/m3 for thick fog, cutting down the visibility to about 50m. For medium fog (with visibility up to 300m) these values will be much lower – about 0.05 g/m3.
Another situation occurs when the Sun rises higher and heats up the air, which causes dissipation, patchiness, and the next disappearance of the fog. The observation of the Sun can be dangerous during this moment because fog becomes patchy and a bigger amount of sunlight can go through some gaps. An observer must find the most appropriate moment for taking a decent image of the Sun.
I have prepared a few examples below:


Pic. 1, 2 Partial solar eclipse seen on 4.01.2011 in Kraków through the fog. 1 – The Błonia Park, 2 – Student Campus of AGH University. Click to enlarge.
Another photograph of the Sun was done in Cambridge on April 8, 2017, using a Nikkor 55-300mm long lens. It was my first photo test before the 2017 total solar eclipse in the USA. That Saturday morning thick fog covered the city in the early morning hours. At about 10 am fog started to disappear, making a perfect moment for the capture of the solar disc.
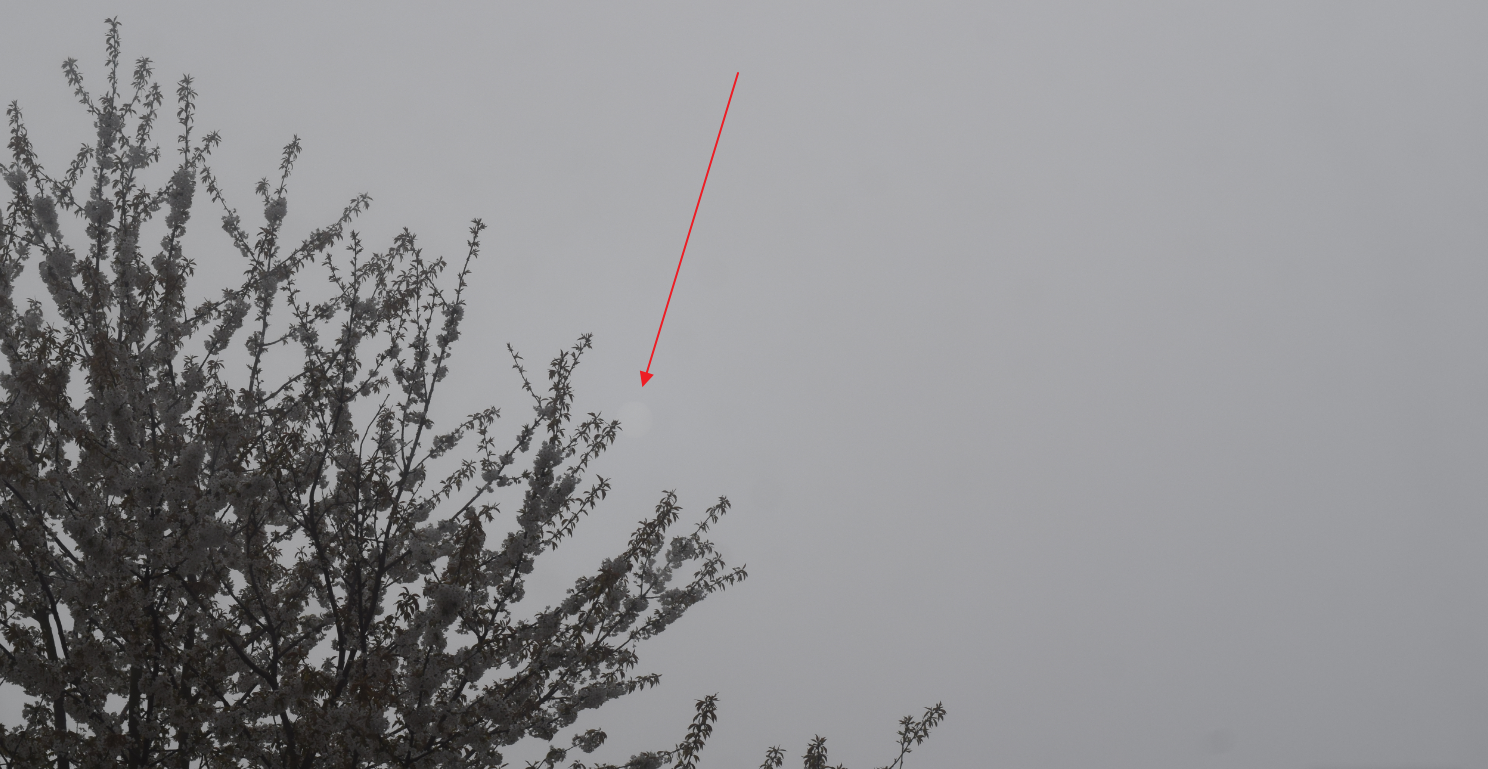
Pic. 3 The Sun is barely seen through the fog. Exif: 55mm, f/10, 1/200s, ISO 400
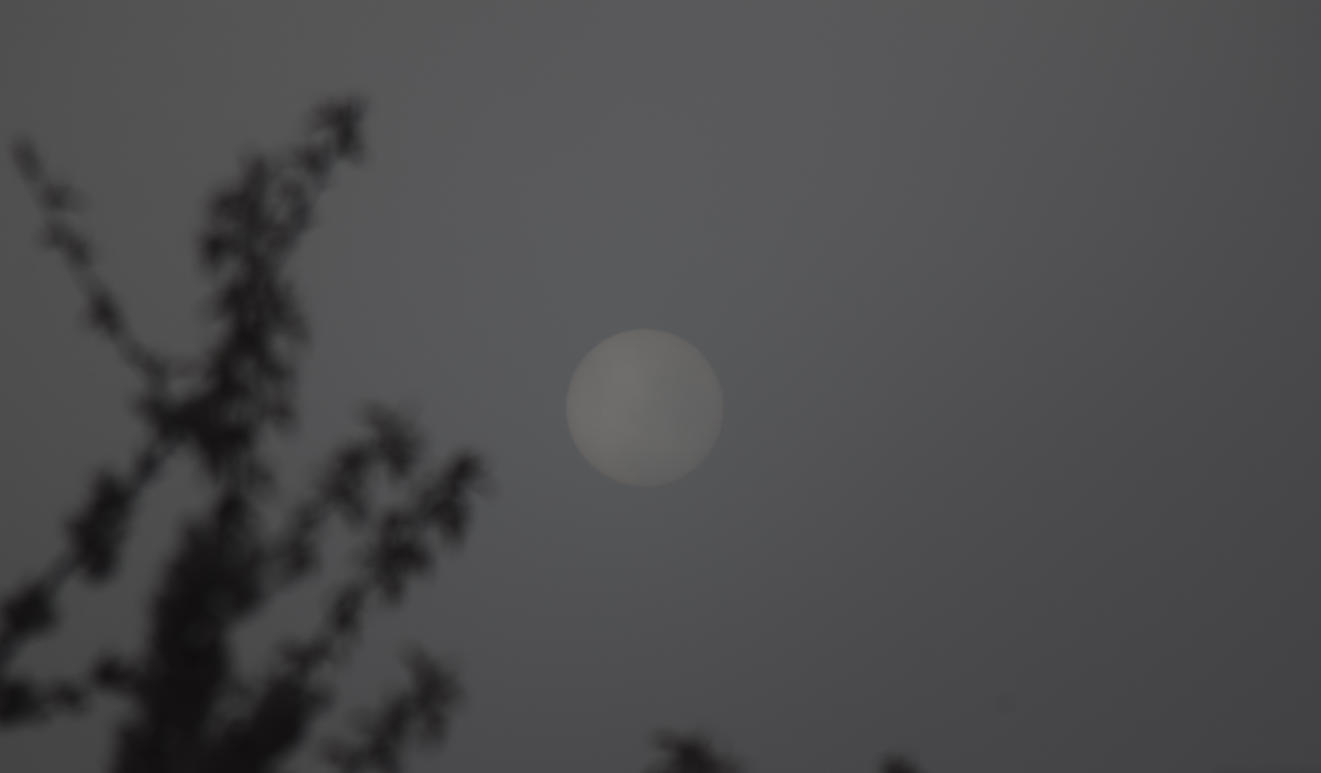

Pic. 4, 5 Sun seen through a thick fog. Exif: 300mm, 1/1000s, f/10, ISO 100 (5-cropped).
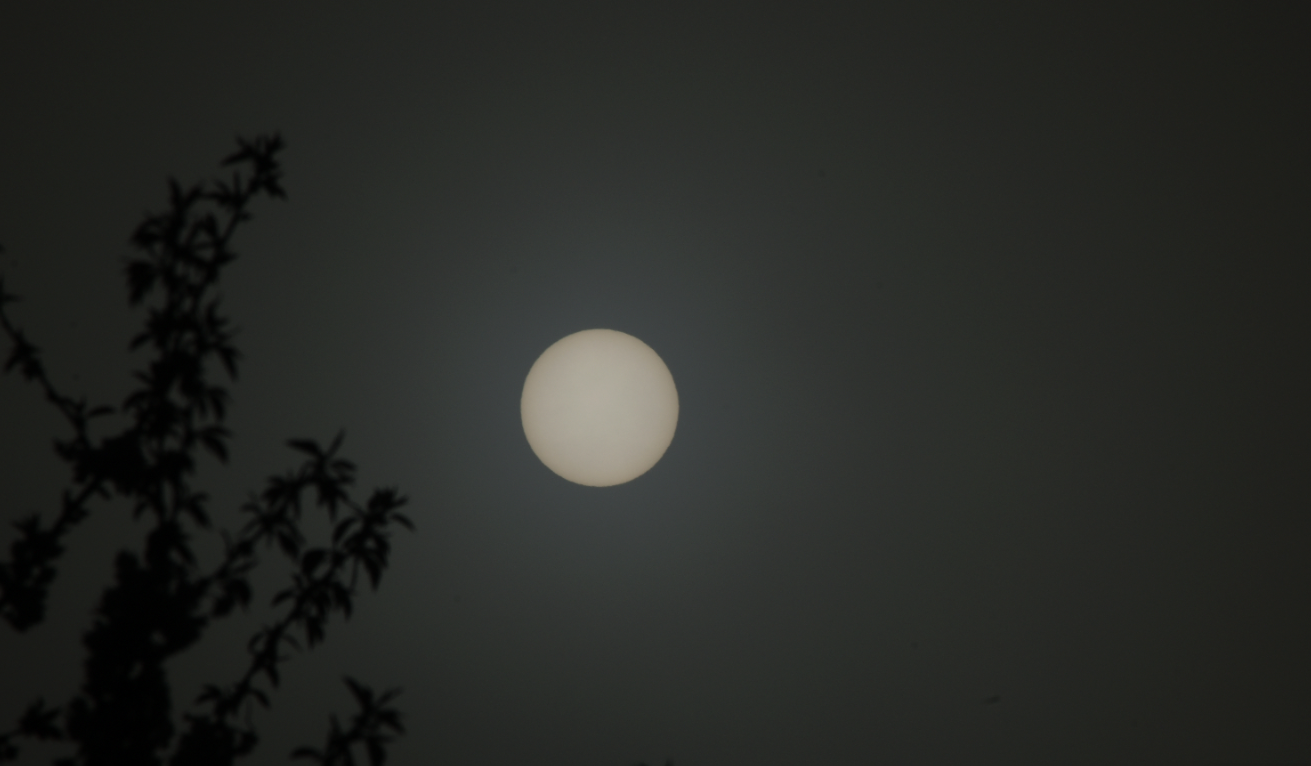
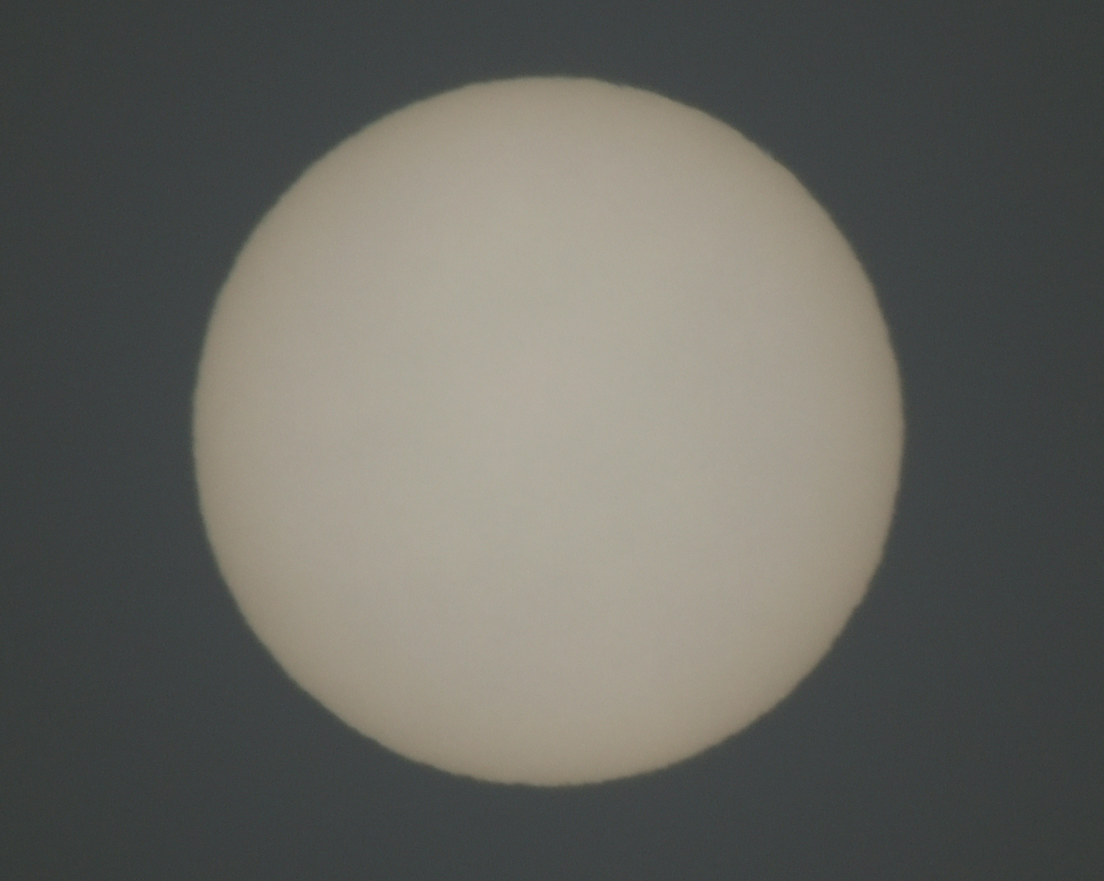
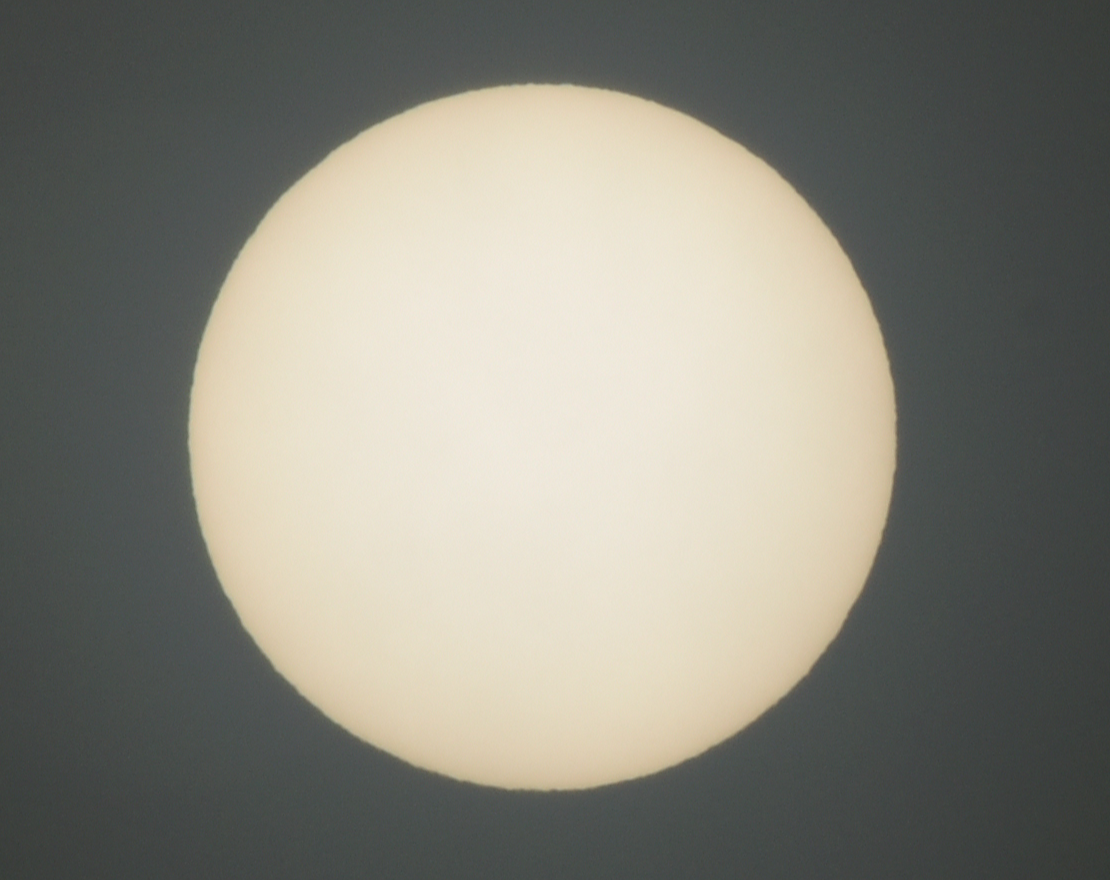
Pic. 6, 7 Sun seen through a bit thinner fog, which allows spotting a limb darkening. Exif: 300mm, 1/1000s, f/10, ISO 100 (7 – cropped).
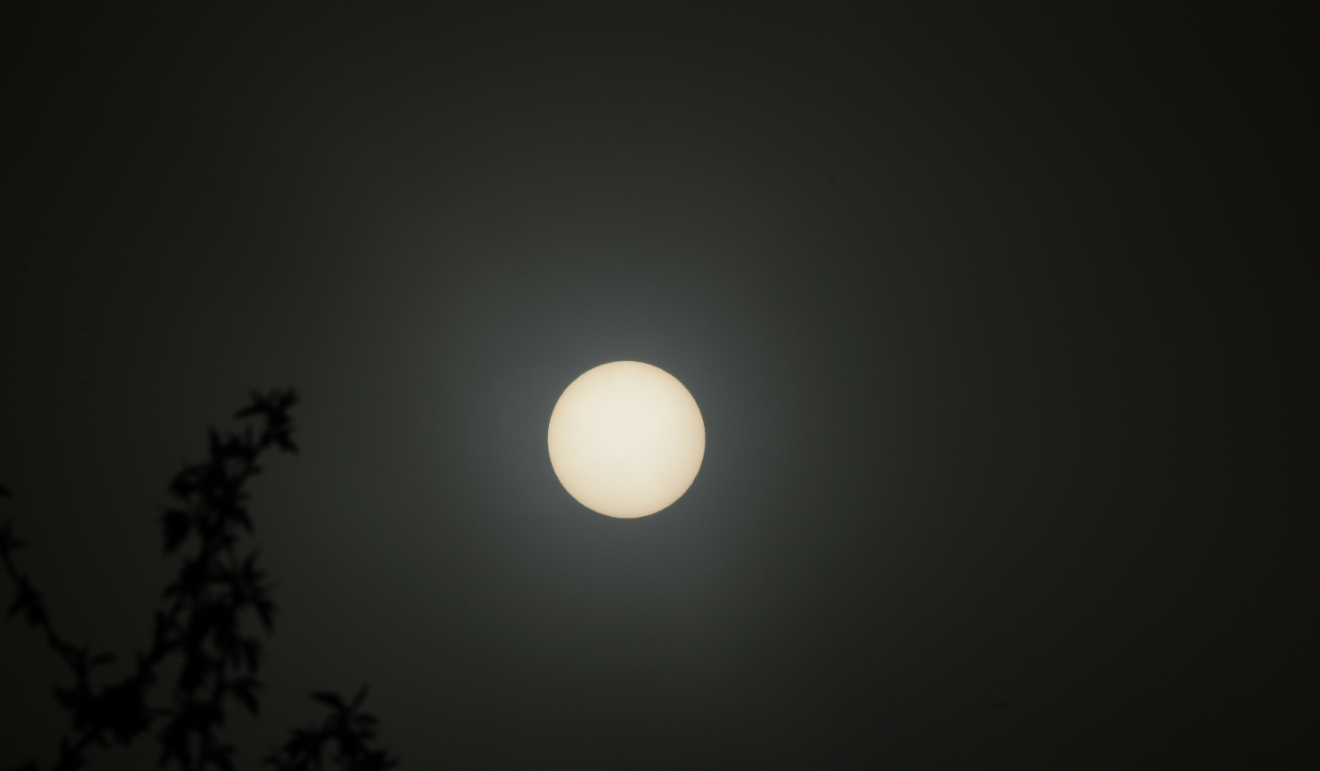
Pic. 8-9 show the last possible moment for both observation and photography of the Sun through a natural filter, which fog is.
A limb-darkening phenomenon is perfectly expressed in these images. Limb darkening is an optical effect seen in the Sun (likewise in other stars), where the edge of the disk looks less bright than the middle part. The limb-darkening appearance is related to the optical depth, which explains the thickness of the absorbing gas in the solar atmosphere. The solar atmosphere increases in temperature with depth. At the center of the solar disk, an observer can see the deepest and warmest layers of the solar atmosphere, which emit most of the light. On the contrary, at the edge of the solar disk, an observer sees only the upper layers, which are cooler and produce less light.
The limb darkening effect is seen through all solar filters both artificial and natural, where the solar disk is sharp.
Watching the Sun through the cumulus cloud is a tricky issue and basically not recommended due to the risk of eye damage. The major problem is, that a well-built cumulus cloud features a sharp border between a thick cloud and a clear sky. In effect, one part of the solar disk can completely blind you, whereas another part is still behind the thick cloud. Moreover, cumulus, being a low-level kind of cloud (unless developed to congestus phase) moves relatively quickly across the sky against other clouds hanged on higher levels (taking into account, that wind speed remains the same on these levels), which explains the parallax phenomena.
I took some random pictures of the Sun, but only through the cumulus humilis, which is thin enough to let some direct light come through, making the solar disk visible. The cumulus fractus is too thin for observation such as this, hence any attempts are not recommended because of serious eye damage and instrument burns too. Unlike foggy conditions, when solar disk usually appears uniform (Pic. 3-9), through the cumulus cloud it varies due to local cloud thickness (Pic. 10-14).
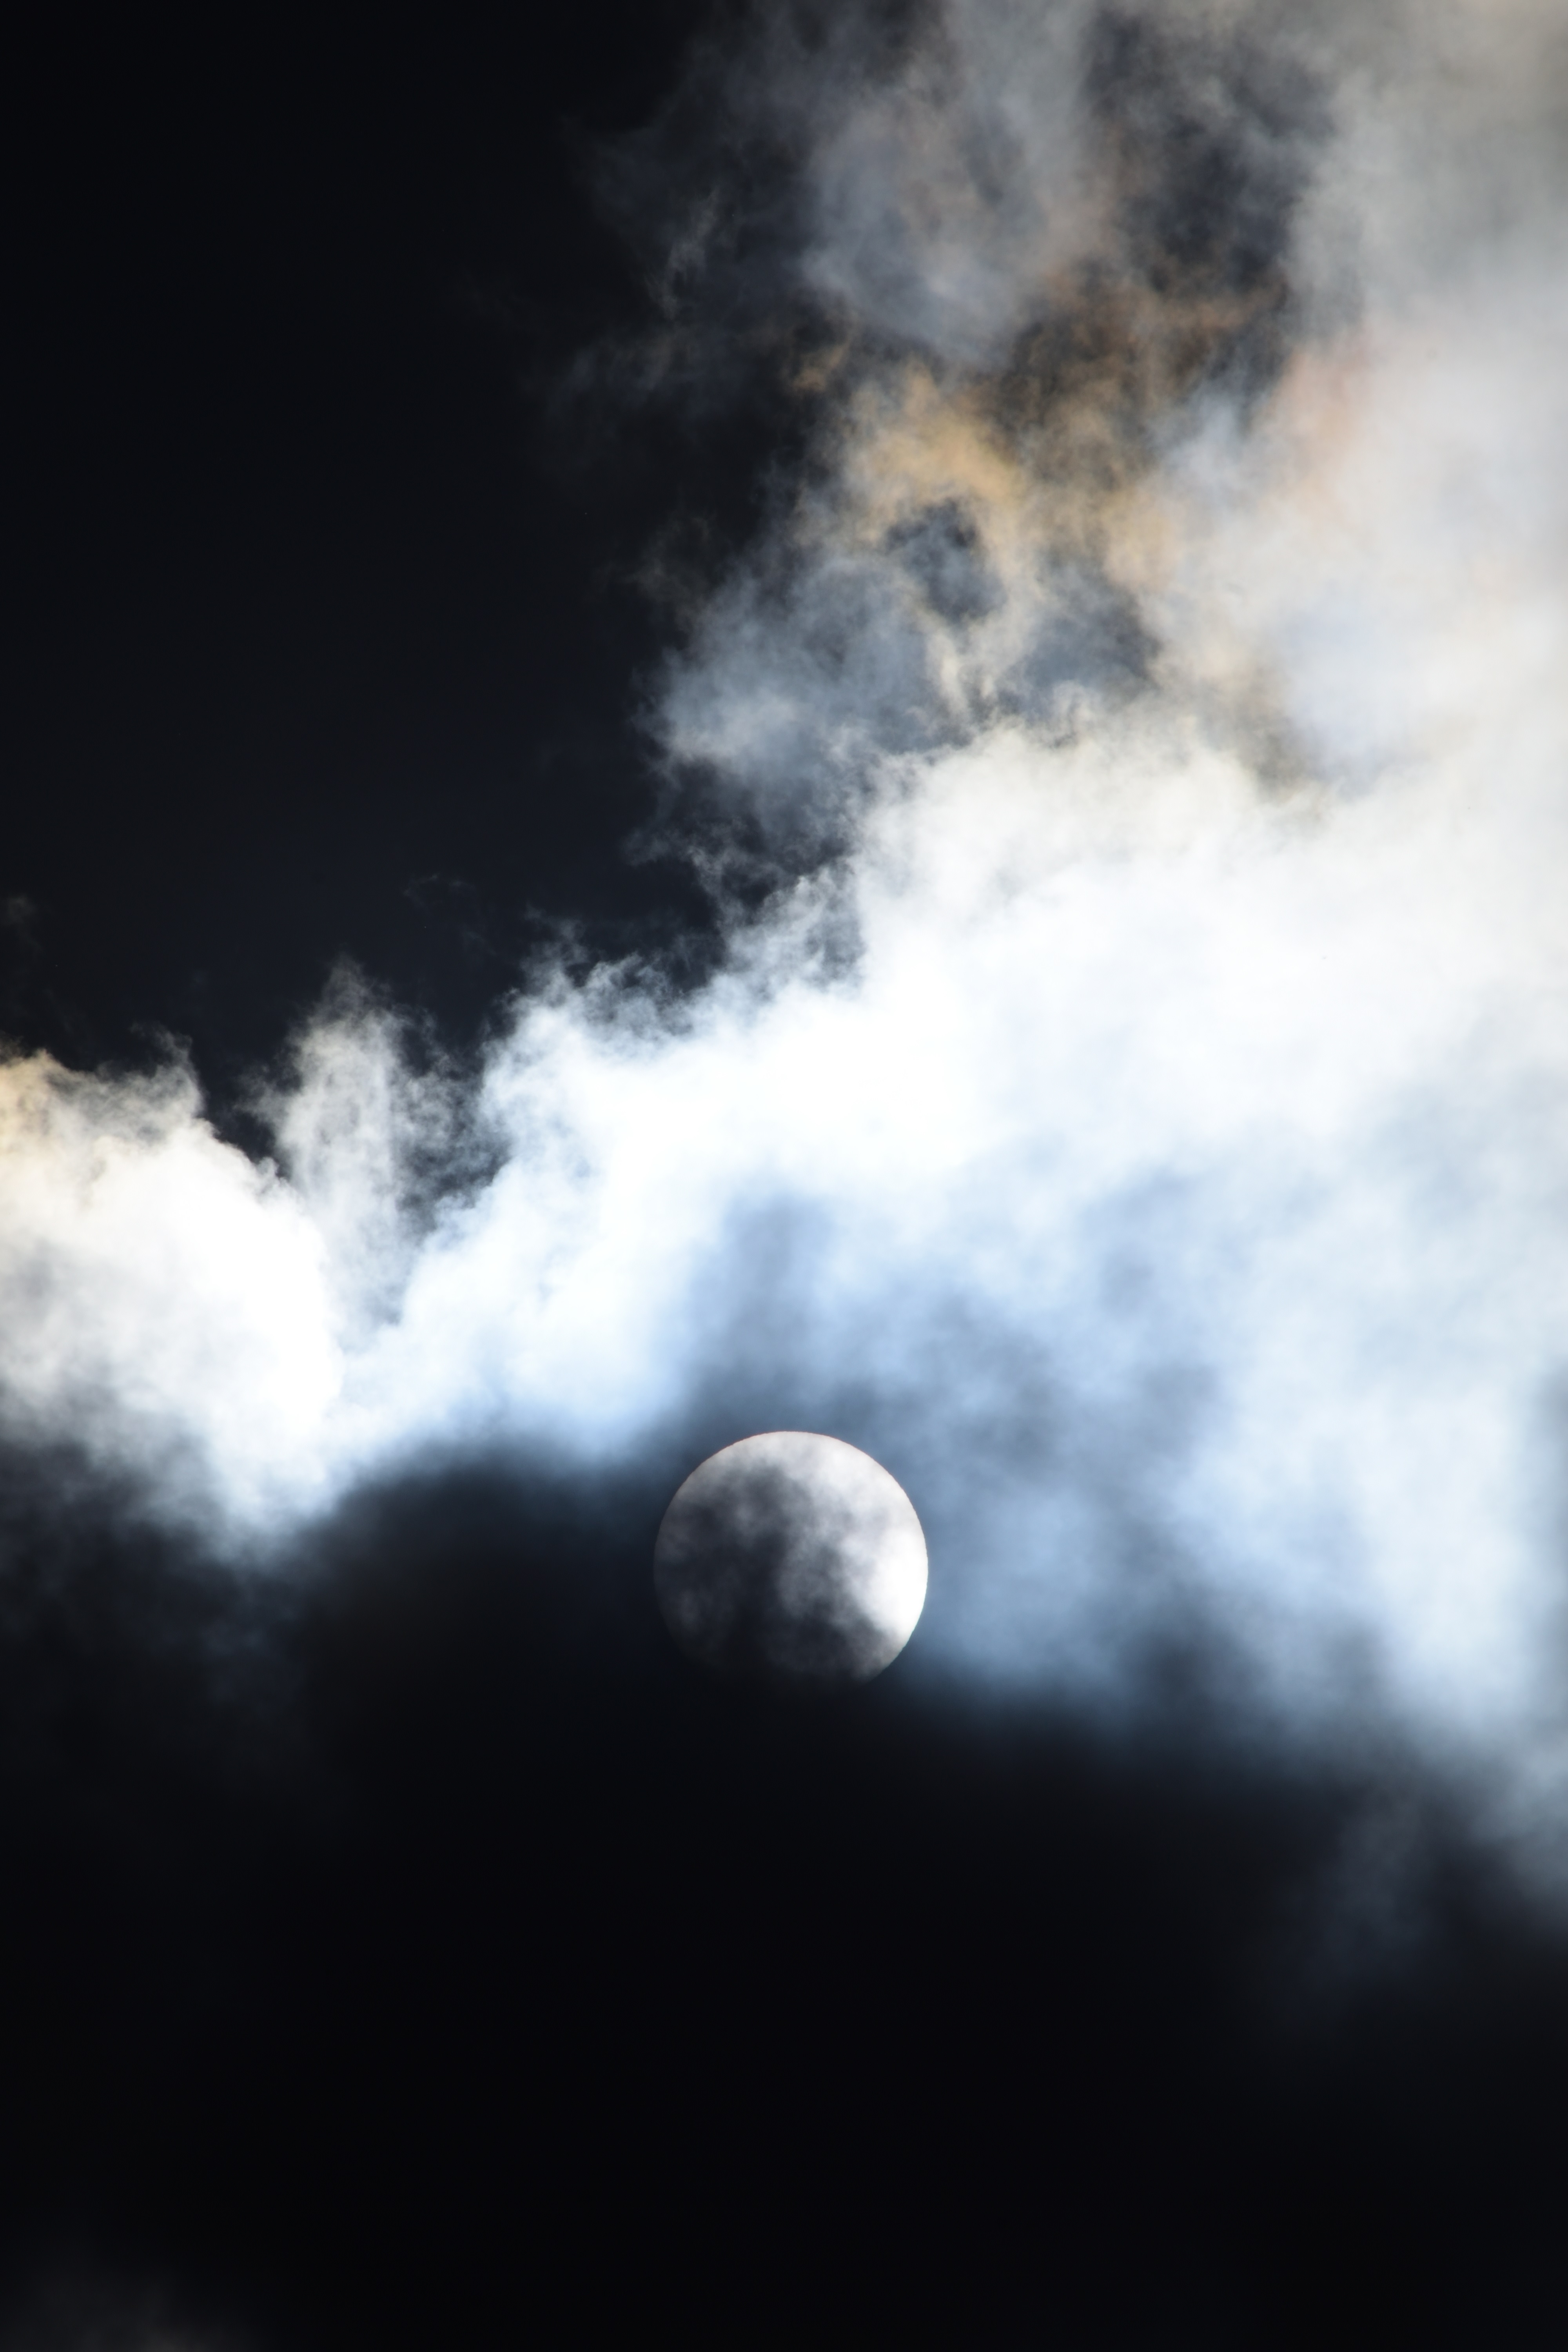
Pic. 10 Sun seen through a cumulus humilis cloud. Exif: 300mm, 1/4000s, f/29, ISO 100. Click to enlarge
Pic. 11 Sun as seen at the edge of cumulus humilis cloud. Exif: 300mm, 1/4000s, f/29, ISO 100, cropped.
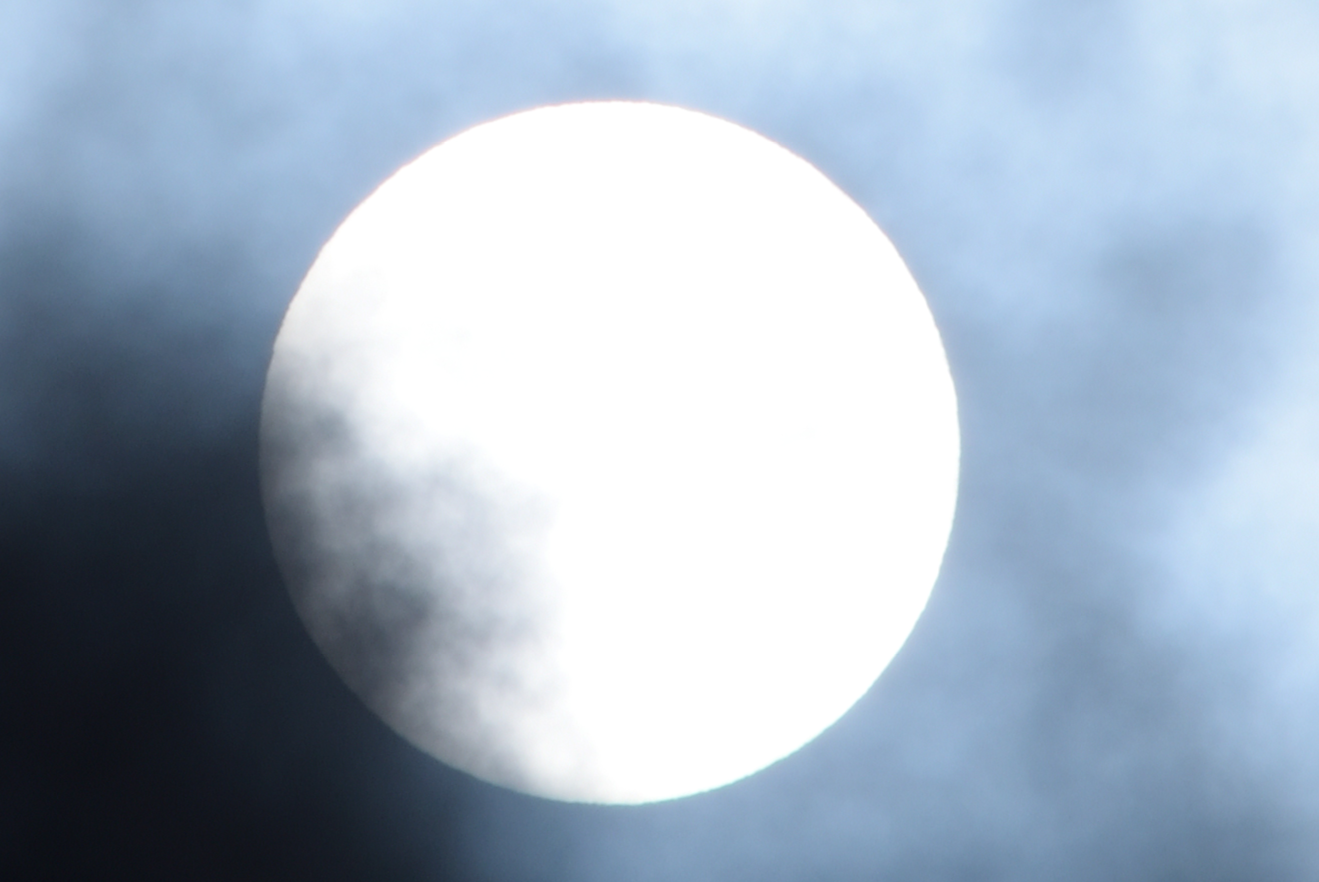
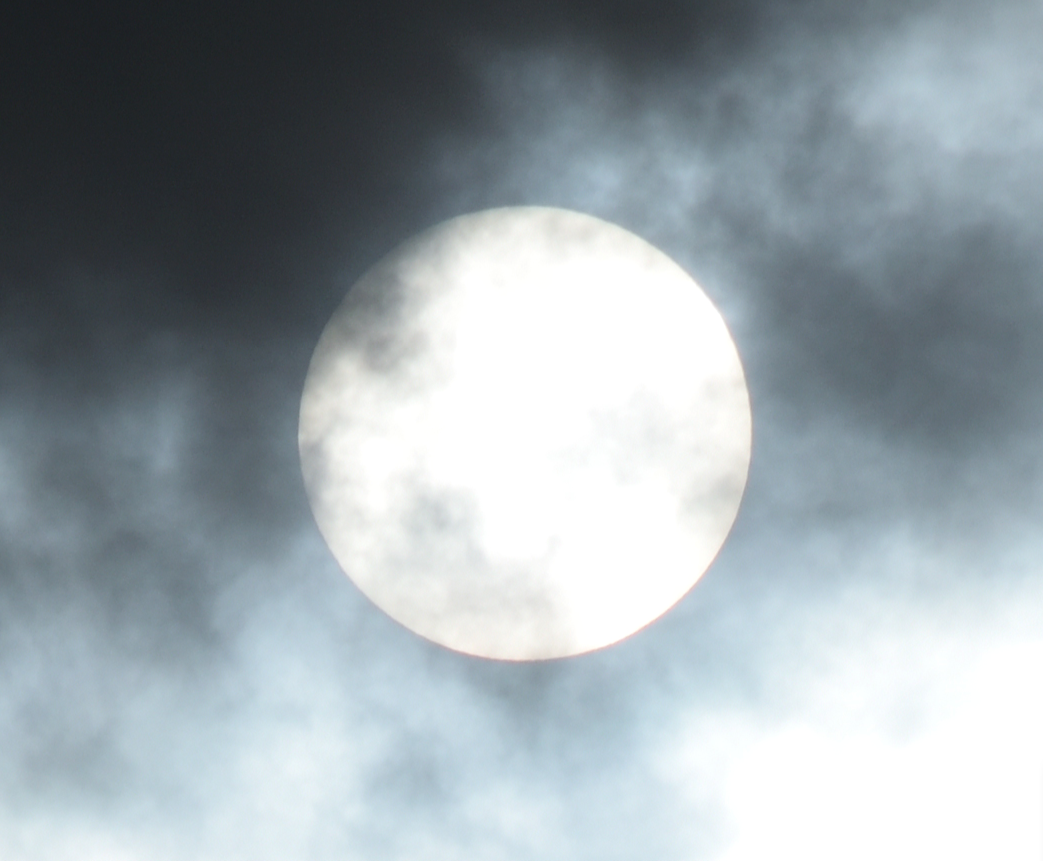
An analog image of the Sun can be taken through the stratocumulus cloud. These mid-level clouds sometimes have gaps or thinner spaces allowing the solar disk to be visible. However, not all species of stratocumulus are favourable for it. The safest stratocumulus species for imaging of the Sun without a filter are stratocumulus stratiformis, stratocumulus translucidus, or stratocumulus perlucidus. Nevertheless, it still can be dangerous enough to cause a retina burn, because these stratocumulus species can include clear gaps or be too thin in places. The most dangerous and definitely not recommended kinds of stratocumulus for direct Sun image are stratocumulus castellanus and sometimes stratocumulus undulatus. For the stratocumulus castellanus situation is very similar to cumulus mediocris and cumulus congestus, where a border between thick cloud and clear sky is very sharp, and a clear Sun emerges suddenly. In turn, the stratocumulus undulatus can be thin enough to let a solar disk be visible, although the gaps between two separate cloud units are too big, at least on the higher part of the sky. A bit more safely is when the Sun is about to set or after sunrise. Then a perspective effect hides clear skies appearing with undulatus cloud units alternately. On the opposite side, the stratocumulus opacus doesn’t have any gaps and is usually very thick, disallowing the solar outline to be visible.
I did a few shots of the Sun before sunset, through the stratocumulus stratiformis (Pic. 12-15).
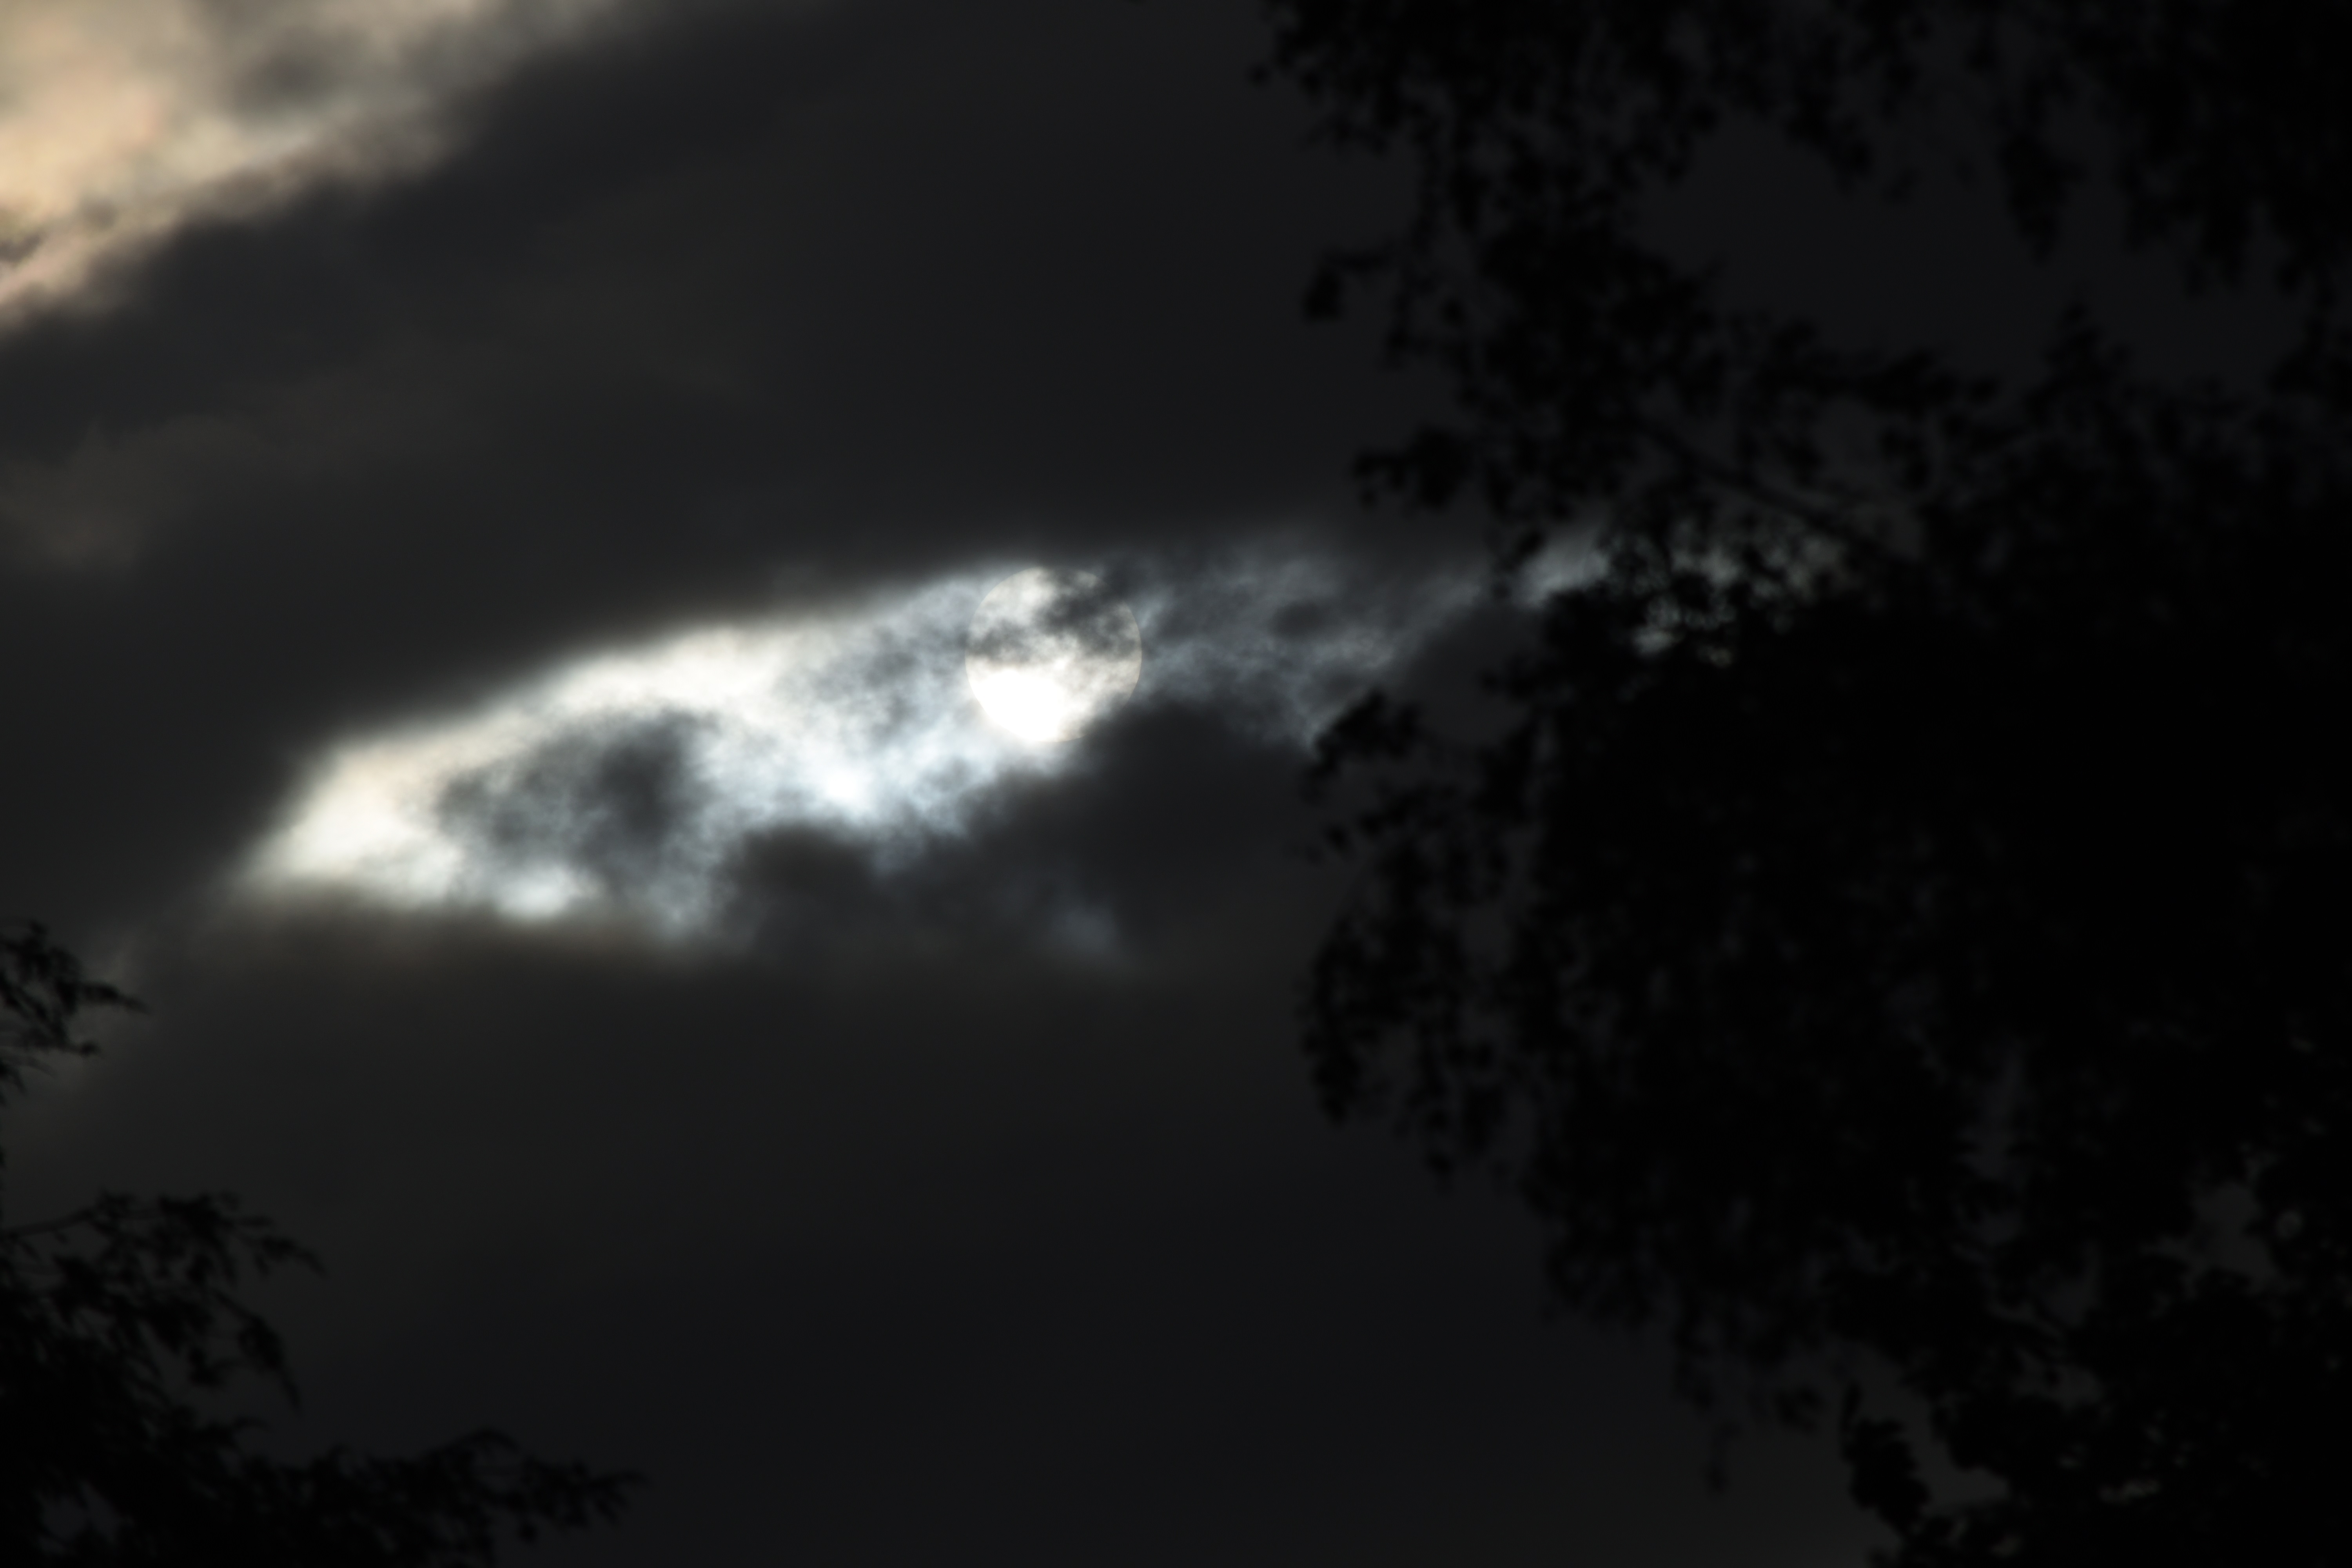
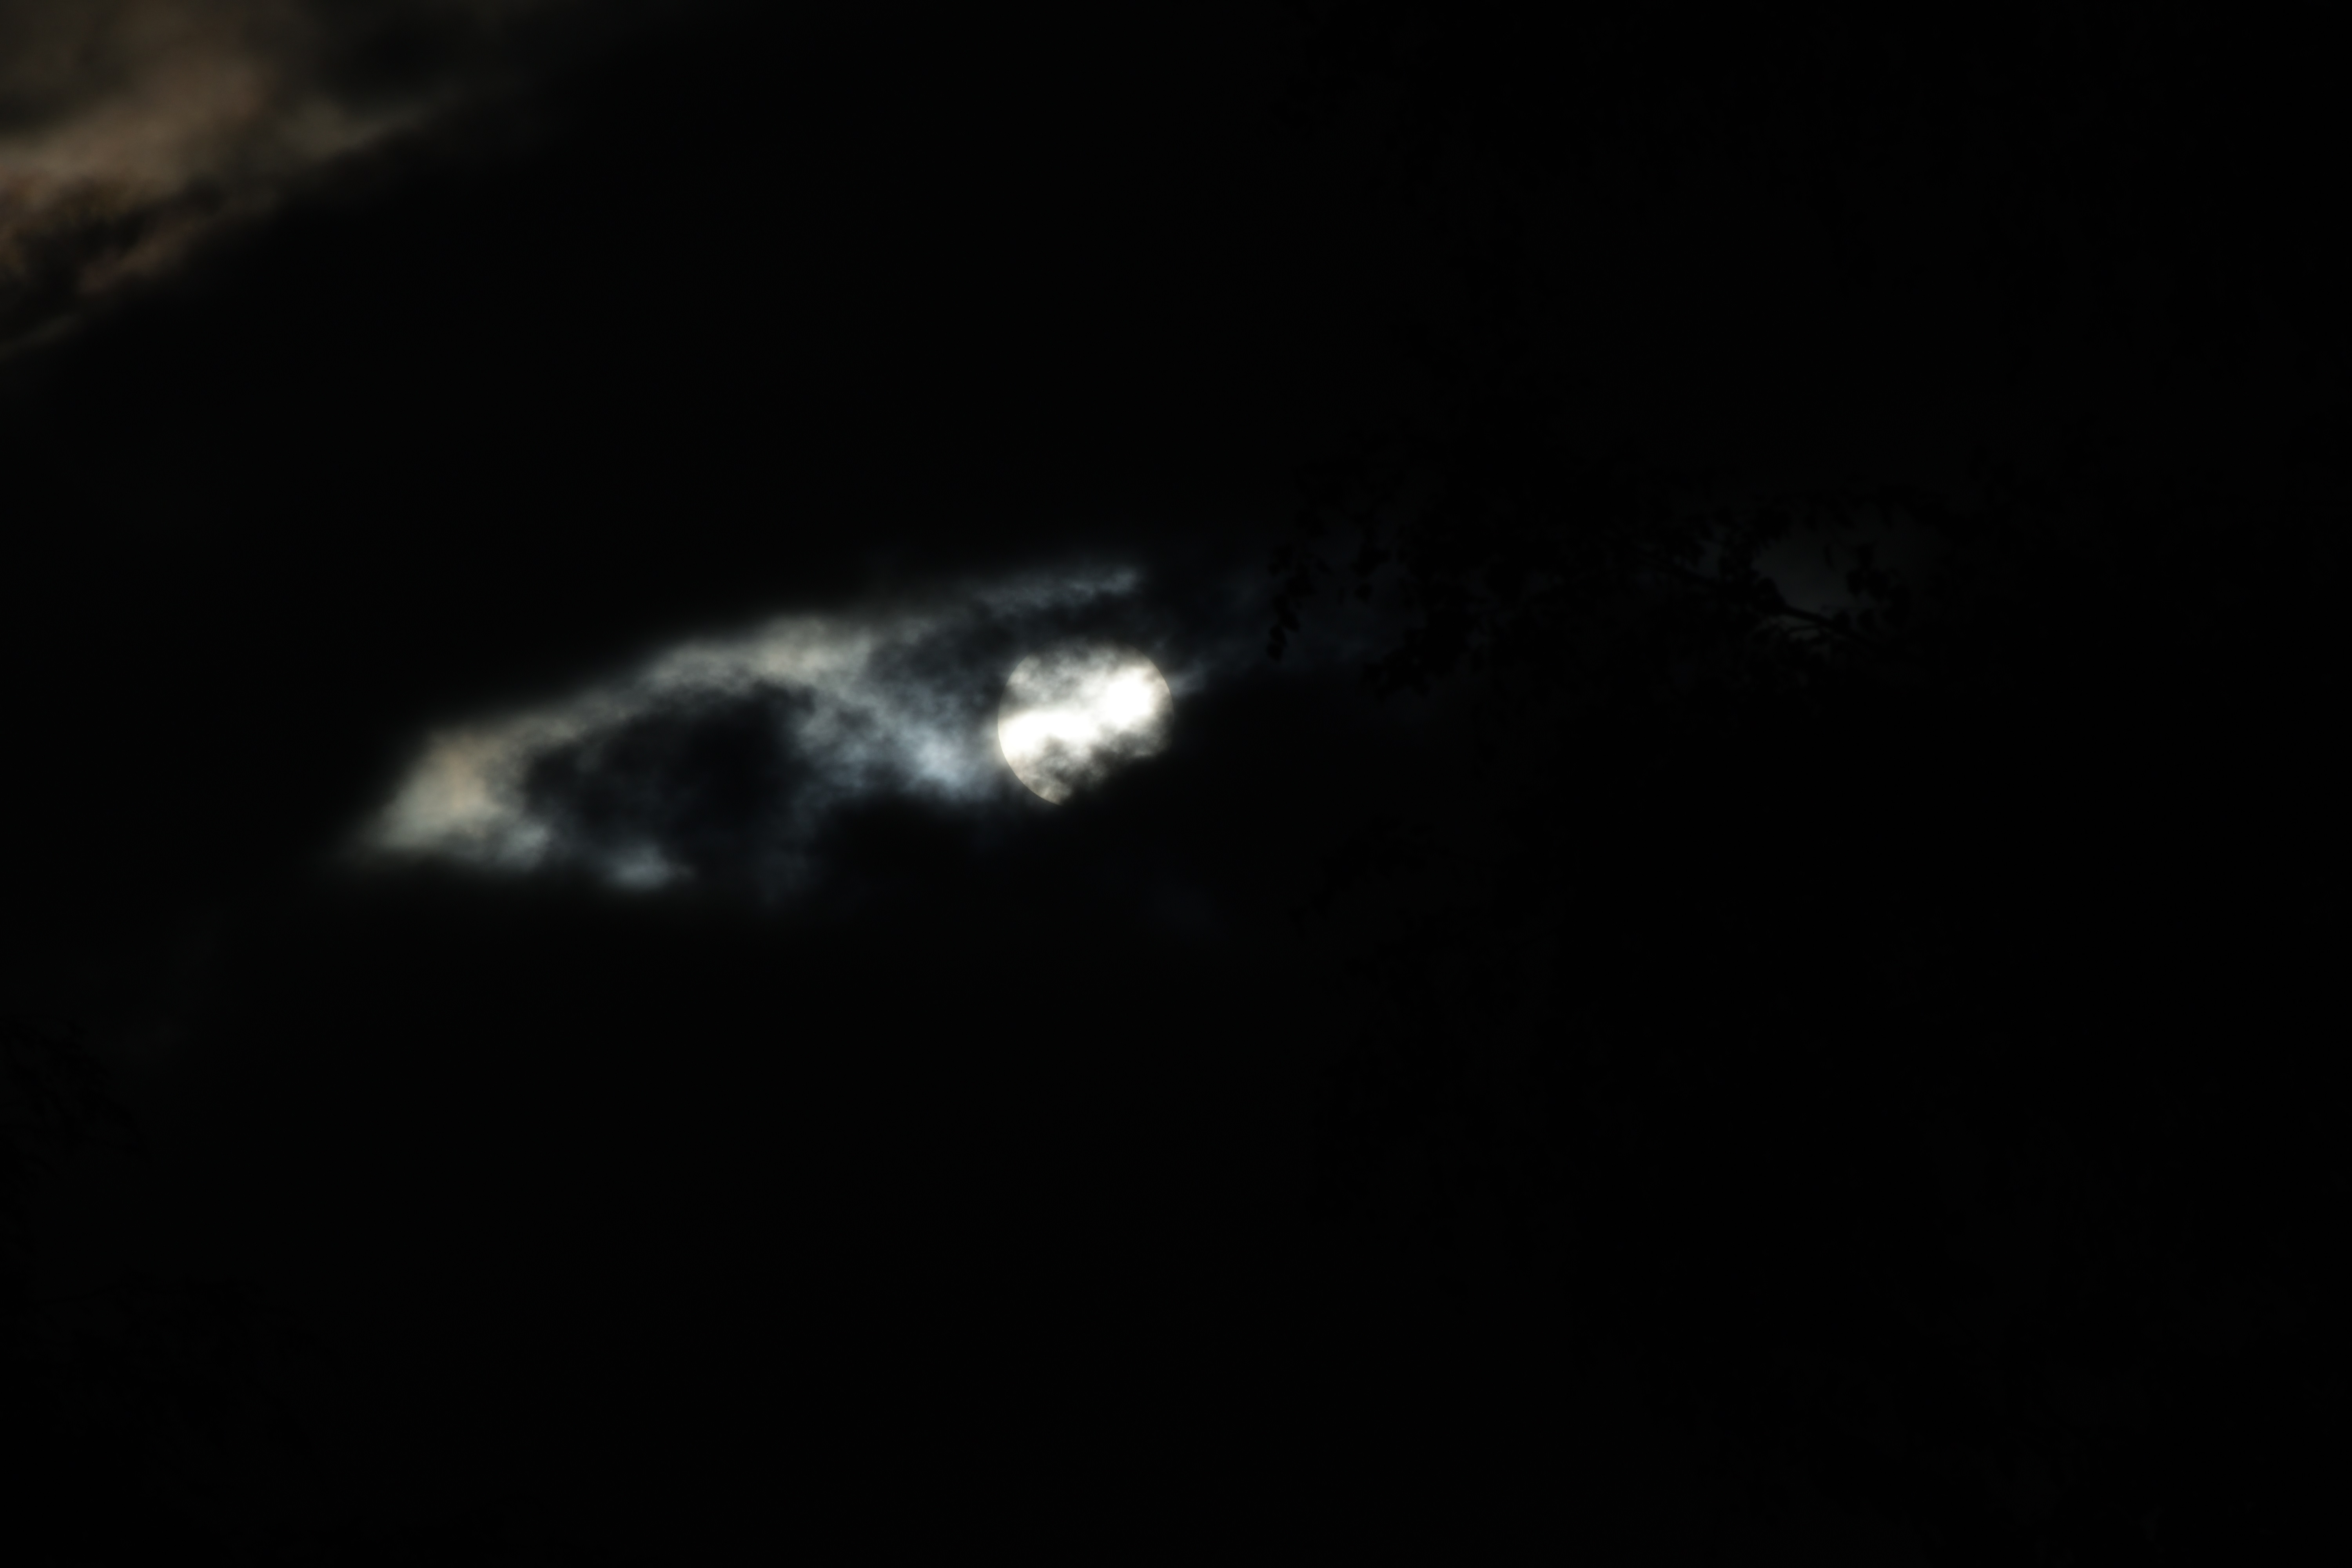
Pic. 12, 13 Sun seen through the stratocumulus cloud. Exif: 200mm, 1/4000s, f/8, ISO 100 for 12 and f/22 for 13
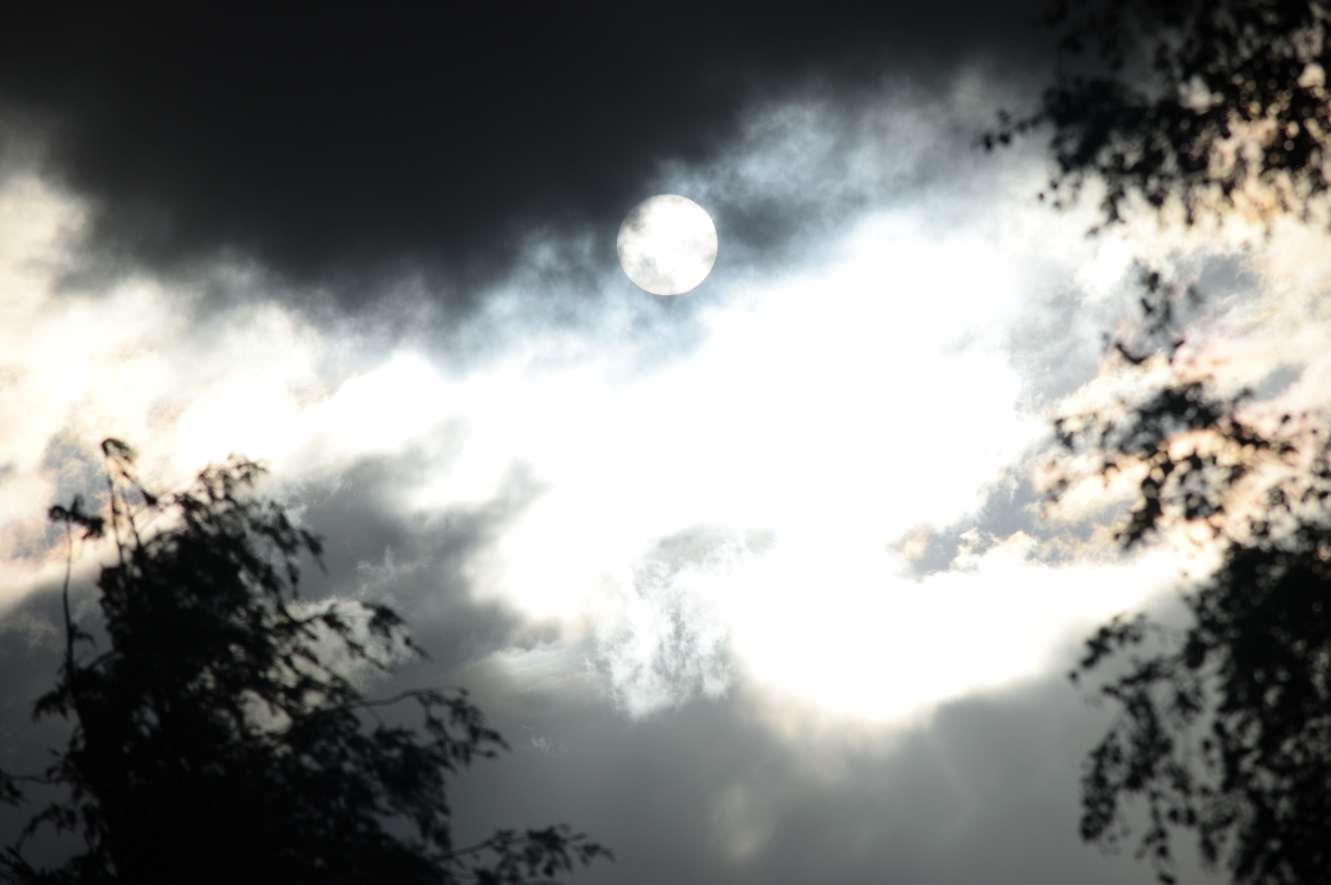
Pic. 14,15. Sun is visible through the stratocumulus stratiformis gap and also with a light transition effect, where the closer cloud is much darker than a further one, behind the sunlight gap. Exif: 200mm, 1/4000s, f/8, ISO 100; 14 – normal, 15 – cropped. Click to enlarge.
As you may have noticed, the effect is pretty much the same as for cumulus humilis cloud. The non-uniformity of solar disk visibility is big and basically uncomfortable for observers, who want to spot something more.
In conclusion, I would like to say, that I took these pictures only out of interest, and to be honest I don’t recommend this kind of observation to other people. Treat this article more as a curiosity and please do not follow me in this case! Unless you decide to take a picture of the Sun through the fog. Watching the Sun without the filters can be really dangerous. Only foggy conditions are the safest if you don’t have a decent solar filter in your equipment. Both cumulus and stratocumulus clouds are nonuniform in their thickness. It means, that one edge of a solar disk can be barely visible, whereas the opposite one is too bright for your eyes. It may hurt your sight and damage your instruments. Even if you would manage the observation such as this, it won’t bring you valuable results. I took this observation only once and won’t repeat it again.
References:
1. Ahrens C. D., 2007, Meteorology today – an introduction to weather, climate and the environment, Thomson learning inc, Canada
2. Chen C.C., 1975, Attenuation of electromagnetic radiation by haze, fog, clouds and rain
3. Grabner R., Kvicera V., 2011, The wavelength dependent model of extinction in fog and haze for free space optical communication, (in:) Optics Express, vol. 19, i. 4, p. 3379-3386.
4. Hammer E., et al., 2014, Size-dependant particle aviation properties in fog during the ParisFog 2012/13 field campaign, (in:) Atmospheric Chemistry and Physics, vol. 14, p. 10517 – 10533
5. Liskens J.R, Bohren C.F., 1994, The appearance of the Sun and Moon seen through clouds, (in:) The Applied Optics, vol. 33(21), p. 4733-40
6. Lynch D. K., Livingston W.C., 1995, Color and light in nature, Cambridge University Press, Cambridge
7. Price J., 2011, Radiation fog. Part I: Observation of stability and drop size distributions, (in:) Boundary layer meteorology, vol. 139, i. 2, p. 167-191
Links:
1. Solar filters for telescope & binocular
2. Solar filters for cameras
3. Eye safety during solar eclipse
4. How to make the solar filters
5. Types of solar filter
6. Solar retinopathy
7. Types of fog
Wiki:
1. Astronomical_filter
2. Cumulus_cloud
3. Fog
4. Limb darkening
5. Liquid water content
6. Optical_depth
7. Stratocumulus_cloud